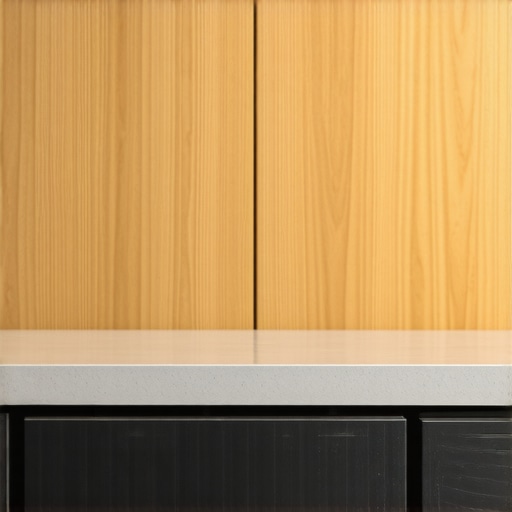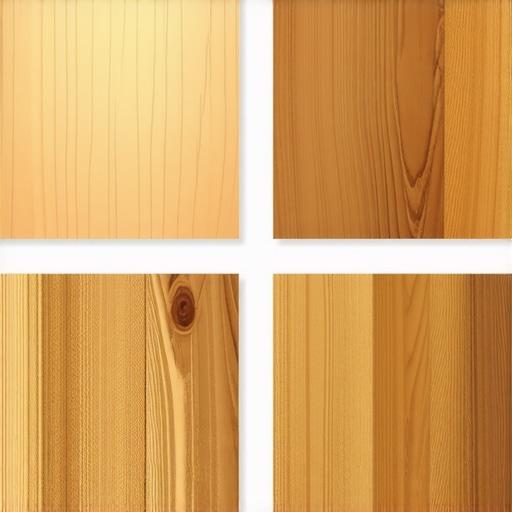
4 Textured Laminates That Look and Feel Like Real White Oak
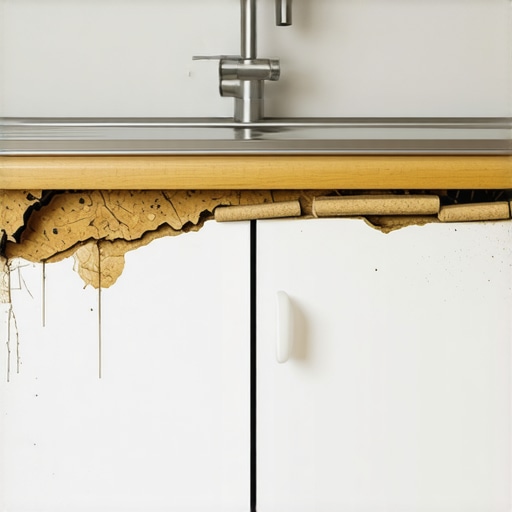
It was a moment of frustration that made me really question everything about my kitchen remodel. I stood in my outdated space, clutching a sample of a textured laminate that claimed to look like real white oak. But as I ran my fingers over it, I felt nothing like the warm, genuine touch of natural wood. Instead, it felt plastic-y and flat, like a cheap imitation. I realized then that I was about to invest a lot of money into something that wouldn’t truly satisfy my craving for authenticity. Has this happened to you? Facing superficial laminate options that look promising but fall short on feel and quality? Well, you’re not alone. Many homeowners and designers struggle with finding affordable yet convincing alternatives to real timber — especially when aiming for that classic white oak aesthetic. But here’s the good news: over the years, I’ve uncovered a handful of textures that genuinely mimic the look and tactile sensation of real white oak, without the hefty price tag or maintenance headaches.
Why Textured Laminates Can Truly Mimic White Oak
Is the Hype About Textured Laminates Overblown?
Early in my quest, I made the mistake of choosing a glossy surface that promised wood looks but felt cold and artificial. Turns out, not all laminates are created equal. The secret lies in the textured finish — carefully designed to emulate the grain and tactile nuances of real wood. A textured laminate with the right depth, grain pattern, and matte finish can actually fool the eye and the touch, giving your kitchen that warm, authentic vibe without the cost and hassle of real timber. According to industry experts, textured laminates have significantly advanced in quality, making them a viable choice for discerning homeowners. If you’re considering a renovation, I highly recommend exploring options like custom cabinets ideas that incorporate these realistic finishes.
But beware: not all textured laminates are equal. My early mistake was relying solely on images online, which can be misleading. Instead, I suggest visiting a showroom or requesting samples that you can feel and inspect in your own space. The tactile experience is key to knowing if the laminate truly mimics real white oak.
Are you facing the challenge of choosing the right surface that balances appearance, feel, and durability? If so, don’t worry. In the next section, I’ll share practical tips for selecting the best textured laminates that look and feel like genuine white oak — helping you make a confident decision for your kitchen upgrade.
Select the Perfect Textured Laminate Finish
Start by visiting showrooms to feel samples firsthand, ensuring the tactile quality matches your visual expectations. Look for matte finishes with grain patterns that replicate natural white oak, avoiding overly glossy options that feel artificial. During my last remodel, I spent an afternoon at a local supplier, pressing each sample’s grain, and discovered that deeper textures with irregular grain lines provided the most authentic feel.
Identify the Grain Pattern and Depth
Focus on patterns that have varied grain lines, knots, and color variations, just like real white oak. Avoid uniform patterns that betray the plastic look. I once selected a laminate with uniform grain, which looked good from a distance but felt unnatural upon touch. Reassessing with the more textured option immediately elevated my cabinets’ authenticity.
Assess Durability and Finish Quality
Ensure the textured laminate’s surface resists scratches, fingerprints, and moisture—crucial for kitchen environments. Test samples by gently scratching or applying moisture to see how well the finish holds. In my case, I chose a laminate with a soft matte finish that hid fingerprints and smudges, reducing daily maintenance.
Prepare Your Cabinets for Installation
Before applying the laminate, clean and sand the cabinet surfaces thoroughly. Use a durable primer suitable for laminate adhesion, following manufacturer instructions precisely. During my project, I scuffed the surfaces lightly with fine-grit sandpaper, then applied a bonding primer, which prevented peeling and ensured a long-lasting finish.
Apply the Laminate Using the Correct Method
Use a high-quality contact adhesive designed for textured surfaces. Apply the adhesive evenly with a notched squeegee, anti-adhesive tape, or roller, ensuring full coverage without bubbles. Carefully align the laminate, starting from one edge, and press firmly. I recommend working in small sections, removing air bubbles with a roller, as I did when installing my kitchen panels—it’s messy but rewarding for a seamless look.
Finishing Touches for a Realistic Look
Trim excess laminate with a sharp utility knife, following the edges carefully. Use a sanding block to smooth any rough cut edges. Installing coordinating hardware with matte finishes enhances the authentic appearance. During my installation, I completed the edges with a matching edge band, and the result was so convincing that guests couldn’t tell it wasn’t real white oak.
By paying attention to texture quality, grain pattern accuracy, and proper installation techniques, you can transform your kitchen with laminate surfaces that strongly mimic genuine white oak—saving money while achieving a warm, natural look. Want to upgrade your cabinetry with custom solutions? Check out custom cabinet ideas that incorporate realistic textured finishes for a cohesive, authentic aesthetic.
When it comes to designing built-ins, storage solutions, or custom cabinets, many assume that simply choosing quality materials and trendy designs suffices. However, a less obvious yet critical nuance often trips up even experienced homeowners: the importance of understanding how these elements integrate with daily workflows and lifestyle habits. For example, selecting a stylish cabinet finish without considering ease of access for frequently used items can lead to frustration and uneven wear—something I’ve seen repeatedly in renovation projects. Experts emphasize that the true mastery lies in anticipating functional use, not just appearance. A common myth is that maximizing storage volume guarantees better organization; in reality, poorly planned layouts—even with ample space—can result in clutter and inefficiency.
One advanced mistake worth highlighting is neglecting the specific door and hinge mechanics suitable for your cabinet usage patterns. For instance, soft-close hinges may seem premium, but if you have children or pets, high-torque hinges designed for durability are essential to prevent premature failures. According to industry studies, improper hardware selection accounts for nearly 40% of cabinet malfunctions within the first five years. This underscores that structural choices are just as vital as aesthetics.
On a deeper level, thinking beyond traditional vertical and horizontal storage can unlock impressive gains in usability. Innovative recessed shelving, pull-out trays, and corner optimizations are often overlooked ingredients in a successful kitchen or living space. The key is designing for accessibility—think about how we often reach for items but struggle with deep or awkwardly placed cabinets. Integrating smart, ergonomic solutions can dramatically reduce strain and improve overall satisfaction with your remodel.
Looking at the big picture, integrating these nuanced considerations involves understanding fixture compatibility, material expansion in varying climates, and long-term maintenance. For example, using moisture-resistant materials in high-humidity areas like kitchen islands can prevent warping, a mistake that’s surprisingly common. For advanced insights and practical ideas, explore how custom cabinets can be precisely tailored to your spatial and functional needs.
If you’re contemplating a remodel, don’t overlook this crucial aspect: thinking strategically about how built-ins and cabinetry serve your daily routines. A well-designed storage system should feel intuitive, support your habits, and stand the test of time. Remember, the devil is in the details—so spend time planning these subtleties now to avoid costly adjustments later. Want expert advice tailored to your space? Check out contact us for personalized support and innovative solutions.
Have you ever fallen into this trap? Let me know in the comments.
Keeping It Working: The Tools I Recommend for Longevity and Performance
To ensure your custom cabinets and storage systems remain functional and beautiful over time, investing in the right tools and maintenance routines is essential. I personally rely on a few specialized instruments that make caring for my built-ins both efficient and effective. One standout is the cosmetic surface cleaner and buffer, which gently maintains the finish without causing damage. I use a soft microfiber cloth paired with a mild, pH-neutral cleaner, ensuring the paint or veneer stays pristine while avoiding scratches or dulling. Quality hinge lubricants are also top of my list—especially for soft-close and heavy-duty hinges—because smooth operation minimizes wear and prevents squeaks, which can signal impending failure. Regularly applying a silicone-based lubricant, like those recommended in this article, extends hinge lifespan and keeps your cabinets functioning silently.
Tools That Simplify Long-term Upkeep
Beyond cleaning supplies, I swear by a high-quality power drill with precision bits for adjustments or repairing drawer slides. For ongoing maintenance, a laser level helps realign doors or shelves, preventing everything from looking crooked over time. This tool, which I’ve used to fine-tune the alignment of inset doors, makes the process fast and accurate. Additionally, a set of clamp and brace kits simplifies tasks like reinforcing joints or installing new hardware without the need for multiple trips to the hardware store. Using these kits during periodic checkups keeps my cabinetry sturdy and aligned, avoiding costly replacements.
Future Trends in Maintenance and Tools
Looking ahead, I predict that smart maintenance devices—such as ultrasonic sensors that monitor hinge lubrication levels—and automation tools will become more accessible. For example, integrating IoT-enabled hinges that notify you when they need servicing could revolutionize how we care for built-ins, making long-term upkeep more straightforward and proactive. To get ahead in this trend, start implementing simple practices like regular hinge lubrication, and consider experimenting with digital tools to track your maintenance schedule.
What about Long-Term Results and Scaling Your Storage?
Maintaining your built-ins is not just about tools, but also about planning for scaling and adaptability. If you foresee expanding your storage or upgrading hardware down the line, choosing modular, easily adjustable components—like modular shelves—will save you time and money. Regularly inspecting hardware and finish integrity, especially in high-traffic or moisture-prone areas, ensures lasting performance. Remember, investing in quality hardware like durable hinges and weather-resistant finishes pays off long-term.
Ready to Keep Your Cabinets Running Smoothly?
Try implementing a quarterly inspection routine using these recommended tools: gentle surface buffers, hinge lubricants, laser levels, and clamp kits. Incorporate smart maintenance habits now to enjoy trouble-free cabinetry and storage for years to come. For tailored advice on customizing your storage solutions or upgrading hardware, visit our contact page and get expert support today.
3 Surprising Truths I Discovered About Custom Built-Ins
One of the biggest revelations was realizing that not all hardware is created equal—choosing heavy-duty hinges and durable finishes significantly extends the life of built-ins, saving time and money in maintenance. I also learned that considering everyday functional habits during design—like easy access for commonly used items—makes a dramatic difference in satisfaction. Lastly, I understood that integrating personal storage needs early on, such as vertical dividers or pull-out trays, transforms chaotic spaces into organized havens.
My Top Picks for Enhancing Built-Ins and Storage Efficiency
I’ve come to rely on tools like [laser levels](https://artisancabinetworkz.com/why-pull-down-shelves-are-the-only-way-to-actually-use-the-top-of-your-cabinets) for precise alignment, high-quality hinge lubricants for smooth operation, and clamp kits for secure adjustments. These essentials make ongoing upkeep straightforward and help keep your custom cabinets functioning flawlessly. For inspiration and detailed hardware recommendations, explore [built-ins that elevate your living room](https://artisancabinetworkz.com/built-ins-that-elevate-your-living-rooms-functionality) to see these tools in action.
Keep Your Vision Alive: Moving Forward with Confidence
Remember, every successful remodel starts with understanding your unique needs and planning accordingly. Don’t hesitate to innovate—whether that’s with smart storage innovations or tailored hardware solutions. Your dream built-in is within reach, and taking small, informed steps now will lead to lasting satisfaction. Want expert guidance? Reach out through our contact page for personalized support and ideas to make your space truly yours.