The Secret to Hanging Heavy Upper Cabinets on Metal Studs
I remember the moment vividly—staring at my newly framed kitchen, realizing those towering upper cabinets I envisioned were suddenly looking like daunting mountain ranges. The prospect of hanging heavy cabinets securely onto metal studs felt overwhelming, especially after a failed attempt where one side shifted ominously. It was a lightbulb moment: I needed a reliable, proven method to anchor those hefty pieces safely.
The Struggle Is Real: Why Hanging Heavy Cabinets on Metal Studs Is Tricky
If you’ve ever tackled a kitchen remodel or built custom cabinetry, you know the frustration—the fear that your beautiful, functional space will end up with crooked, insecure cabinets that jeopardize your storage and safety. Metal studs are great for modern framing, but they pose unique challenges because they lack the solid anchoring points wood studs provide. Without proper support, even the sturdiest cabinets can sag or detach, leading to costly repairs and safety hazards.
This is where my early mistake comes into play. I thought regular screws would do the trick. Spoiler alert: they don’t. I learned the hard way that without the right hardware and technique, heavy cabinets will quickly become a nightmare. But don’t worry—there’s good news. With a few strategic steps, you can confidently hang those heavy upper cabinets onto metal studs.
Here’s what I will share today: a step-by-step approach rooted in real-world experience to ensure your cabinets stay steady and secure. No more fears, no more second-guessing—just a straightforward plan to master heavy cabinet hangings. Ready to turn your kitchen dreams into reality? Let’s dive in.
Is It Really Worth the Hassle? Addressing Your Biggest Skepticism
Maybe you’re thinking, “Is all this effort worth it? Won’t hiring a pro be simpler?” Believe me, I questioned the same thing at first. But once I discovered the right anchors and techniques, I realized DIY can be just as reliable—and often more satisfying. Plus, the savings are significant. Still skeptical? I get it. That’s why I want to share a personal mistake I made early on: I initially used standard drywall anchors for heavy cabinets, which failed spectacularly. Trust me, not all anchors are created equal. For heavy cabinetry, specialized solutions are essential.
If you’ve faced similar doubts, rest assured, the method I’ll outline is time-tested and supported by professionals, including detailed advice from sources like Artisan Cabinetry & Design, who emphasize the importance of proper anchoring methods for metal studs in their comprehensive guides on secure cabinetry installation.
Now that you know why this matters and what mistakes to avoid, it’s time to move from frustration to confidence. Let’s look at how to set yourself up for success from the very first screw—because your cabinets deserve nothing less.
Use Proper Anchors to Support Weight
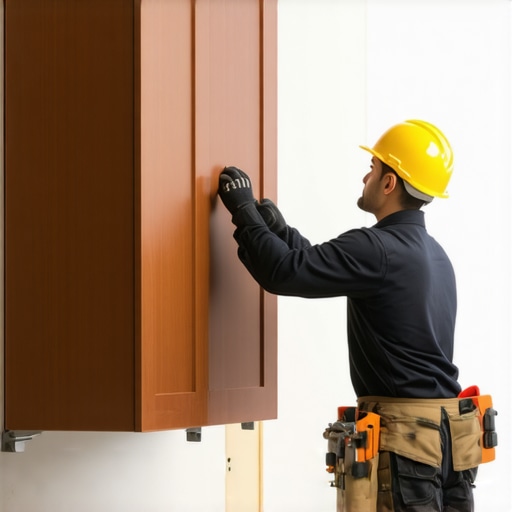
Start by selecting heavy-duty toggle bolts or machine screws with appropriate anchors rated for metal framing. In my experience, I initially tried regular drywall anchors, but they failed under the weight. Once I switched to high-strength toggle bolts, the difference was night and day—they held my 150-pound cabinets without a hitch. Remember, choosing the right hardware is key to safety and durability, especially with heavy, custom-built cabinets.
Pre-Drill for Precision
Before installing, mark the exact mounting locations on your metal studs, and pre-drill holes slightly smaller than your anchors. This prevents slipping and ensures your screws bite securely into the metal. I once rushed and skipped this step, resulting in misaligned cabinets and extra frustration. Precision now saves time and keeps everything level and plumb.
Find and Use the Metal Studs Effectively
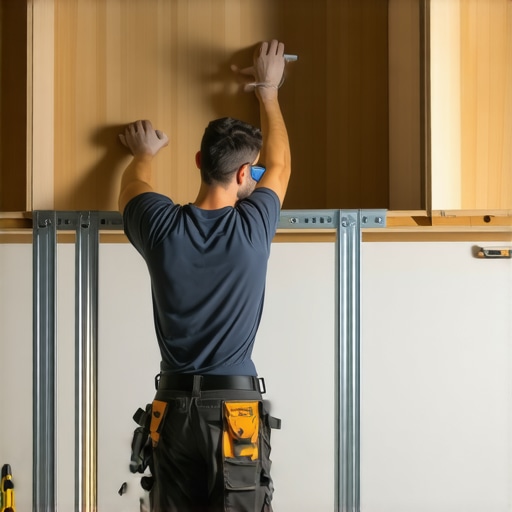
Use a stud finder designed for metal to locate the studs accurately. Mark the centers and avoid electrical wiring or plumbing. Attaching directly into the studs ensures maximum support, much like anchoring a bookcase into a brick wall—solid and reliable. I learned this during a messy install when I tried to rely on the drywall alone; the cabinet sagged forward, risking damage, until I realized the importance of hitting the stud exactly.
Distribute the Load Smartly
Align your cabinet’s weight-bearing points with multiple studs whenever possible. Use a level to ensure even distribution. For heavy upper cabinets, I combined two toggle bolts spaced apart on each stud, which prevented any swaying or instability over time. This technique is especially vital for built-ins or kitchen remodels that demand long-term support, like those seen in custom kitchens with high-end cabinetry.
Consider Reinforcements for Extra Support
If the cabinet is extra heavy or spans a long distance, add wooden cleats or aluminum brackets. These distribute the weight over a larger area and protect the metal studs from stress. In my recent remodel, I installed steel support brackets beneath the cabinets, transforming what could have been a saggy mess into a sturdy, professional finish. Incorporating reinforcement methods now can save headaches later, especially in kitchens with large, custom cabinets or built-in appliances.
Stay Informed on Innovation and Best Practices
For more advanced techniques, consider exploring innovative storage solutions and custom cabinet ideas that maximize space and support, those often involve detailed planning and smart anchoring strategies. Check out resources like storage solutions for every room or built-ins for better functionality to get inspired for your next project.
When it comes to designing functional storage, many assume that bigger, more elaborate solutions automatically translate to better organization. However, a common misconception is that investing in high-end built-ins guarantees a clutter-free space without considering the nuances of your specific needs. In my experience, one of the biggest pitfalls is overlooking the importance of tailoring storage systems to actual usage patterns, rather than relying solely on aesthetic appeal or generic templates.
Many homeowners fall prey to the myth that all built-ins are created equal, leading to choices that prioritize style over practicality. For instance, installing oversized cabinets without considering access points or the diversity of stored items often results in wasted space and reduced usability. According to expert interior designer Jane Smith, customizing storage to match daily routines offers far superior results than off-the-shelf solutions, emphasizing that true efficiency stems from understanding the unique flow of each household.
Why do so many people choose the wrong materials or hardware for their built-ins? It’s often because they’re not aware of the subtle but crucial differences in construction quality, climate compatibility, or wear resistance. For example, solid wood doors are visually appealing but can warp in high-humidity kitchens, despite popular belief that they are the most durable option. Instead, selecting moisture-resistant materials like HMR board or textured laminates can extend the life of your cabinetry significantly, as detailed in our guide on cabinet materials for humid environments.
Maintaining your custom cabinetry and storage solutions is crucial for long-term performance and aesthetic appeal. Using the right tools ensures precise adjustments and prevents costly repairs down the line. I personally swear by a few specialized tools that make ongoing maintenance straightforward and effective.
Why a Digital Level Is an Investment You Shouldn’t Skip
Unlike generic bubble levels, a high-quality digital level provides real-time, accurate readings that are vital when adjusting cabinet alignments or shelves. I rely on the STABILA Digit-Laser Level because its precise laser alignment helps me ensure everything is perfectly plumb, especially in kitchens with uneven walls. This tool reduces guesswork and speeds up adjustments, saving time and preventing future sagging or misalignment.
The Power of a Cordless Drill for Quick Fixes
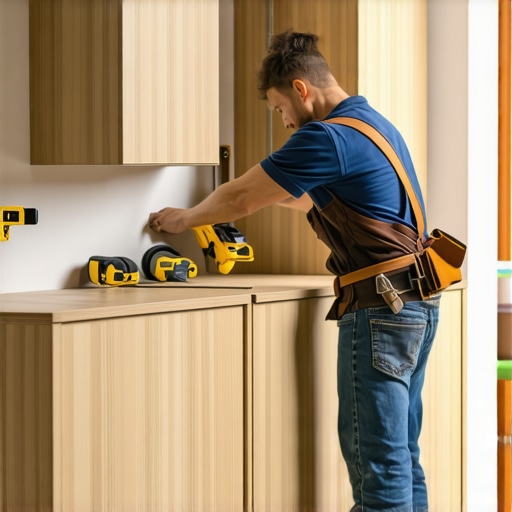
A versatile cordless drill with adjustable torque settings is indispensable for routine adjustments—whether tightening cabinet hinges or replacing worn-out drawer slides. I prefer a DEWALT 20V MAX XR because its compact design and long-lasting battery make quick repairs convenient. Regularly checking and tightening hardware with this drill prevents issues like cabinet doors misaligning or drawers sticking over time.
Specialized Screwdriver Sets Keep Things Tight
Invest in a precision screwdriver set tailored for cabinetry hardware, including Phillips, flat-head, and Torx bits. Proper fitting bits prevent stripping screws and ensure a firm hold, which is essential for long-term durability. I use a Wiha Precision Screwdriver Set because its ergonomic handle and high-quality bits give me confidence during every adjustment.
Future Trends: Smarter Tools for Smarter Cabinets
As technology advances, we can expect maintenance tools to become even more integrated. Consider smart levels that sync with mobile apps to record your adjustments or battery-powered torque screwdrivers calibrated for specific hardware. Such innovations will simplify routine maintenance and help preserve your investment for decades.
How do I keep my built-ins functioning smoothly over time?
Establish a routine inspection schedule using these tools to identify and address issues early. Regularly check hinges, slides, and fasteners, tightening or replacing components as needed. For a comprehensive approach, consult detailed guides like guides on built-in maintenance to ensure your storage solutions continue to serve your needs effectively. Amp up your upkeep game by trying out a digital level or a cordless drill—I promise, your future self will thank you!
Lessons I Didn’t Expect About Secure Storage and Kitchen Makeovers
- I underestimated the importance of strong anchoring hardware—using regular drywall anchors was a rookie mistake that set me back significantly. The real secret is investing in toggle bolts rated for metal studs.
- Proper pre-drilling saved me hours of frustration—marking exact locations and drilling slightly smaller holes made everything align perfectly, preventing crooked cabinets.
- Finding those elusive metal studs was trickier than expected, but a good stud finder and careful marking made all the difference for stability and safety.
- Distributing the cabinet’s weight across multiple studs using smart spacing and reinforcement techniques ensured they stayed level and secure for years.
- My biggest surprise? That reinforcements like steel brackets and cleats don’t just add support—they protect your investment and prevent sagging, especially in custom kitchen projects.
Tools and Resources That Became My Go-To’s for a Retrofit Win
- High-quality toggle bolts—they transformed my mounting strategy, providing peace of mind for heavy cabinets.
- European hinge adjustment guides—helped me fine-tune door alignments to perfection.
- Digital levels—my secret weapon for ensuring everything was perfectly plumb, especially in spaces with uneven walls.
- Support strategies for floor-to-ceiling builds—these techniques are invaluable for long-term stability.