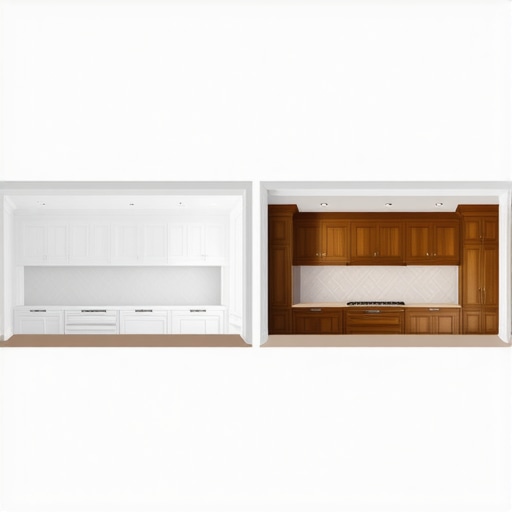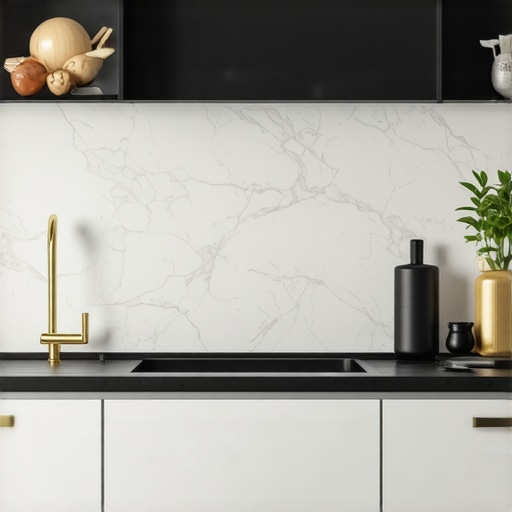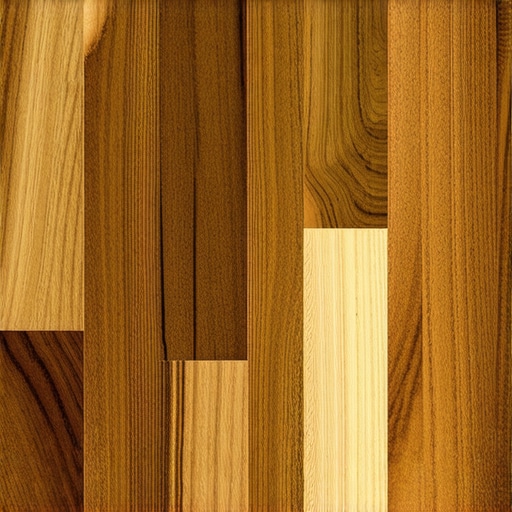
The Warm Wood Return: Why Stained Oak Is Popular Again
I still vividly remember the morning I first cracked open that gallon of stained oak stain, my hands itching for a bold transformation in my kitchen. Wading through countless options, I felt overwhelmed, almost stuck, because nothing seemed to strike the perfect balance between timeless charm and modern style. It was only after a few missteps—like choosing a finish that chipped or a grain that looked more rustic than refined—that I realized I needed a better understanding of what made stained oak such a comeback story.
How I Discovered the Power of Stained Oak
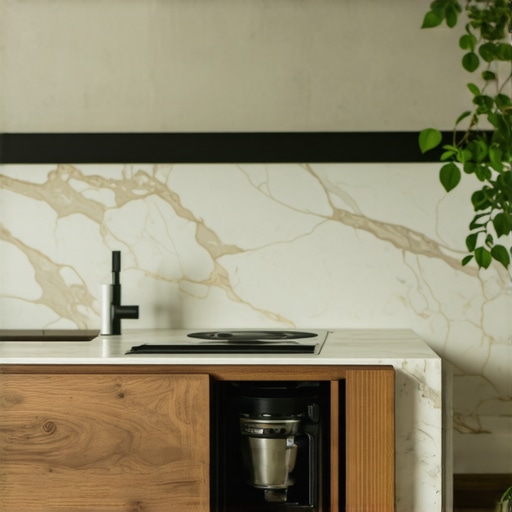
In my quest to refresh my space, I stumbled upon the resurgence of stained oak in contemporary cabinetry. To my surprise, the depth, warmth, and versatility of oak wood had been rediscovered by designers and homeowners alike. It was like reconnecting with an old friend who had been sidelined by trends but was now shining brighter than ever. The key, I learned, lies in the craftsmanship—the quality of the stain, the grain pattern, and how it’s paired with other elements in the room.
What truly caught my attention was how stained oak can elevate a space without overpowering it, adding a subtle elegance that’s both inviting and durable. Oak’s natural grain, once masked by heavy paint or low-quality finishes, now serves as a focal point when properly highlighted. As I dived deeper, I found that many experienced woodworkers and cabinet makers appreciated stained oak for its adaptability, especially in modern kitchen remodels, which you can explore here.
But, of course, I also encountered challenges like choosing the right stain or finishing techniques. Early on, I made the mistake of opting for cheap, quick-drying finishes that ended up bubbling and peeling—an all-too-common pitfall I wish I had avoided. Recognizing these errors was part of my learning curve, and I want to share that wisdom with you.
Could Stained Oak Truly Transform My Home?
Yes, and it can do so while maintaining a realistic budget. The transformation is often impressive; however, the success relies heavily on selecting high-quality materials and professional craftsmanship. If you’ve ever faced the frustration of a renovation project that drags on or feels underwhelming, you’ll appreciate that using stained oak—done right—can bring a renewed sense of warmth and sophistication to any space.
According to recent industry insights, oak remains one of the most durable hardwoods for cabinets, withstanding daily wear and tear better than many other woods, making it a smart investment in the long run (Houzz).
Now, let’s explore the practical steps you can take to harness the true potential of stained oak and avoid the pitfalls I encountered early on. Whether you’re embarking on a full kitchen overhaul or simply updating your cabinets, understanding why stained oak is on the rise will help you make informed decisions and achieve the look you’ve always wanted.
Select the Right Oak and Prepare Your Workspace
Begin by choosing high-quality, clear-grain oak lumber. I once picked a bargain batch that was riddled with knots and inconsistent grain, which resulted in a patchy finish. To prevent this, inspect the wood for uniformity, and prioritize kiln-dried, quarter-sawn oak for a stable, figure-rich surface. Equip yourself with plastic sheeting, gloves, sanding blocks, and a respirator. Clear your workspace of clutter to avoid dust settling on your fresh stain, and set up a well-ventilated area to ensure safety and quality.
Sand and Clean to Achieve a Smooth Surface
Sand the oak thoroughly with 120-grit sandpaper, then move up to 220-grit for a fine finish. I once skipped the final sanding step, which left bumps and prevented a smooth stain absorption, resulting in a blotchy appearance. Use a damp tack cloth to remove all dust, and wipe the surfaces with a tack cloth again to pick up residual particles. Cleanliness here is crucial—dust trapped in the finish looks unprofessional and diminishes the durability of the stain.
Choose the Perfect Stain and Apply Evenly
Select a stain that complements your desired aesthetic—darker for depth, lighter for warmth. I experimented with a minwax walnut stain for my cabinet doors, applying it with a lint-free rag in the direction of the grain. Work systematically, applying the stain in manageable sections, and wipe off excess after a few minutes. Use quality brushes or foam applicators to reach into corners and crevices. Remember, applying too much stain or uneven strokes can cause drip marks or uneven color—practice on scrap wood if needed.
Seal and Protect Your Work
Once the stain has dried, apply a clear polyurethane finish suitable for kitchen environments—preferably water-based for quick drying and low odor. I learned the hard way that skimping on the finishing step led to chipping and peeling within months. Use a high-quality brush to apply thin, even coats, following the manufacturer’s instructions. Sand lightly with 320-grit sandpaper between coats for a glass-smooth finish. This layered approach enhances durability and highlights the wood’s natural beauty.
Assemble and Install with Precision
After finishing, assemble your cabinets or built-ins carefully, ensuring all hardware aligns perfectly. Use spacing gauges and a level to maintain consistency across all surfaces. I once had a misalignment that became glaring once stained, so double-check measurements before drilling. For wall-mounted cabinets, secure fasteners into wall studs rather than drywall alone, to support the weight of the stained oak with confidence. For complex built-ins, plan your layout using innovative storage solutions to ensure functionality matches aesthetic appeal.When it comes to transforming a kitchen or living space with custom built-ins and innovative storage, many homeowners fall prey to misconceptions that can undermine their projects’ success. While most believe that installing more shelves or choosing popular finishes guarantees functionality and style, the real nuances lie in understanding the intricacies of design and execution.
One common myth is that bigger storage always means better organization. In reality, overestimating space can lead to cluttered cabinets that are hard to keep tidy. Skilled designers recognize that tailored solutions—such as smart storage strategies—maximize usability without compromising aesthetics.
A frequently overlooked mistake is the improper planning of access points, especially in corner cabinets. Many assume that standard lazy Susans or blind niches suffice, but advanced hardware innovations—like pull-out solutions—offer far better accessibility and efficiency. Failure to incorporate these can result in wasted effort and frustration, particularly when dealing with heavy pots or awkwardly placed items.
Furthermore, the obsession with matching finishes or trendy hardware can distract from functionality. Some believe that uniformity equates to elegance, but contrasting textures and materials—such as matte black hardware against natural oak—bring richness and visual interest. It’s an advanced detail that seasoned designers leverage to elevate the overall design.
A crucial trap to avoid is underestimating structural support requirements. Heavyweights like stone countertops or large appliances necessitate reinforced frameworks. Ignoring this can cause sagging or misaligned doors over time, which is costly to repair. For example, robust shelf supports and precise bracing are vital when integrating heavy-duty storage features.
Lastly, many overlook the importance of future-proofing. Incorporating adjustable hardware, modular systems, and accessible wiring for built-in tech creates a space adaptable to changing needs. This foresight prevents costly remodels down the line and ensures your investment remains functional and stylish.
Understanding these nuances helps distinguish an average remodel from a truly sophisticated, enduring design. Remember, the devil is in the details—so meticulous planning, advanced hardware choices, and structural considerations are your best allies. Have you ever fallen into this trap? Let me know in the comments, and share your experiences with built-ins or storage upgrades.
Maintain Your Investment with Precision Tools
Ensuring your custom cabinets and built-ins stay in top shape over the years starts with choosing the right tools. I rely heavily on a high-quality cordless finish sander, like the Makita BO5041, because it offers excellent control and delivers a smooth surface finish—crucial when reapplying finishes or repairing minor scratches. A precision router, such as the Bosch RA1181, is indispensable for trimming and profile adjustments that keep edges neat and professional-looking, especially when customizing or scaling projects over time.
For detailed magnetized screwdrivers, I prefer Wiha’s insulated sets—they help prevent slips and protect delicate hardware, which is critical in ongoing maintenance or when replacing hardware pulls. Using the proper tools not only speeds up repairs but also preserves the longevity of your installations.
Software and Planning for Long-Term Success
Efficient project planning is simplified with software like SketchUp, which I use to model storage solutions and verify clearances before making alterations. This step is essential for scaling projects and ensuring each piece, from your custom cabinetry to built-in shelves, fits perfectly as it ages. Keep your designs adaptable; modern software allows for quick adjustments, which is invaluable when planning extensions or modifications down the line.
In addition, employing a digital level app—like the Bosch LevelOne—can ensure your cabinets remain perfectly aligned over time, reducing the risk of uneven doors or drawers. Incorporating these tools into your maintenance routine helps catch small issues early, preventing costly repairs later.
Establishing Long-Lasting Results
To preserve the beauty and function of your built-ins, regular cleaning and inspections are key. Use a microfiber cloth for dusting and a mild cleaner designed for wood surfaces—avoiding harsh chemicals that can degrade finishes. Applying a quality furniture wax once every year can also provide an extra layer of protection against moisture and wear, especially in high-traffic areas.
Consider your storage solutions as well; updated hardware such as soft-close hinges and lubricated slides can dramatically improve usability and lifespan. For example, replacing worn-out slides with heavy-duty options from brands like Accuride guarantees smoother operation and supports heavier loads, preventing premature failure.
How do I maintain my built-ins over time?
Establish a routine of inspecting hinges, slides, and finishes at least twice a year. Tighten loose screws with the right screwdriver, like Wiha, and lubricate moving parts using silicone spray to keep everything operating smoothly. Regular cleaning with non-abrasive products prevents dust and grime buildup that can damage surfaces. For more specialized maintenance, consult resources like this detailed guide on hardware longevity.
Scaling and Adapting Your Storage Solutions
As your needs evolve, scaling your built-ins and storage involves strategic planning. Installing adjustable shelving or modular drawers can dramatically extend the usability of your cabinetry. When planning to expand, use CAD tools to visualize changes and ensure structural support, referencing expert recommendations like those from the cabinetry support standards.
Exportable plans and precise measurements remain critical, especially when integrating new components into existing furniture. Remember, maintaining flexibility in design allows future modifications without extensive rebuilding—keeping your investment functional and stylish for the long haul.
By dedicating time and the right equipment to maintenance and scaling, you extend the life and beauty of your kitchen remodel. I encourage you to try using a digital level app for your next adjustment—it makes real-time, accurate alignments effortless and ensures your cabinets look flawless for years to come.
The Hidden Pitfalls That Cost Me Dearly in Built-in Design
One of the toughest lessons I learned was that overestimating the support structures for heavy custom cabinets often led to sagging doors and costly repairs. Experience taught me that reinforced framing and proper load distribution are non-negotiable—don’t assume standard support will suffice for heavy stone countertops or large built-ins. Real-world trial showed me that investing in steel brackets and professional-grade supports prevents future headaches, saving both time and money in the long run.
Tools and Resources That Transformed My Approach
After years of trial and error, I rely on my trusted cordless finish sander like the Makita BO5041 for smooth surfaces, and my Bosch RA1181 router for precision trimming—these tools have become staples in my workshop. My favorite resource is SketchUp for visualizing space, ensuring every inch is optimized before cutting a single board. Connecting with industry professionals through specialized courses and reading expert blogs like Artisan Cabinetworks’ has been invaluable in refining my craft, turning DIY projects into professional-looking results.
Let Your Craftsmanship Shine Through: An Invitation
Remember, every built-in, custom cabinet, or kitchen remodel is an opportunity to leave a personal touch that elevates your home. Embrace the learning curve, stay curious about new techniques, and don’t hesitate to push your boundaries. Your dedication to quality and attention to detail will reflect in beautiful, functional spaces that stand the test of time. Ready to transform your space? Share your ambitions below or contact us here—let’s craft your dream together!