The Sink Tilt-Out Error: Why Plastic Trays Always Get Gross
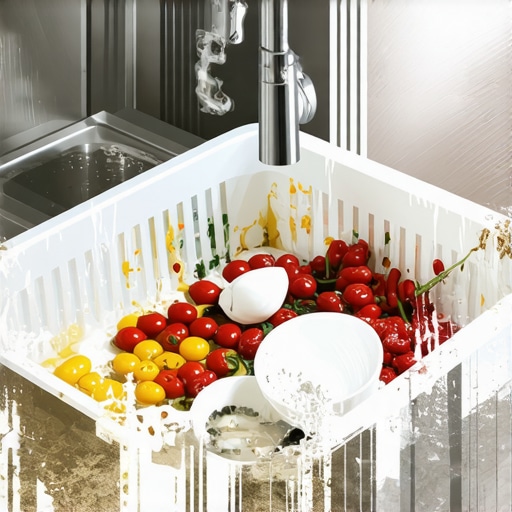
Ever had a moment where you glance into your kitchen sink and feel a little gag reflex creeping in? That uncomfortable sensation hits especially hard when you open the cabinet under the sink and are greeted by a slimy, stained plastic tray that just won’t stay clean no matter what you do. I used to think it was just part of the deal—plastic trays are cheap, disposable, and, frankly, a necessary evil. But then, one day, I had a lightbulb moment during a kitchen remodel that changed everything.
We had ordered new custom cabinets and sleek built-ins, turning our chaotic kitchen into a sleek haven. Yet, that stubborn, gross plastic tray in the sink base kept ruining the look—and my sanity. Isn’t it frustrating? You invest so much into your kitchen, only for a tiny, overlooked detail like this to sabotage the cleanliness and overall vibe. If you’ve ever stood over that sink, scrubbing that tray again, wondering if there’s a better way, then stick around. Today, I promise to share how I finally cracked this mystery and, importantly, how to avoid this grossness altogether.
Why Plastic Trays Turn Gross and How to Stop It
The truth is, the problem isn’t just your poor cleaning habits. It’s a classic case of design flaws and overlooked details. When I first installed my kitchen, I didn’t realize that my plastic tray was full of traps—cracks, corners, and textured surfaces that are downright germ magnets. According to experts, bacteria and mold thrive in damp, enclosed environments, especially in areas that don’t dry out quickly—like those hidden under your sink. A study published in the Journal of Applied Microbiology reveals that sinks and surrounding areas can harbor bacteria levels comparable to public restrooms.
Early on, I made the mistake of focusing solely on cleaning the tray more often, thinking that would fix the mess. Spoiler: it didn’t. The insidious nature of these trays is their material and design—cheap, porous plastic is a breeding ground for grime. Plus, they tend to be difficult to remove and clean thoroughly, especially when they warp or crack over time.
So, what’s the solution? It starts with understanding the core issue: your current tray design and materials are not up to the task. The good news is, with a few thoughtful upgrades—like switching to waterproof liners, metal or silicone alternatives, or custom solutions—you can keep things much cleaner and longer-lasting. Curious to see how I finally broke free from the cycle of gross trays? Keep reading, because the upcoming sections will guide you step-by-step through fixing this pervasive kitchen sink annoyance.
Choose the Right Material to Prevent Future Gunk
Start by swapping out your plastic tray for a waterproof, non-porous alternative. I replaced my worn plastic tray with a custom-made stainless steel insert during a kitchen remodel, which dramatically reduced grime buildup. Visit Contact us to discuss custom solutions that fit your sink base perfectly.
Measure and Fabricate Your Perfect Fit
Remove your existing tray carefully and measure the exact dimensions of your sink compartment. Use these measurements to order a custom-cut metal or silicone liner. In my case, I used a flexible silicone liner cut to size, which fits snugly and is easy to clean. Be precise to avoid water pooling or debris catching in corners.
Seal and Secure the New Insert
Apply a waterproof sealant around the edges of your new liner to prevent water leakage underneath. For added stability, consider attaching small silicone bumpers or brackets, especially if your sink sees heavy use. This prevents shifting and ensures the liner stays in place. Check regularly for wear and replace as needed.
Implement a Regular Cleaning Routine
Clean your new tray weekly with a solution of hot water and vinegar or mild soap. For stubborn stains, sprinkle baking soda and scrub gently. In my experience, maintaining this routine keeps bacteria at bay and prevents grime from settling in. Use a soft brush to reach corners and textured surfaces.
Upgrade Storage and Accessibility for Ease
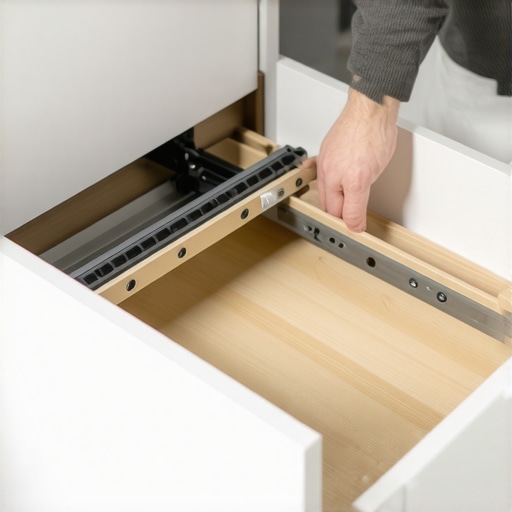
Enhance your under-sink storage by installing dedicated pull-out shelves or slim dividers, which make it easier to access and clean the tray. Explore options like smart storage solutions to optimize your space. Proper organization prevents messes and simplifies maintenance.
When it comes to kitchen remodeling, many homeowners focus on the glamorous aspects—high-end appliances, trendy countertops, and stunning cabinets. But beneath the surface lie subtle nuances that can make or break your project’s success. Contrary to popular belief, simply choosing the most popular designs or materials isn’t always the smartest move. Instead, understanding the less obvious pitfalls can save you time, money, and future headaches.
One common myth is that all built-ins and custom cabinets automatically guarantee optimal storage and functionality. While they can certainly enhance your kitchen’s efficiency, poor planning or misjudged measurements often lead to wasted space, difficult access, or even incompatible hardware. For instance, a seemingly perfect custom pantry might look great but become a black hole for stored items if shelves aren’t adjustable or properly vented. To truly maximize space, explore innovative storage solutions like vertical dividers or pull-out trays—these can transform cramped areas into organized havens. Check out smart storage strategies for small kitchens.
A critical mistake homeowners often make involves overlooking the importance of material choice and construction quality. For example, opting for particleboard cabinets might save costs initially but often results in sagging shelves or delamination in high-humidity zones. Instead, prioritize durable options like plywood or solid wood, which, although more expensive, offer longevity and less maintenance. A study by the Wood Products Council emphasizes that high-quality materials significantly reduce long-term costs and repairs.
Another subtle but impactful overlooked detail is the integration of electrical outlets within cabinetry. Advanced homeowners are now incorporating hidden charging stations and power routes directly into drawers and counters. This not only keeps countertops clutter-free but also provides safety and convenience—features that elevate your kitchen’s functionality.
And let’s not forget about the common mistake of ignoring future-proofing. Building or remodeling without considering potential needs—like increased appliance sizes or smart home integrations—can lead to costly renovations down the line. Planning ahead by assessing your lifestyle and technological trends ensures your kitchen remains functional and stylish for years to come.
Have you ever fallen into this trap? Let me know in the comments. Properly addressing these nuanced design factors can truly elevate your remodel from mediocre to masterful. For personalized guidance, consider reaching out to experts who focus on custom solutions that blend style with practicality—details that typically go unnoticed but make all the difference.
Invest in Quality Tools for Lasting Results
Having the right tools is paramount to maintaining your kitchen’s functionality over time. I personally swear by a high-quality cordless drill with variable speed settings, such as the DeWalt DCD996, because it provides precision without worrying about cords getting tangled. For measuring, I rely on a digital laser level like the Bosch GLL 55, which ensures accurate alignment of cabinets and built-ins, preventing shifts that could compromise your storage solutions.
To keep everything in tip-top shape, a good set of soft cloths and non-abrasive cleaners are essential. I recommend The Miracle Cleaner because it effectively removes greasy fingerprints and water spots without damaging finishes, especially on matte or stained surfaces. Remember, maintenance isn’t just about cleaning—regular inspections of hinges, slides, and seals can prevent minor issues from escalating into costly repairs.
Utilize Smart Software for Planning and Maintenance
Beyond physical tools, digital planning aids play a vital role. I use CAD (Computer-Aided Design) software, like SketchUp Pro, to visualize updates or troubleshoot layout issues before making changes. This prevents costly miscalculations, particularly when planning custom cabinets or built-ins. Moreover, installing a home management app that tracks maintenance schedules for plumbing or appliances can save you headaches down the line. Keeping a digital log of adjustments or replacements ensures you stay proactive with upkeep.
How do I maintain custom storage solutions over time?
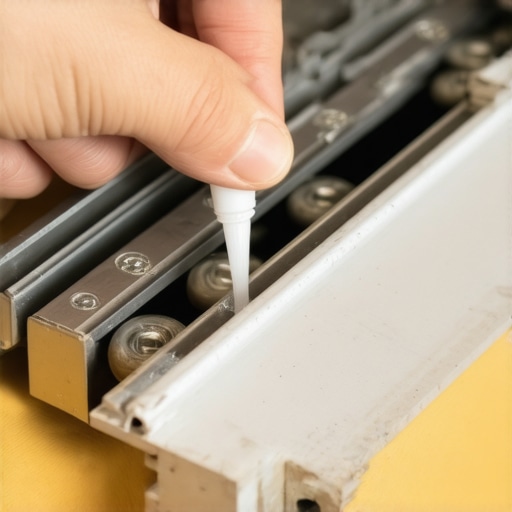
Consistent maintenance of your storage systems, including adjustable shelves or built-in organizers, is key to longevity. Regularly lubricate sliding components with silicone spray to prevent squeaking and ensure smooth operation. Check for loose screws or brackets—tightening these periodically prevents misalignments. For soft-close hinges, a quick check every six months ensures they function properly, avoiding sudden slams or misclosures. As the trend leans toward automation, integrating smart sensors that alert you to moisture or leaks in hidden areas becomes increasingly popular; these innovations can detect issues early and help you address them before damage occurs. Contact us if you want expert advice tailored to your setup.
Long-Term Thinking: How Your Tools and Routine Pay Off
Developing a routine that incorporates these tools and practices significantly extends the life of your kitchens’ features. As pointed out in the Journal of Home Maintenance, routine checks and timely repairs prevent small problems from snowballing into expensive repairs. In the near future, expect smart maintenance solutions—like IoT-connected sensors—to become standard, giving homeowners proactive alerts about potential issues. Starting today, try setting a quarterly check-up schedule for hinges, seals, and sliding components to keep your space functioning flawlessly. Remember, a little effort now saves big headaches later—your future self will thank you.
Throughout this journey, I’ve uncovered insights that transformed not just my kitchen, but my entire approach to home improvements. The biggest lesson? The devil is truly in the details. From choosing durable materials to integrating innovative storage solutions, every element counts. I realized that rushing through planning or settling for shortcuts can lead to ongoing frustrations—and the cost of ignoring these nuances adds up over time. Embracing quality craftsmanship and thoughtful design isn’t just about aesthetics; it’s about creating a space that works seamlessly and endures the test of time. Let my experience remind you that meticulous attention to detail pays off, making your kitchen remodeling truly rewarding.