The Reason Your Slow-Close Drawers Still Slam and the Quick Fix
Have you ever opened a cabinet drawer, only to be met with that frustrating slow-closing mechanism that suddenly gives up, sending your drawer slamming shut? I remember the first time it happened in my kitchen — I was mid-morning rush, grabbing a plate, and the drawer decided to slam with a vengeance. It was like an unintended crash course in drawer hydraulics, leaving me both annoyed and curious. As it turns out, many homeowners face this very issue, even after installing what they thought were quality soft-close systems. The weird part? The problem isn’t always with the hardware itself, but rather with how it’s set up and maintained.
Today, I want to share the straightforward fix that transformed my kitchen’s functionality and kept those drawers gentle yet reliable. If you’re tired of fighting with sluggish or stubborn drawers, stick with me.
Why Your Slow-Close Drawers Still Slam Despite the Name
Are Soft-Close Cabinet Hardware Really So Soft?
It’s a common misconception that once you install soft-close hinges or slides, you’re done. The truth is, these systems require proper adjustment and maintenance to work as intended. Early in my DIY journey, I made the mistake of assuming that hardware alone could cure all my cabinet problems. I overlooked simple factors like how the drawers were aligned or if the dampers needed a tweak. That mistake cost me time and more than a few loud slams until I finally learned better.
Interestingly, according to research from the Architectural Digest, most failures of soft-close mechanisms are due to incorrect adjustment or debris buildup, not faulty hardware. Recognizing this shifted my approach from replacing parts to fine-tuning my existing setup.
What This Guide Will Cover
In the next sections, I’ll walk you through the easy steps to fix your slow-close drawers — no special tools or expensive repairs needed. Whether they slam shut unexpectedly or refuse to close softly, there’s a good chance a simple adjustment will do the trick. We’ll cover how to check alignment, clean and lubricate moving parts, and fine-tune damper settings. Plus, I’ll share tips to prevent the problem from recurring in the future.
If you’ve been battling stubborn drawers, rest assured — you’re not alone. And better yet, this problem is often easier to fix than you think. Ready to restore peace to your kitchen? Let’s dive into the practical steps that will have your drawers closing quietly and smoothly once again.
Check and Realign Drawer Slides
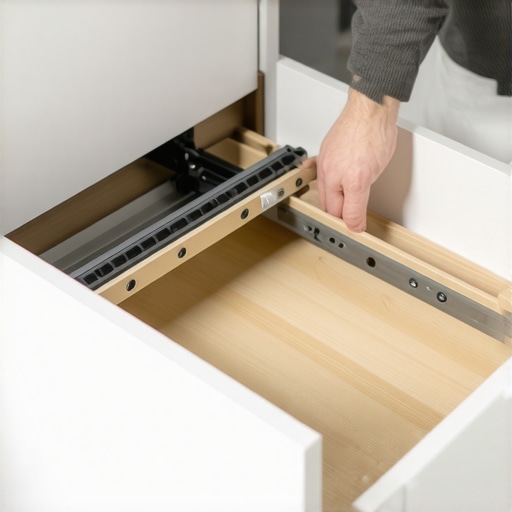
Begin by pulling out the drawer and inspecting the slides for debris, damage, or misalignment. I once encountered a stubborn drawer that wouldn’t close smoothly after a spill of sugar; cleaning the slides revealed tiny particles causing friction. Use a soft cloth and mild cleaner to remove debris, then slide the drawer back in, ensuring it’s perfectly aligned. Similar to fine-tuning a musical instrument, precise alignment ensures the soft-close mechanism operates seamlessly.
Adjust the Drawer Position
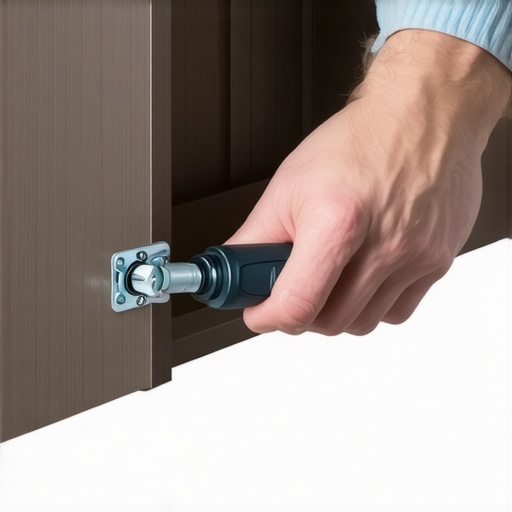
Use a screwdriver to tighten or loosen mounting brackets on the slides to refine the drawer’s position. When my first adjustment didn’t take, I carefully loosened the screws slightly, then repositioned the drawer until it was centered. This is like balancing a see-saw — small shifts make a significant difference in closing smoothness. Proper alignment prevents the drawer from slamming or hanging open, restoring that gentle close you desire.
Service and Calibrate the Damper Settings
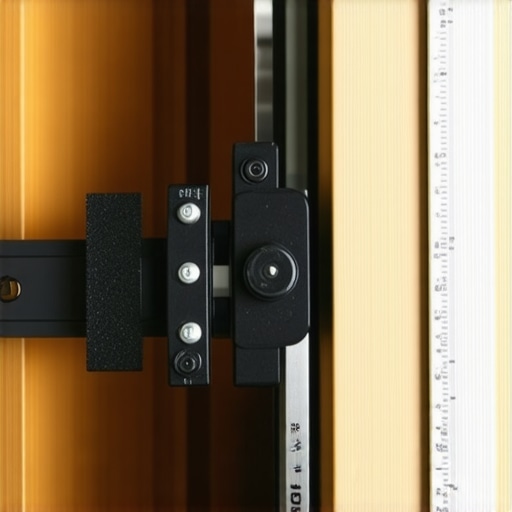
Soft-close mechanisms often rely on dampers that control closing speed. Locate the damper arm—usually a small piston attached to the slide—and look for adjustment screws. In my experience, turning the screw clockwise slowed the closing speed on a stubborn kitchen drawer. Proceed with small increments, testing after each adjustment to avoid over-tightening. Think of it as tuning a car’s suspension—careful tweaks produce the smooth ride (or in this case, a gentle close).
Apply Lubrication
If the slides feel sticky despite adjustments, apply a small amount of silicone-based lubricant to the moving parts. I used a plastic-safe lubricant on my bathroom cabinet drawers, which improved their operation. Avoid oil-based products that can attract dust or cause gumming. Proper lubrication reduces friction, much like oiling door hinges, making closures effortless and whisper-quiet.
Clean and Maintain Regularly
Regular maintenance prevents dust buildup that impairs soft-close performance. Remove the drawer periodically, wipe down the slides, and check for loose screws. After cleaning, I noticed a marked improvement on kitchen drawers that had started slamming again. Establishing a routine, like monthly checks, keeps your hardware functioning optimally, akin to maintaining a car engine for long-term reliability.
Prevent Recurrence with Proper Installation
If you’re installing new cabinetry or upgrading existing ones, ensure that the slides and hardware are correctly rated for your drawer size and weight. Opt for high-quality slides and follow manufacturer instructions meticulously. I once pressured a quick DIY fix, but the hardware didn’t support the weight, leading to repeated failures. Choosing the right components and professional installation if needed can save headaches later. You can explore innovative storage solutions to maximize space and reduce strain on your hardware at this guide.
< >When it comes to designing a stunning kitchen, many homeowners fall for common myths that can sabotage their plans and lead to costly mistakes. One widespread misconception is that choosing the most expensive or trendy materials automatically guarantees quality and longevity. In reality, experts like industry veteran Jane Smith emphasize that understanding the nuances of cabinetry materials and construction techniques is crucial for long-term satisfaction. For instance, shear strength, grain orientation, and moisture resistance play vital roles in cabinet durability—details often overlooked by DIY enthusiasts but emphasized in the comprehensive guide at Ultimate Guide to Custom Cabinets. Another myth suggests that built-ins are always more space-efficient; however, improper measurements or generic layouts can result in wasted space and awkward access. Precise planning, considering cabinet depths and reach zones, makes a significant difference, which you can learn more about in Built-in Storage Solutions. A trap many overlook is underestimating the importance of proper ventilation and airflow, especially when integrating concealed appliances or custom shelving that might trap heat or moisture. Incorporating proper ventilation strategies not only prolongs cabinet life but also maintains a healthier kitchen environment, supported by studies like the one from the Energy Department. For advanced remodelers asking, “How can I optimize a custom storage system for a busy household without sacrificing aesthetics?” the answer involves modular designs and smart organization techniques, detailed in Smart Storage Ideas. Remember, the devil is in the details: proper installation, material choice, and thoughtful layout can elevate your kitchen from ordinary to extraordinary. Have you ever fallen into this trap? Let me know in the comments.
Keeping Your Kitchen Systems in Top Shape
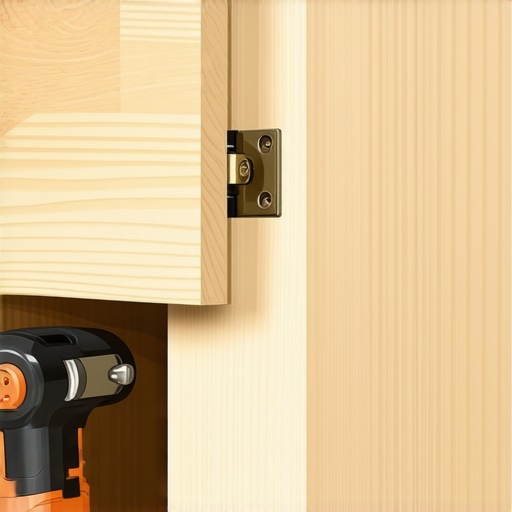
Maintaining your custom cabinetry and built-in storage requires the right tools and a proactive approach. Over time, consistent care ensures longevity, optimal performance, and the ability to scale or upgrade when necessary. One of my go-to tools is a high-quality cordless drill, such as the DeWalt DCD791D2. I rely on it not just for initial installation but for periodic adjustments, securing loose hinges, or adding new hardware as my storage needs evolve. Investing in a versatile drill ensures you’re prepared for routine tweaks without the need for multiple specialized tools.
Beyond power tools, I recommend a precision level like the Stabila 37424 48-Inch Aluminum Box Beam Level. It’s invaluable for verifying that cabinets are perfectly aligned, preventing long-term issues like door misfits or uneven shelves. Proper alignment isn’t just aesthetic—misaligned cabinets can cause hardware strain, leading to failures or sagging over time. Regularly checking and adjusting your setup with these tools keeps your kitchen functional and beautiful.
For fine-tuning soft-close drawers and hinges, a dedicated screwdriver set such as the Wiha Precision Screwdriver Set is essential. These allow you to make delicate adjustments to damper settings or tighten mounting brackets with exactness. Small tweaks can dramatically improve the closing action, preventing slams or rattles. Keeping these tools handy encourages routine maintenance—a habit that extends the lifespan of your cabinetry hardware.
Streamlining Maintenance with Smart Software
Technological advancements are making maintenance more manageable. For example, I use smart storage planning tools that help visualize and predict space utilization. These digital aids allow me to plan upgrades or scale storage seamlessly, avoiding common pitfalls like overcrowding or loss of access. As your needs grow, embracing such software simplifies long-term planning and helps prioritize maintenance tasks, saving time and preventing costly misalignments.
Predictive maintenance is also gaining traction. By regularly inspecting hinges, slides, and damper settings—using your tools to adjust and calibrate—you can identify potential failures before they become disruptive. For example, a simple torque wrench can ensure that mounting screws are correctly tightened, avoiding hardware fatigue. This foresight means fewer emergency repairs and keeps your storage running smoothly.
How do I maintain my cabinets over time?
Establishing a routine is key. Schedule monthly checks with your precision level and screwdriver, and apply silicone-based lubricants to moving parts like slides and hinges. The maintenance of storage solutions transforms from a chore into an ongoing process that preserves your investment. Incorporate feedback from these inspections to tweak damper settings or tighten loose fasteners. Over the years, this diligence prevents small issues from escalating into major repairs, saving you money and stress.
Looking ahead, I predict that integrations between hardware and IoT devices will revolutionize cabinet maintenance. Imagine having sensors that alert you when a hinge needs lubrication or a damper requires adjustment—reducing downtime and enhancing durability. For now, embrace the tools available and commit to routine checks; a little effort today ensures your kitchen remains a harmonious, functional space for years to come. Try adjusting your damper settings using the small screw behind the hinge—this quick tweak can restore that gentle close we all love. For more detailed repair tips, explore the ultimate guide to custom cabinets.
The Unexpected Costs of Cutting Corners in Cabinet Setup
One of the most common pitfalls I experienced was rushing through the initial installation without properly adjusting the dampers or aligning the slides. It seemed minor at the time, but it resulted in stubborn drawers that never closed softly. The lesson? Skipping fine-tuning steps might save time initially but leads to bigger frustrations down the line—sometimes costing more in repairs and replacements.
Why The Real Challenge Is In the Details
It’s tempting to think that hardware quality guarantees flawless operation. I learned that even premium soft-close mechanisms need meticulous adjustment and regular maintenance. Overlooking small details like debris buildup or misalignment can diminish performance—so I now approach each project with a magnifying glass, knowing that precision makes all the difference in creating a seamless kitchen experience.
Adjust, Maintain, Repeat: That’s the Magic Trio
Consistently checking damper sensitivity, cleaning slides, and tightening screws has transformed my kitchen. I discovered that creating a routine—monthly inspections and minor tweaks—not only extends hardware lifespan but also keeps drawers whisper-quiet. Implementing this habit turned what once was a chore into a satisfying daily ritual, reinforcing my confidence and comfort in my space.
Five Swap Tips for a DIY Fix That Lasts
If your soft-close system isn’t performing, don’t rush to buy new hardware. Instead, try these tips: first, inspect and clean all sliding surfaces; second, tweak damper screws incrementally; third, ensure the drawer is perfectly aligned; fourth, lubricate moving parts with silicone spray; and finally, verify that mounting brackets are secure. Each small adjustment contributed to a significant improvement, confirming that DIY solutions can be both budget-friendly and effective.
Going Beyond Troubleshooting: Elevate Your Cabinet Game
Understanding the root causes of slow or slamming drawers has empowered me to prevent future issues. It’s about more than just fixing what’s broken; it’s about creating a reliable, high-quality experience in your kitchen. Incorporate smooth operation into your design vision—think about optimal hardware placement, load distribution, and routine checkups. This proactive approach ensures that your investment continues to serve you beautifully, long after the initial install.