How to Balance a Kitchen Island That Feels Wobbly on Hardwood
I remember the first time I hosted a dinner party and suddenly heard that dreaded wobble of my kitchen island every time someone leaned on it. It was embarrassing and frustrating all at once. That lightbulb moment made me realize just how annoying a shaky island can be—especially on hardwood floors where stability isn’t always guaranteed. If you’ve ever felt that nervousness about the ground beneath your feet when you’re chopping or entertaining, you’re not alone. Many homeowners face the same dilemma: how to make a kitchen island that feels rock-solid and reliable.
Why Your Kitchen Island Wobbles and Why It Matters
Before diving into fixes, it’s important to understand why this wobbly trouble happens. Often, it’s not just an issue of uneven subfloors or poorly installed bases. Sometimes, the problem lies in the way the island was initially built or installed. For instance, irregular floor surfaces or shifts over time can make even the sturdiest islands feel unsteady. More importantly, a wobbly island isn’t just annoying; it can be a safety hazard and even damage your flooring. Think about the pressure and movement when multiple people gather around it—that wobbling can cause scratches or worse, trip hazards.
Luckily, there’s good news. With a little patience and the right approach, you can restore stability to your kitchen island. Plus, knowing how to fix this problem gives you peace of mind during family dinners or when entertaining guests. And if you’re planning a remodel or addition, considering these fixes early can save you a lot of headaches later. For more ideas on maximizing space and improving functionality, check out space-saving storage solutions.
Are you afraid that fixing your island will be too complicated or costly?
It’s a common worry, especially if you’re not a DIY pro. I made the mistake early on of trying a quick fix that only made matters worse, underestimating the importance of checking the foundation first. Trust me, proper diagnosis is key to a lasting solution. We’ll explore simple, effective techniques to get your island steady without breaking the bank or needing professional help (unless you want it!).
Now that we’ve set the stage, let’s look at how you can manually stabilize your wobbly kitchen island on hardwood floors with straightforward steps that truly work.
Identify the Root Cause of Wobbliness
Start by inspecting your kitchen island closely. Place a level on top to check for unevenness. If it wobbles not because of an uneven floor but due to unstable legs or base, you’re looking at a straightforward fix. Remember, a wobbling island isn’t just annoying; it can cause damage and pose safety risks. Last summer, I noticed mine shaking every time we gathered around, which prompted me to double-check the structure. The culprit was loose screws and uneven supports beneath.
Secure Loose Components
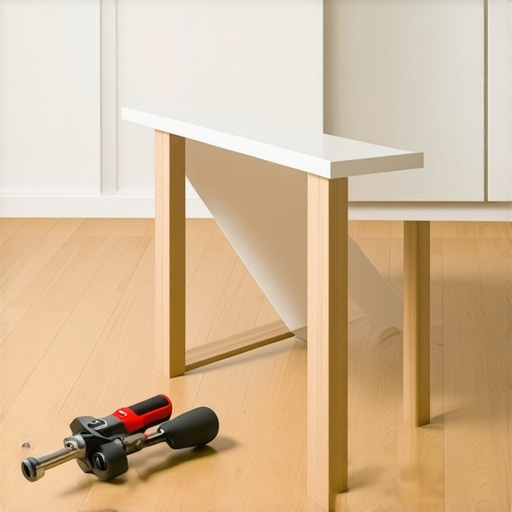
Begin by tightening all visible screws and bolts. Use a screwdriver to ensure they’re snug, but don’t overtighten, which can strip the threads. For my island, I started with the corner supports; once I tightened those, stability immediately improved. Consider replacing any stripped or damaged screws with new ones of the same size. This quick step often restores much of the stability without additional work.
Adjust or Add Support Blocks
If tightening doesn’t fully stabilize the island, add support blocks or shims. Shims are thin pieces of wood or plastic that fill gaps and level uneven supports. Slide a shim under a sagging or uneven leg at the base. For a robust fix, I used scraps of hardwood cut to size, inserting them between the leg and the floor, then securing with screws. This approach is like giving your island a custom-precision foundation, much like how custom cabinets enhance overall stability and aesthetic.
Reinforce the Base Frame
Sometimes, the frame supporting your island can become loose or warped. To reinforce, disconnect the top if possible, then add corner braces or metal L-brackets at support joints. Use a drill and screws to fix these brackets firmly in place. When I did this in my kitchen, I found that adding metal supports at the corners made a substantial difference. Think of it like reinforcing the frame of a built-in—solid supports prevent future wobbles and extend durability.
Ensure Even Floor Contact
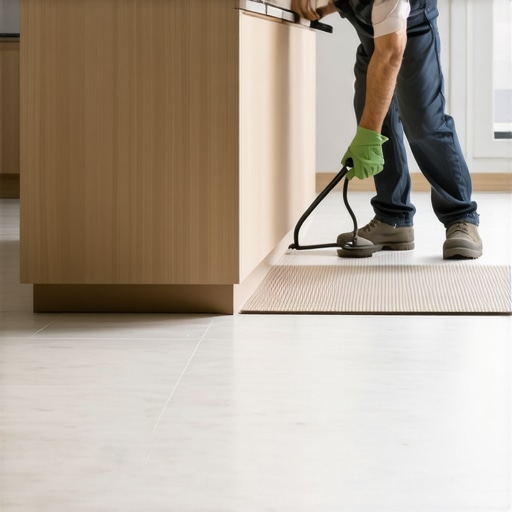
Check if your hardwood floor has high or uneven spots. Use a small level or a straight edge across the feet of your island. If necessary, sand down high spots or place shims under the legs to compensate. In my case, I discovered a slight incline at one corner; a few shims under that leg completely stabilized the structure. This process is akin to ensuring your cabinet installation has a perfectly flat mounting surface, preventing future issues.
Test and Fine-Tune
Once you’ve made adjustments, test the island’s stability by applying gentle pressure and observing any movement. If it still wobbles, revisit your supports and tighten or add shims as needed. Always recheck with your level. My first attempt was a bit uneven, so I kept fine-tuning until the island felt immovable—shielding my family from that nerve-wracking wobble every time we cooked or conversed.
Prevent Future Wobbling
Consider anchoring your island to the wall or floor for added stability, especially if the floor shifts over time. Using L-brackets or floor anchors can keep everything in place long-term. Also, periodically inspect supports and fasteners, especially in homes with shifting foundations or seasonal changes affecting floor levels. This proactive approach is like maintaining the integrity of custom cabinetry to avoid issues down the line.
While many believe that selecting high-end materials or trendy styles guarantees a perfect built-in or custom cabinet, the real magic lies in understanding the hidden nuances of craftsmanship and installation. One widespread myth is that all custom cabinets are inherently superior, but in my experience, poorly executed craftsmanship can undermine even the most luxurious designs. As expert cabinet makers emphasize, factors like proper scribing to irregular wall surfaces and moisture control are often overlooked, leading to warping and misalignment over time. This oversight is especially critical in high-humidity zones where the wrong choice of wood species or finish can cause warping or yellowing, highlighting the importance of expert advice in material selection. Furthermore, many overlook the significance of accessibility and future-proofing in their storage solutions, which can result in inconvenience and the need for costly reconfigurations later. For instance, integrating smart storage solutions designed specifically for small or awkward spaces, such as blind corner pull-outs, can dramatically improve functionality and space usage. Interestingly, some homeowners try to save costs upfront by opting for MDF or particleboard in areas exposed to moisture or heavy use, but studies show that high-quality plywood or HMR-grade MDF significantly outperforms these cheaper alternatives in durability and longevity.
Why Do So Many Built-Ins Fail to Live Up to Expectations?
The answer partly lies in the execution phase. Without meticulous measurement, proper anchoring to structural supports, and adjustments for wall irregularities, even the most carefully designed unit can wobble or develop gaps. This is why I always recommend inspecting the installation process and consulting with experienced craftsmen—it’s an investment in long-term performance. Don’t fall prey to the trap of assuming all custom solutions are equal; seek out experts who understand the advanced details that truly matter, such as load-bearing considerations and finishing techniques that resist fingerprinting and staining. For further insights into designing functional, stylish built-ins, review our [built-ins that elevate your living space](https://artisancabinetworkz.com/built-ins-that-elevate-your-living-rooms-functionality) and avoid costly mistakes. Remember, a well-designed space isn’t just about aesthetics—it’s about meticulous planning and execution that stand the test of time. Have you ever fallen into this trap? Let me know in the comments.
Investing in Precision Tools for Long-Lasting Results
Maintaining custom cabinetry and built-ins requires more than just good intentions; it demands the right equipment. I personally rely on a high-quality electric screwdriver with adjustable torque settings, which prevents stripping screws during frequent adjustments or repairs. Additionally, a digital level with a magnetic base ensures perfect alignment of cabinets and supports, protecting your investment over time. For fine-tuning hinges and drawer slides, I use a specialized hinge alignment tool that allows me to make precise adjustments without guesswork. These tools have become staples in my toolkit, significantly reducing the time and effort needed for routine maintenance and minor repairs.
Establishing Routine Checks and Upkeep
Creating a regular maintenance schedule keeps your cabinets and storage solutions operating smoothly. Every six months, I evaluate the integrity of fasteners, inspect for signs of warping, and clean hinges and tracks with manufacturer-approved lubricants. A gentle wipe-down with a microfiber cloth removes dust and fingerprints, preserving the finish and preventing buildup that could impair functionality. By catching issues early—like loose screws or misaligned doors—you prevent costly repairs later and extend the lifespan of your custom features. Think of it as preventative healthcare: proactive care saves money and stress in the long run.
Using Software to Track Maintenance Tasks
For larger projects or multiple installations, I recommend using a dedicated project management app to record maintenance routines and schedule upcoming checks. I personally use a custom spreadsheet that logs each cabinet’s install date, component age, and last service. This practice helps me stay organized, ensuring no detail is overlooked. Modern tools like digital checklists, reminders, and even smartphone apps dedicated to home maintenance can streamline this process, making upkeep as effortless as possible. As the industry evolves, I predict that integrating smart home technology—like IoT sensors that monitor humidity levels or track hinge activity—will become standard, providing real-time alerts before problems occur.
How do I keep my custom cabinets and built-ins functioning well over time?
Besides routine inspections and using the right tools, consider preventive measures like installing automatic door closers or soft-close dampers that reduce wear and tear. When I upgraded my kitchen, I added soft-close hinges and pull-out support arms, which not only improved operation but also extended component life. These small upgrades can dramatically impact durability and user experience. For in-depth advice on selecting hardware that resists fingerprints and stains, visit our guide on hardware finishes. Practice regular cleaning with suitable products, and avoid using abrasive cleaners that can damage delicate finishes. By combining consistent maintenance with quality hardware, you can ensure your custom features stay beautiful and functional for years to come.
In the coming years, expect technological innovations to further simplify maintenance, such as smart sensors that alert you to humidity fluctuations or component failures before they cause damage. Embracing these advancements now can provide peace of mind and preserve your investment. For example, exploring smart storage innovations can revolutionize how you monitor and manage your kitchen’s condition.
Take time today to try implementing a monthly inspection routine with your favorite screwdriver and level. Small, consistent efforts go a long way in maintaining your beautiful, functional kitchen space. Remember, proper care and the right tools are key to preserving both aesthetics and performance for years to come.
Over the years, I’ve discovered that the key to a truly cohesive and functional kitchen space isn’t just about selecting the right materials or trendy designs. It’s about understanding the nuanced details that elevate built-ins and custom cabinets from ordinary to extraordinary. Sharing these insights can save you time, money, and future frustration—trust me, it’s worth the deep dive.
Lessons the Hard Way: Crafting Built-Ins That Last
- Precision Matters More Than You Think: Rushing the measurement or field adjustments often leads to inconveniences or, worse, costly rework. In my experience, taking the extra time to double-check every dimension, especially around irregular wall surfaces, makes all the difference.
- Quality Hinges and Hardware Are Non-Negotiable: Cheap hardware might save you money upfront, but it quickly shows its faults with misalignment and wear. Investing in high-grade finishes and hardware that resist fingerprints and staining keeps your cabinets looking pristine longer, simplifying upkeep.
- Moisture Control Is Critical: High humidity zones demand the right choice of wood species and finishes. I once learned this the hard way when I installed MDF in a damp laundry area—yellowing and warping followed. Now, I prefer high-quality plywood or moisture-resistant MDF for longevity.
Tools and Resources That Changed My Approach
- Specialized hardware finishes—a game-changer for durability and aesthetics.
For me, selecting hardware that resists fingerprints has significantly reduced cleaning time. - Blind-corner pull-outs—they unlock storage space and accessibility that I didn’t realize I was missing. These solutions maximize every inch of your kitchen, especially in tight spaces.
- Pocket doors and hardware tools—helping me fine-tune and adjust doors with precision. Having the right tools makes ongoing maintenance straightforward and stress-free.
Believe in the Power of Thoughtful Craftsmanship
Building or renovating your kitchen is an emotional journey, blending functionality, style, and personal expression. The more I learned about the intricacies of custom cabinetry, the more I appreciated the importance of working closely with skilled craftsmen who understand the nuances—like proper scribing, moisture considerations, and finish application. It’s tempting to cut corners, but doing so often costs more in the long run.
So, I urge you to prioritize quality and expertise, consider innovative storage solutions, and stay proactive with maintenance. These strategies aren’t just about aesthetics—they are investments in durability, safety, and peace of mind that will make your kitchen a true sanctuary.
Step Into Your Kitchen’s Full Potential Today
Transforming your space with well-crafted built-ins and cabinets isn’t just about aesthetics—it’s about creating a functional, safe, and beautiful environment that lasts. Embrace the process, invest in the right tools and materials, and don’t shy away from expert advice. Your dream kitchen is within reach, and every detail counts.
Have you ever been surprised by overlooked details in your custom cabinets or storage solutions? Share your experience below—your story might inspire someone else to avoid the same pitfalls!