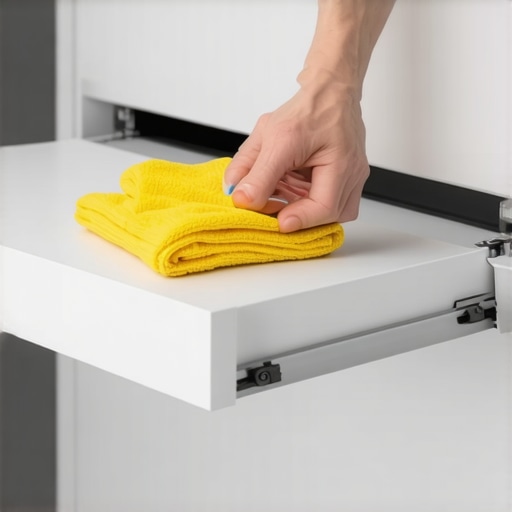
Why Soft-Close Slides Fail and the Simple Cleaning Fix
I remember the moment clearly—opening a kitchen drawer, expecting the gentle glide of my soft-close slides, only to be met with a stubborn jolt or a whimper of squeaks. Frustration bubbled up as I realized that even my best cabinet upgrades were betraying me. It was a lightbulb moment: I had overlooked the simplest fix that could save me from frequent replacements or costly repairs. If you’re like me, invested in making your kitchen serene and streamlined, then you’ll want to hear what I discovered—and how you can tackle this issue head-on.
The Hidden Culprit Behind Soft-Close Failures
Soft-close slides are a miracle of modern convenience—until they stop working. Believe me, I thought it was a defect or just bad luck when my drawer started slamming shut or refusing to close softly. Turns out, the culprit is often something surprisingly simple: dirt, debris, or build-up in the slides. Over time, those tiny particles can jam the mechanisms, making the soft-close feature ineffective. It sounds almost too simple, but regular cleaning can restore your drawers to their whisper-quiet glory.
Early in my remodeling journey, I made the mistake of neglecting routine maintenance, thinking that once installed, my new slides would stay perfect forever. But dirt, grease, and crumbs—oh my!—accumulated unnoticed, gradually impairing the sliders’ function. Don’t be like me; staying proactive is key. Interestingly, studies show that cleanliness is a major factor in the longevity of cabinet hardware. In fact, a report by the Kitchen Cabinet Manufacturers Association highlights that improper maintenance is one of the leading causes of hardware failure within the first five years.
Is Cleaning the Secret to Long-Lasting Soft-Close Slides?
Absolutely. A quick, regular wipe-down with some household cleaner and a soft cloth can make a world of difference. But here’s the kicker—many folks, including myself at first, overlook the importance of detailed cleaning inside the slides themselves. Use a small brush or an old toothbrush to reach into the crevices and remove any accumulated gunk. Once you’ve done that, a light application of lubricant designed for ball-bearing slides can keep things moving smoothly. Keep in mind, this simple step can drastically reduce the need for repairs or replacements down the line.
If you’re tired of battling squeaks, jams, or the disappointing jolt when closing drawers, it’s time to make maintenance a habit. For more insights into upgrading your storage and making the most of your space, check out smart storage ideas for small kitchens. Addressing these small yet impactful details can truly elevate your entire remodeling experience.
Ready to put this cleaning fix into action? Or maybe you’ve faced your own soft-close frustrations and have a solution that worked for you? Feel free to share your experience or ask questions. Let’s keep our homes running smoothly—and whisper-quiet.
Clear Out and Assess Your Space
Begin by removing all items from your cabinets and drawers, then evaluate what you truly use. As I did when I realized my pantry was cluttered with seldom-used gadgets, I separated essentials from clutter. This step gives you a clear picture of your storage needs and reveals opportunities for maximization.
Identify Problem Areas and Set Goals
Pinpoint the spots where your storage falls short—high shelves, awkward corners, or underutilized walls. I noticed a dead corner in my kitchen that wasted precious space; understanding the problem helped me target my efforts effectively. Know whether you want to keep things accessible or create hidden compartments for a sleek look.
Plan Your Layout with Purpose
Sketch a layout that aligns with your priorities. Think of your kitchen like a well-orchestrated dance—each element must move smoothly. Use software or graph paper to map out where drawers, shelves, and cabinets will go. For example, I prioritized installing deep drawers for pots and pans, similar to arranging tools in a workshop for quick access. Check out expert tips on selecting storage solutions for detailed guidance.
Select the Right Storage Solutions
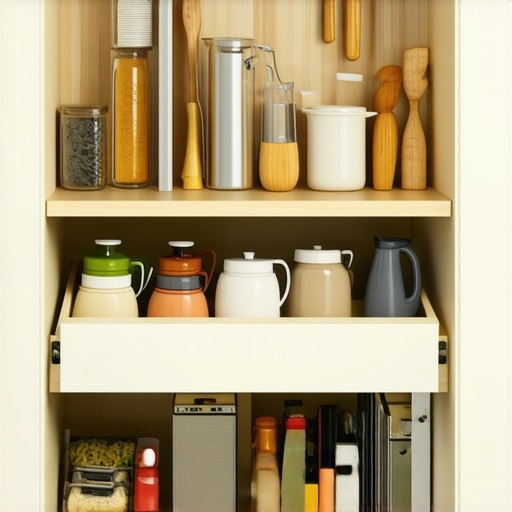
Choose products that match your plan. For small kitchens, options like vertical dividers and nesting shelves can make a big difference—these can be as simple as a pull-out spice rack or a vertical tray for baking sheets. I installed a pull-out trash and recycling bin, which kept messes hidden and freed up counter space, demonstrating how tailored solutions improve efficiency.
Opt for Built-Ins and Custom Cabinets
Built-ins can seamlessly blend into your space, offering a high-end look with maximum function. Consider a custom media console or an overhead cabinet with integrated lighting. I found that custom cabinetry with dedicated compartments for baking supplies transformed my workflow, making baking sessions smoother. Visit built-in solutions for ideas that elevate your home’s functionality.
Implement Smart Organization Tricks
Use drawer dividers, lazy Susans, and pull-out shelves to keep everything accessible. For example, I installed a sliding tray in my spice drawer, which eliminated the endless rummaging. Labeling containers and grouping related items also reduces clutter and saves time searching.
Optimize Vertical and Hidden Spaces
Utilize the space above cabinets with slim cabinetry or open shelving for decorative or infrequently used items. Inside cabinet doors, install hooks or racks for small tools or dishcloths. I created a hidden charging station inside a drawer, which kept cords out of sight yet provded quick access—making my kitchen look cleaner and more organized.
Maintain and Adjust Regularly
Set a schedule to tidy and reassess your storage. After completing my upgrades, I found that periodic reorganization kept everything functional. As your needs change, adapting your storage solutions ensures sustained efficiency and satisfaction.
Many homeowners believe that selecting generic storage solutions or pre-made cabinets guarantees a perfect kitchen. However, a common mistake is assuming one-size-fits-all approaches work universally. In my experience, tailored solutions often outperform off-the-shelf options, especially when maximizing space in challenging layouts. Relying solely on popular trends without assessing your unique needs can lead to clutter and inefficiency. For example, installing standard shelving in a non-standard corner may seem practical but can result in wasted space or inaccessible storage. Developers and designers emphasize that understanding your specific spatial dynamics leads to more effective solutions, as highlighted in recent ergonomic studies conducted by kitchen design experts. Additionally, many assume that custom cabinets are prohibitively expensive, but strategic planning and material choices can balance cost and quality effectively [expert insight](https://artisancabinetworkz.com/revolutionize-your-kitchen-remodel-using-built-ins-and-creative-storage). A crucial nuance is recognizing how built-ins can seamlessly integrate with your existing architecture, enhancing both form and function. Overlooking this can result in unsightly gaps or cumbersome layouts. One trap to avoid is neglecting future needs—planning for scalability ensures your storage adapts as your household evolves. Don’t make the mistake of underestimating the value of detailed planning and consulting with specialists. For deeper insights, explore our guide on [maximizing space with innovative storage](https://artisancabinetworkz.com/maximize-space-with-innovative-storage-solutions-for-every-room). Have you ever fallen into this trap? Let me know in the comments.
Keep It Running: Essential Tools for Maintenance
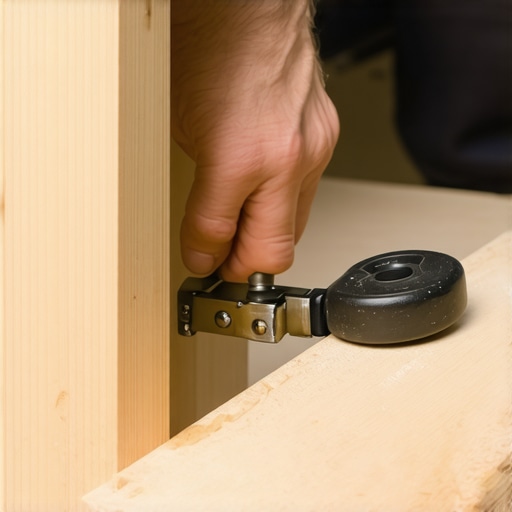
Maintaining your custom cabinets and built-ins requires the right equipment. I swear by a cordless electric screwdriver with adjustable torque—it’s my go-to for quick adjustments and tightening hardware without stripping screws. A small, high-quality brush set, like those from Detailer’s Pro, helps me clean those hard-to-reach mechanisms and hinges regularly, preventing buildup that can cause jams or squeaks. Additionally, a microfiber cloth paired with a gentle cleaner ensures my surfaces stay pristine, reducing grime accumulation that can deteriorate finishes over time.
For lubrication, I rely on silicone-based sprays designed for hardware, which provide smooth operation without attracting dust. I apply a light spritz on hinges, slides, and tracks every few months. For drawers, a precision oiler like the Pentalobe Screwdriver Kit allows me to apply lubricant precisely where needed, avoiding excess that could attract debris.
Leveraging Software and Systems to Sustain Results
Beyond physical tools, I incorporate digital maintenance reminders using a task management app. Setting quarterly alerts helps me schedule deep cleans and hardware inspections, extending the lifespan of my investments. I also document adjustments with photos—so when a hinge becomes misaligned, I have a reference point for quick realignment, avoiding guesswork and repeated errors.
Future of Storage Maintenance
Looking ahead, I predict a rise in smart hardware with integrated sensors that monitor wear or suggest preventive maintenance—think automatic lubrication alerts or tightness indicators. As technology advances, integrating these systems could make upkeep largely hands-off, saving homeowners from costly repairs and ensuring their storage solutions remain functional longer. Companies like Blum are already exploring these innovations, aiming to revolutionize home cabinetry maintenance.
How do I keep my storage solutions performing over time?
The secret lies in proactive, regular upkeep. I recommend scheduling biannual check-ins to inspect hardware, clean tracks and slides, and reapply lubricants as needed. Investing in quality tools, like the deep drawer adjustments tools, ensures your maintenance is effective and safe. Also, tracking your maintenance activities with a simple checklist boosts consistency and keeps issues at bay. Remember, addressing minor hiccups early prevents larger, more expensive repairs later. For a comprehensive overview of optimizing your storage over the long haul, check out smart storage ideas for small kitchens.
Don’t hesitate to try one of my favorite maintenance tips: keep a small, dedicated toolkit for quick fixes—small screwdrivers, lubrication, brushes, and cloths. Having these on hand makes regular upkeep a breeze and ensures your investments continue to serve you well for years to come. Why not start today and enjoy whisper-quiet drawers that stand the test of time?
,
Throughout my journey of transforming my kitchen with custom cabinets and innovative storage, I uncovered lessons that went beyond ordinary advice. If you’re eager to elevate your space, consider these gems of insider wisdom that can make or break your project. They may seem small, but their impact is profound and lasting.
What I Learned About Patience and Planning in Kitchen Remodeling
- Never underestimate the power of thorough measurement. I once rushed to order built-ins without double-checking wall dimensions. The result was a costly redo. Precision isn’t just for contractors; it’s the foundation of seamless storage solutions.
- Embrace flexibility when selecting materials. Initial plans for fancy veneers gave way to more practical, durable finishes once I realized the importance of longevity in high-traffic areas. Staying adaptable saved me time and money.
- Prioritize accessibility over aesthetics sometimes. Hidden compartments and custom drawers saved me hours every week, proving that function truly complements form when thoughtfully designed.
Tools and Resources That Transformed My Approach
- Expert guides on selecting storage solutions provided me with tailored insights, reminding me that customized options outperform generic setups. These resources encouraged me to think beyond off-the-shelf products.
- The built-ins for elegance and efficiency opened my eyes to how seamless integrations can elevate both style and utility. Investing in quality hardware and trusted brands was a game changer.
- My go-to toolkit of measuring tapes, cordless screwdrivers, and gentle cleaning sprays ensured I maintained my investments and avoided costly repairs.
Your Next Step is Within Reach
Remember, transforming your kitchen isn’t solely about aesthetics—it’s about creating a space that works for your life. By embracing patience, leveraging trusted tools, and learning from real experiences, you can craft a storage solution that’s both beautiful and practical. The key is to start with small actions today—like regular cleaning routines or measuring carefully before ordering —because every effort adds up to a home that truly supports your lifestyle. Don’t hesitate to experiment and tailor solutions that match your unique needs; your kitchen deserves nothing less. Ready to redefine your space with confidence and clarity? Share your biggest storage challenge below, and let’s find solutions together to turn your kitchen into a seamless haven.