How to Level Base Cabinets on a Sloped Tile Floor
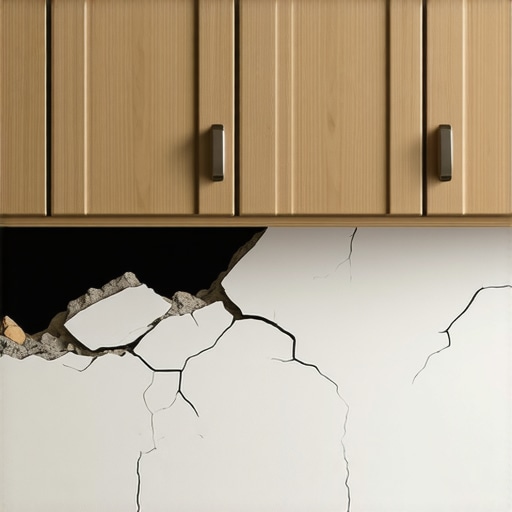
It was one of those mornings when I finally decided to tackle my kitchen remodel. As I stood there, staring at the newly installed tile floor, my heart sank. The base cabinets I had meticulously ordered and installed earlier suddenly seemed crooked, their uneven feet glaringly obvious. That moment of realization hit hard—my beautiful new kitchen was not as perfect as I imagined, and I had to figure out how to level those stubborn cabinets without busting my budget or pulling out my hair.
Turning the Frustration into a Learning Opportunity
Dealing with sloped floors is a common headache in kitchen renovations, especially when trying to install level cabinetry on uneven surfaces. I quickly learned that this challenge isn’t unique to my project; many homeowners and DIY enthusiasts face similar hurdles. The key is understanding that a slight slope doesn’t mean you’re doomed to crooked cabinets or shoddy finishes. Instead, it offers an opportunity to develop quick, effective solutions that ensure your cabinets sit perfectly, boosting your kitchen’s aesthetics and functionality.
But how do you navigate this tricky terrain? That’s what I want to share today—step-by-step strategies that turned my shaky start into a confident, level finish. Because believe me, with the right techniques, you can transform those crooked cabinets into a seamless, polished look, even on the most sloped floors.
Is the Fix Worth the Extra Effort or Cost?
Initially, I was skeptical. I wondered if leveling cabinets on uneven tile floors was a fuss worth getting into, or if I should just settle for a less-than-perfect result. My early mistake was assuming that shimming — the common quick fix — would only be a temporary patch. But I discovered that with proper planning and some savvy adjustments, shimming can be a durable, aesthetically pleasing solution. In fact, I found that many professionals recommend investing in a solid understanding of leveling techniques to avoid future issues. For instance, misaligned cabinets can lead to uneven doors and drawers, making your kitchen look amateurish and potentially causing functional issues.
Before that lightbulb moment, I also underestimated the importance of precise measurement and selecting the right shims. A small oversight early on can turn into big problems later. Learning from those missteps helped me gain confidence — and taught me valuable lessons I want to pass along to you.
So, if you’ve ever faced a wobbly cabinet or wondered whether those uneven tiles are a curse or a chance for clever fixes, keep reading. We’re about to dive into practical, tried-and-true methods that will have your cabinets sitting perfectly in no time, regardless of that imperfect floor underneath.
Start with Precise Measurements and Markings
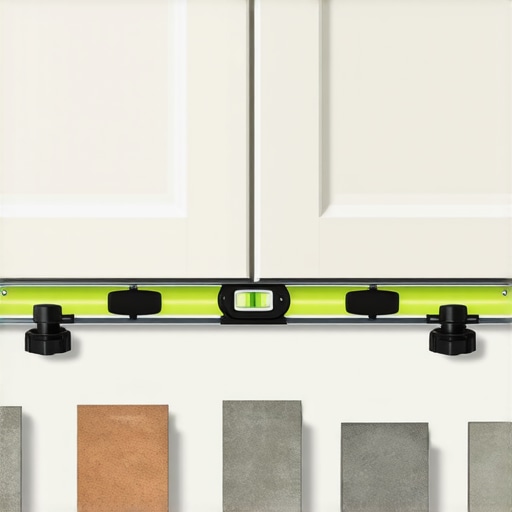
In my own project, I laid out a simple chalk line along the base of the cabinets, marking the highest point of the uneven floor. This served as my reference for leveling. Use a long, straight level and a measuring tape to identify how much each corner varies from true level. For example, I found one corner was 1/4 inch lower than the other, which informed how much shims I needed underneath.
Identify High and Low Spots
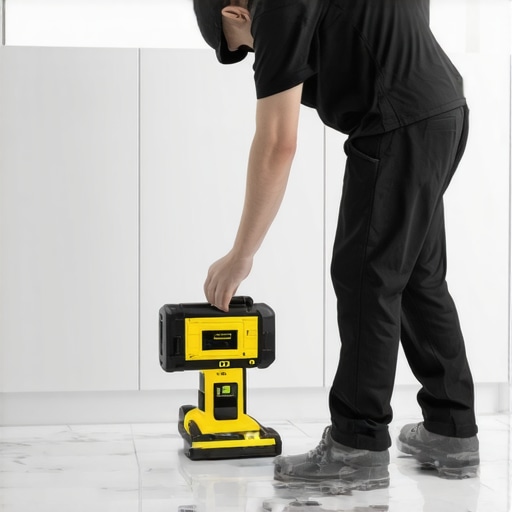
Plug in a long spirit level across the top edge of the cabinet to see where it tilts forward, backward, or sideways. For my project, the front left corner was tilted downward, indicating I needed more shimming on that side. Mark these spots clearly to avoid confusion during installation.
Select and Prepare Your Shims
Choose the right shims—preferably composite or hardwood—since they resist compression over time. In my case, I used pre-cut cabinet shims and cut some from scrap hardwood for custom thicknesses. Place the shims on the floor, aligning with the marked spots. Be sure to account for the fact that shims will settle and compress slightly under pressure.
Initial Placement and Adjustment
Gently position the cabinet in place, resting it on the shims, without tightening any screws yet. Check the level again; if necessary, add or remove shims for fine adjustments. My experience was messy at first—cabinets shifted, and I had to re-position shims multiple times. Use shims that are easy to remove, such as paper shims or adjustable ones, for quick tweaks.
Secure the Cabinet Temporarily
Once the cabinet appears level, screw or clamp it temporarily to hold the position. This prevents shifting during final fastening. During my attempt, I used clamps to hold the cabinet steady while I double-checked with my level, ensuring no movement occurred while I fastened the anchoring screws.
Fasten and Reinforce with Minimal Disturbance
Secure the cabinet firmly into place, tightening the screws incrementally. Avoid over-tightening, which can warp the cabinet frame. For my project, I snugged the screws gradually, verifying the level after each turn. If any shifting occurs, loosen slightly, adjust, and retighten.
Seal and Finish
After securing, check once more with your level. Add shims as needed to fill any gaps, trimming excess with a utility knife if necessary. Finally, install the toe kick or base trim, which will hide uneven shim gaps. If you’re interested in boosting your kitchen’s storage, explore innovative storage solutions to optimize space around your custom cabinets.
Monitor Over Time
Keep an eye on the cabinets over several weeks to ensure shims don’t settle or compress further. If you notice any shifts, re-adjust the shims before finishing the trim work entirely.
 When tackling a kitchen remodel, it’s common for homeowners to focus on aesthetic choices like door styles and finishes. However, one crucial aspect often overlooked is the nuanced understanding of how custom cabinets truly function within your space. Many believe that choosing a ready-made solution or relying solely on trendy designs will suffice, but in my experience, this approach can lead to significant pitfalls down the line.
For instance, a prevalent myth is that all storage solutions are equal. In reality, custom cabinets are designed to optimize space and accessibility uniquely aligned with your home’s layout, something off-the-shelf options rarely match. Moreover, the misconception that built-ins are only about aesthetics ignores their profound impact on functionality, like integrating hidden compartments or specialized storage for small appliances. You can discover innovative ideas that balance form and function by exploring built-ins that elevate your living room’s functionality.
Are all custom cabinets worth the cost, or are there smarter ways to invest?
The truth is, many homeowners fall into the trap of over-specifying or underestimating the importance of precise measurements and material choice. Opting for premium materials without considering their impact on humidity or wear can result in cabinets that warp or peel over time. A mistake I see often is neglecting to incorporate adequate ventilation or moisture barriers, especially in humid climates. Expert advice suggests that integrating proper ventilation and selecting durable finishes can vastly extend the lifespan of your cabinetry, ultimately saving money. For more detailed guidance, check out the ultimate guide to custom cabinets.
Another key nuance is understanding the difference between standard storage and tailored solutions. For example, implementing expert tips on selecting storage solutions can turn a cluttered chaos into harmonious efficiency, especially with innovative ideas like vertical dividers or pull-out shelving that maximize every inch. Overlooking these design details often results in wasted space or difficult access, which diminishes the beauty and functionality of your renovated kitchen.
Lastly, advanced homeowners are now exploring integrated tech and smart solutions—like hidden charging stations or sensor-activated drawers—that blend seamlessly into cabinetry, preserving aesthetics while boosting convenience. These features often go unnoticed but significantly enhance daily use and long-term satisfaction. Learning to balance these nuances can elevate your remodelling from ordinary to extraordinary.
Have you ever fallen into this trap? Let me know in the comments and share your experience!
Maintaining your custom cabinets and ensuring your kitchen remodel stands the test of time requires the right tools and consistent upkeep. Over the years, I’ve learned that investing in quality equipment greatly simplifies ongoing maintenance and helps preserve the beauty and functionality of your built-ins. One tool I rely on heavily is a digital moisture meter, which allows me to regularly check for excess humidity that can warp wood over time, especially in climates with high moisture levels. Using this device, I can catch potential issues early and prevent costly repairs. Additionally, a cordless detail sander with fine grit discs is invaluable for smoothing out minor surface scratches or preparing surfaces before refinishing, ensuring your cabinets stay pristine without the mess of bulky equipment. My preferred choice is the Bosch PSM 18 LI, which offers precision and maneuverability for delicate touch-ups around hardware or intricate millwork.
The Hardest Lessons I Learned About Custom Cabinets, Kitchen Remodel, Built-ins, Storage Solutions
One of my most surprising takeaways was realizing that even seemingly small measurement errors can cascade into major alignment issues. I once assumed that shimming was just a quick fix, but I discovered that proper planning, precise measurements, and patience are essential for a professional finish. Additionally, I underestimated the importance of selecting the right materials—using high-quality shims and durable finishes has saved me countless headaches.
Tools and Resources That Changed My Approach
If you’re serious about achieving perfect cabinetry on uneven floors, I highly recommend investing in tools like a digital moisture meter to keep your wood components stable over time. My trusted toolkit also includes a quality spirit level and a set of pre-cut composite shims, which have become invaluable for quick adjustments. For further insight, I turned to authoritative guides like the ultimate guide to custom cabinets and expert tips on selecting storage solutions.
Embracing the Journey: From Challenges to Confidence
What truly drives me now is the understanding that every challenge, from crooked cabinets to uneven floors, is an opportunity to learn and improve. The process of leveling cabinets taught me patience, attention to detail, and creative problem-solving—skills that extend beyond just cabinetry. Now, I encourage you to view these hurdles not as setbacks but as stepping stones towards achieving your dream kitchen. Remember, with the right mindset and tools, you can turn even the most uneven floors into a showcase of your craftsmanship.