The Secret to Mounting Upper Cabinets to Tall Brick Walls
I remember the moment I realized I had bitten off more than I could chew during my recent kitchen remodel. There I was, staring at these towering brick walls that seemed to reach for the sky, and my plan to install upper cabinets on them felt like trying to hang artwork on a mountain. The wall’s uneven texture and sheer height suddenly made what seemed like a straightforward task into a daunting puzzle. Honestly, I was ready to throw in the towel, convinced that the project would be a recipe for disaster. But then I had a lightbulb moment—once I cracked the code on mounting upper cabinets to tall brick walls, everything became possible.
The Challenge of Mounting Cabinets on Tall Brick Walls
Brick walls add character and durability to your home, but when it comes to mounting upper cabinets, they introduce a whole new set of hurdles. Traditional tools and methods often fall flat because brick surfaces are uneven, porous, and tough enough to resist screws that work perfectly elsewhere. Without the right approach, cabinets can end up crooked, unstable, or worse—falling apart over time. If you’ve ever struggled with this, you’re not alone. Many homeowners and DIY enthusiasts find themselves stuck, frustrated by the stubbornness of brick and unsure how to proceed.
The key lies in understanding the structure of your brick wall and selecting appropriate mounting solutions. Early in my project, I made the mistake of trying to use standard drywall anchors, assuming they’d hold. That was a costly error—trust me, it only added to my headaches. The truth is, mounting on brick requires specialized hardware, like masonry anchors and proper drilling techniques. According to industry experts, using the right fasteners can make all the difference in ensuring your cabinets stay secure for years to come.
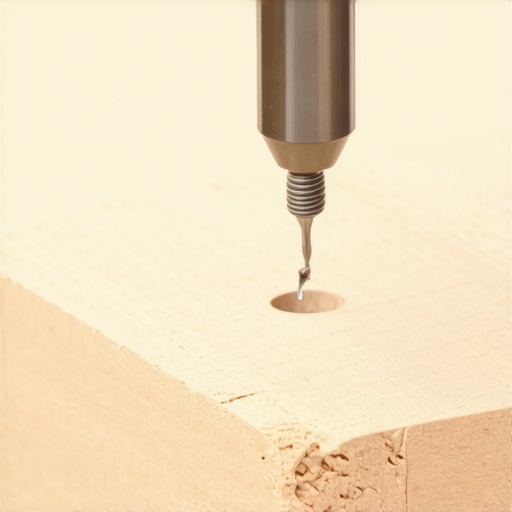
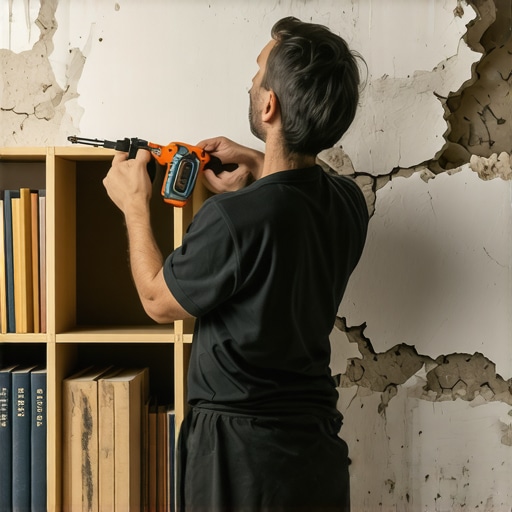
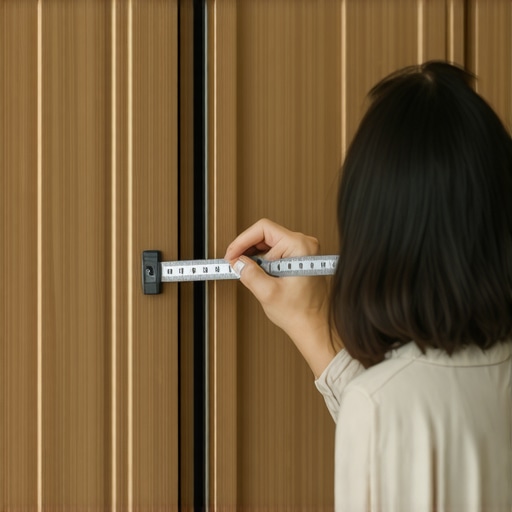
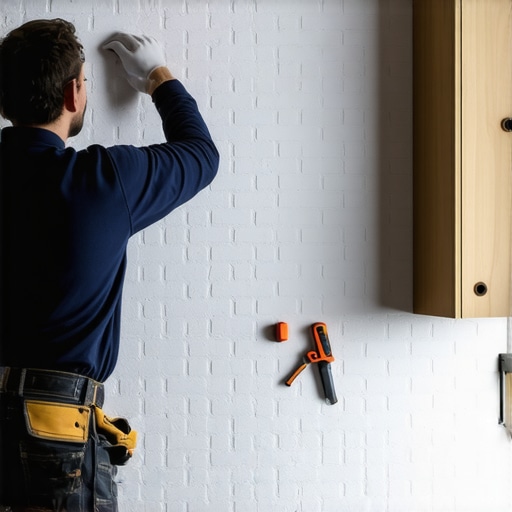
Now, if this problem sounds all too familiar, don’t worry. In the upcoming sections, I’ll guide you through the proven strategies and techniques that will transform your challenging brick wall into a stable canvas for your upper cabinets. Whether you’re updating your kitchen or creating a stunning feature wall, mastering this skill will open up endless design possibilities.Start by marking your desired cabinet height with a level line across the brick wall using a chalk line or painter’s tape. Then, locate your wall studs or solid backing points using a masonry drill bit and a wall scanner to ensure strong anchorage points. Use a masonry bit to pre-drill holes into the brick at the marked points, matching the length of your masonry anchors. Insert the masonry anchors and attach a ledger or temporary support to hold the cabinets level while you secure the mounting brackets. This initial step prevents the cabinets from shifting and ensures perfect alignment during installation. When attaching brackets, use heavy-duty toggle bolts or masonry screws designed for brick, which provide the necessary grip and stability. During my last project, I used a combination of plastic anchors and epoxy for particularly porous brick, which gave me confidence that the cabinets would stay secure over time. For the actual mounting, lift the cabinet into position, aligning it with your marks and brackets, then secure it with long, lag screws through the mounting rail into the anchors. This method transforms a seemingly impenetrable brick wall into a reliable support structure for your upper cabinets. To enhance stability further, consider installing a cleat system or ledger board before placing the cabinets—this provides extra support while you work. Remember, patience is key—measure twice, drill once, and double-check your markings before proceeding. This approach minimizes mistakes and saves time. For comprehensive insights on creating built-ins that combine form and function, visit built-ins that elevate your living rooms. If you’re considering custom solutions tailored specifically to your space, explore custom cabinets as a game changer. For expert assistance, don’t hesitate to reach out through our contact page.Many homeowners assume that installing built-ins and custom cabinets is a straightforward process, but in my experience, there’s a significant misconception about the complexity and planning involved. A prevalent myth is that one-size-fits-all solutions work universally; however, each space demands tailored approaches that consider existing architecture and long-term usability. For example, relying solely on standard sizes or generic designs often leads to wasted space or aesthetic clashes, which could be avoided by consulting experts through resources like this guide on custom cabinets.
One advanced mistake I see frequently is the underestimation of traffic flow and ergonomic placement. Many think that maximizing available space is enough, but without considering human factors, cabinets become cumbersome or inaccessible. An often-overlooked nuance is the importance of proper clearance and reach zones, especially in busy kitchens, which can be optimized by studying industry best practices. According to a study by the National Kitchen & Bath Association, thoughtful spatial planning enhances efficiency by up to 30%, but only if implemented with attention to detail.
A common trap to watch out for involves choosing aesthetics over function. For instance, opting for purely decorative cabinetry that hampers everyday use can negate the benefits of a remodel. It’s essential to balance style with practicality—such as incorporating smart storage ideas from this insight on smart storage.
For those aiming to push beyond basic solutions, considering corner optimizations like magic corners or implementing hidden storage can dramatically transform your space. Yet, these advanced features often get overlooked because of a belief that they require costly custom work. The reality is, with proper planning and innovative hardware, you can achieve these improvements without breaking the bank.
Finally, an often missed nuance lies in the material selection for cabinets and built-ins. Choosing the wrong finish or core material can lead to durability issues down the line, especially in high-moisture environments. Expert advice recommends selecting hardwoods or moisture-resistant veneers for longevity, which is especially crucial in kitchen settings.
In conclusion, I encourage you to scrutinize your assumptions about built-ins and storage. Do not settle for quick fixes or generic solutions that might seem easier initially but cost you more in the long run. Instead, embrace detailed planning, expert guidance, and smart design choices to ensure your remodel is both beautiful and functional. Have you ever fallen into this trap? Let me know in the comments, and if you’re ready to elevate your space, consider consulting a professional who understands these advanced nuances.
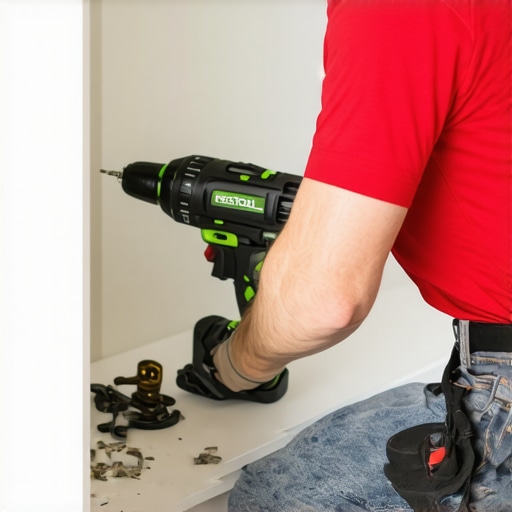
Maintaining your custom cabinets and built-ins ensures they remain functional and beautiful for years to come. As someone deeply invested in quality craftsmanship, I rely on specific tools and routines that keep everything in top shape. A festool corded drill is my go-to for precise drilling and fastener installation, thanks to its ergonomic design and adjustable torque settings, which prevent over-tightening and damage. Pair that with a high-quality diamond masonry bit when working on brick or stone surfaces—it’s designed to cut through tough materials cleanly, reducing wear on your equipment and ensuring a smoother process. Regularly inspecting hinges and slides with precision screwdrivers helps catch early signs of wear so you can replace or lubricate components before failure occurs.
For long-term results, I recommend establishing a routine maintenance schedule. Monthly checks of your cabinet hardware and door alignment can prevent nagging issues like misalignment or squeaking. Use a silicone-based lubricant for hinges and slides—it’s less messy and more durable than traditional oils, and it won’t attract dust or dirt. When it comes to cleaning, a gentle solution of warm water and a few drops of mild detergent, paired with a soft microfiber cloth, protects finishes from degradation. Avoid harsh chemicals that can strip protective coatings or cause discoloration.
As technology advances, so do our tools. I see a future where smart maintenance tools, like sensor-equipped hinges that alert you when lubrication is needed, become standard. Additionally, digital moisture meters can help monitor humidity levels around cabinetry, preventing warping or mold growth over time. Embracing these innovations will make upkeep more proactive and less time-consuming.
How do I keep my built-ins looking their best over time?
To ensure your investment continues to shine, consider applying a UV-resistant finish for areas exposed to sunlight, which can prevent fading or yellowing. Regularly insulating your cabinets with soft pads or liners can also reduce noise and impact damage, extending their lifespan. For a deeper clean, use specialized cabinet cleaners designed to preserve finishes—these are formulated to remove grease and fingerprints without harming your surfaces. Remember, consistent maintenance isn’t just about appearance; it’s crucial for structural integrity as well. For comprehensive storage solutions that are built to last, check out this expert guide. And if you notice any persistent issues or want tailored advice, don’t hesitate to reach out through our contact page.
In my experience, the key to long-term durability lies in combining the right tools with routine practices. Start by integrating a quality cordless multi-tool — versatile for everything from sanding to minor repairs — into your maintenance kit. Don’t wait for small issues to escalate; nip them in the bud with regular inspections. Embrace these routines today, and you’ll enjoy the beauty and function of your built-ins for years to come.
 From my own experience of transforming a cluttered kitchen into a sleek, functional space, I’ve learned crucial lessons that often go unnoticed in typical renovation tales. One of the most profound is that patience and meticulous planning trump quick fixes. Jumping into a project without understanding the nuances of materials like moisture-resistant veneers or the importance of precise hardware selection can lead to costly setbacks, reminding me that investing in quality tools and knowledge pays dividends. Additionally, embracing innovative storage ideas, such as hidden compartments or custom pull-outs, not only maximizes space but also brings a sense of satisfaction that fleeting trends can’t match. The true magic lies in blending aesthetics with purpose, ensuring every inch serves both form and function, turning humble built-ins into timeless, personalized masterpieces.