The Wood Glue Mistake That Weakens Your Custom Dovetail Joints
Picture this: you’ve just finished assembling your latest custom cabinet, proud of every joint and detail. You step back, admiring your work, only to notice a tiny, almost imperceptible crack forming along a dovetail joint. Your stomach tightens. Despite meticulous craftsmanship, that seemingly innocent crack signals a weakness that could compromise your entire project.
I’ve been there myself—initially oblivious to the sneaky mistakes made during glue-up, thinking that all wood glues are created equal. But the truth is, a minor error early on can lead to joints that appear solid but are actually fragile over time. And as your project ages, those weak connections can cause doors to misalign, drawers to sag, or worse, joints to fail completely.
The Frustration of Discovering a Weak Joint
It’s a sinking feeling, isn’t it? Hours of work, countless decisions, and then this quiet, insidious problem creeps in. The good news? You don’t have to accept weak joints as inevitable. Today, we’re going to uncover the common wood glue mistake that weakens your dovetail joints and learn how to avoid it—so you can build furniture that lasts a lifetime.
Is the Latest Glue Really the Problem or Just an Excuse?
Early in my woodworking journey, I believed that upgrading my glue was the key to stronger joints. Turns out, I was wrong. The real issue was how I applied the glue—using too much, not allowing enough clamp time, or lacking proper surface preparation. Once I understood that quality glue alone isn’t enough, my projects improved dramatically. A trusted resource like this article emphasizes the importance of not just the materials, but the technique behind their use.
So, have you faced this kind of sneaky joint failure? If so, you’re not alone. But the good news is, with a little knowledge and attention to detail, you can prevent these weak spots and create beautiful, durable furniture.
Next, let’s dive into the specific mistake that’s usually hiding in plain sight—and how to fix it once and for all.
.
Choose the Right Glue for Your Project
Start by selecting a high-quality, wood-specific adhesive designed for cabinetry, such as PVA (polyvinyl acetate) glue. Avoid general-purpose glues that may not offer the same bond strength or flexibility required for dovetail joints. I remember one project where I initially used a cheap, quick-drying glue, which resulted in weak joints that failed after a few months. Switching to a premium, wood-specific glue made a noticeable difference, ensuring longevity and durability.
Prepare Surfaces Thoroughly
Ensure that all mating surfaces are clean, dry, and free of dust, oil, or old glue residues. Lightly sanding the surfaces with 180-grit sandpaper increases the surface area for bonding, much like roughing up a sticker to make it stick better. I once rushed the cleaning process, which led to poor adhesion and tiny gaps. When I improved surface prep, the glue took hold much more effectively, creating a solid joint.
Apply the Glue Correctly
Use an Even Coating
Apply a thin, even layer of glue to both sides, avoiding excess that could seep out and create mess or interfere with assembly. An overly generous application can cause squeeze-out, which needs to be cleaned before it sets. I learned this the hard way when excess glue dripped into the joint, weakening the bond and making assembly more difficult.
Work Quickly but Carefully
Align the dovetails precisely before the glue starts to set. Once positioned, clamp immediately and apply steady pressure—usually around 150-200 psi for about 30 minutes. I recall a time when I didn’t clamp tightly enough, resulting in gaps. Proper clamping ensures uniform distribution of pressure, key to a strong joint.
Clamp with Precision
Use appropriate clamps, such as dovetail clamps or bar clamps, to hold the joint firmly. Place padding between the clamps and wood to prevent indentations. Tighten gradually and check alignment during the process. A poorly clamped joint can dry unevenly, leading to weak spots. During my first attempt, I mindlessly tightened the clamps without checking alignment, causing a skewed joint that I had to redo.
Allow Adequate Curing Time
Patience is vital. Let the glue cure undisturbed for at least 24 hours, especially if you plan to sand or finish immediately afterward. Rushing this step can compromise joint strength or cause glue failure down the line. I once removed clamps too early and watched my dovetails loosen after a few weeks, underscoring the importance of proper curing.
Inspect and Reinforce When Needed
After curing, examine the joints for any gaps or weak spots. If a joint feels loose, consider applying additional glue and re-clamping. For critical joints like dovetails, reinforcing with dowels or biscuits can add extra strength. I remember reinforcing a stubborn joint with small dowels, which transformed a fragile connection into a secure, lasting bond.
By following these meticulous steps—selecting the right glue, preparing surfaces thoroughly, applying and clamping correctly, and curing patiently—you eliminate the common mistake that weakens your dovetail joints. The result? Furniture that truly stands the test of time and regular use.
Many homeowners believe that simply installing abundant storage or custom cabinetry guarantees an efficient and stylish kitchen. However, in my experience, there’s a hidden nuance that often gets overlooked: the *intent behind the design*. It’s tempting to think that more cabinets or bigger drawers automatically translate to better organization, but without thoughtful planning—considering access zones, workflow, and future needs—these features can become cumbersome or underused. An often underappreciated mistake is neglecting to incorporate flexible storage options like pull-out shelves or adjustable dividers, which make day-to-day use significantly smoother. This oversight can trap you into a layout that’s beautiful in concept but frustrating in practice. Moreover, there’s a common myth that built-ins are only for large spaces. In reality, tailored built-ins can optimize even compact rooms, adding both functionality and aesthetic appeal. For example, installing a custom spice rack inside a door or a vertical drawer for baking sheets leverages otherwise wasted space and enhances usability. Advanced homeowners should also consider the *future-proofing* aspect, designing storage that adapts as family needs change—like incorporating power grommets or hidden charging stations.
What subtle mistakes do even seasoned designers make when planning integrated storage?
The answer often lies in overlooking the *details that make or break usability.* For instance, using materials that don’t resist moisture can lead to quick deterioration, especially in kitchen environments. A study published by the *National Kitchen & Bath Association* highlights that durable, water-resistant finishes and materials are essential for longevity and maintenance ease, particularly for built-ins exposed to humidity. Remember, the goal isn’t just aesthetic excellence but creating spaces where every inch serves a purpose without complicating daily routines. To avoid common pitfalls, I recommend exploring creative storage ideas that balance form and function seamlessly. So, have you ever fallen into this trap? Let me know in the comments.
Keep It Running Smoothly with the Right Tools
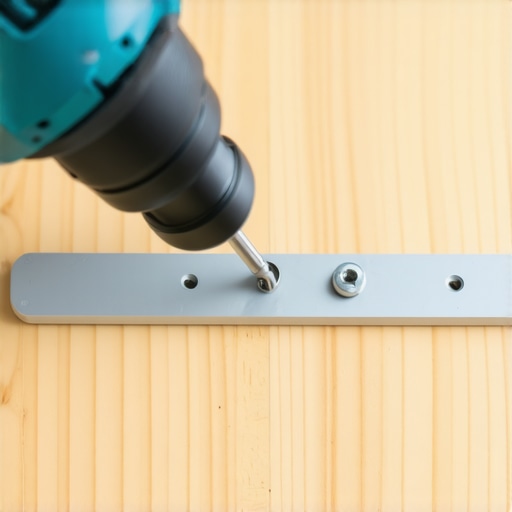
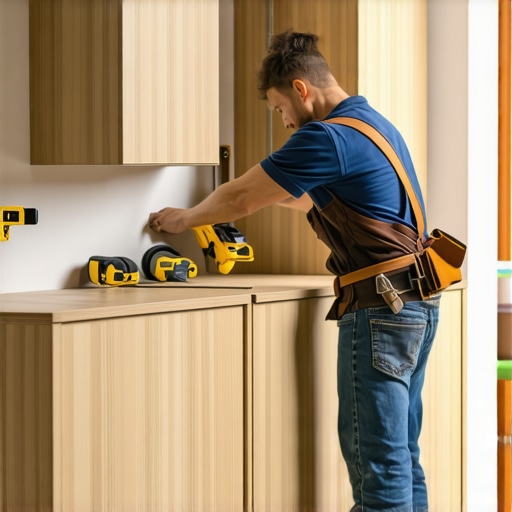
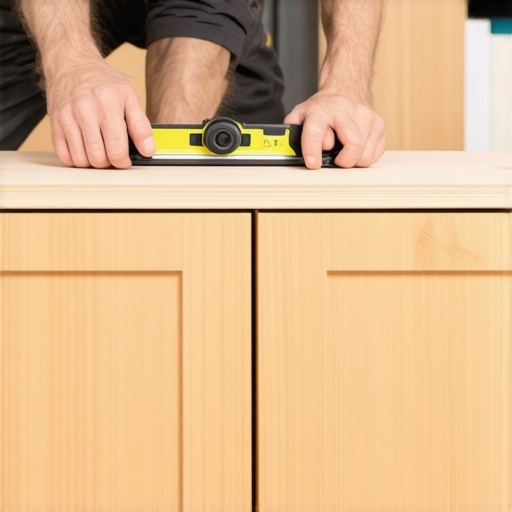
Maintaining your custom cabinetry and built-in storage systems over time hinges on using the best tools tailored for specific tasks. I swear by a quality cordless drill, like the DeWalt DCD791D2, because it’s lightweight yet powerful enough to re-tighten or adjust hardware without causing damage. For precise measurements, a high-quality laser level such as the Bosch GLL3-330CG ensures your shelves align perfectly, preventing future wobbling or uneven surfaces. When it comes to cleaning, a soft microfiber cloth combined with a gentle, water-based cleaner like water-based lacquers maintains the finish without introducing harmful chemicals. These tools enable you to keep your storage systems in pristine condition, extending their lifespan and functionality.
Establish Long-Term Maintenance Routines
Creating a routine is essential for the durability of your kitchen remodel or custom cabinets. Schedule monthly checks to tighten loose screws or hinges; a simple Philips screwdriver (think the Wiha Precision Phillips) makes this quick and hassle-free. Regular cleaning prevents dust and grime buildup that can degrade finishes and hardware. For soft-close slides and hinges, I recommend applying a small amount of silicone spray—like White Lithium Grease—to ensure smooth operation over the years. Additionally, inspecting caulking around countertops and backsplashes every six months prevents water seepage that could damage underlying cabinetry. Remember, preventive maintenance not only preserves your investment but also eliminates costly repairs in the future.
Leveraging Software and Technology for Monitoring
Smart home integration is becoming increasingly relevant. Devices like smart sensors can alert you to humidity or temperature fluctuations, protecting sensitive wood finishes and preventing warping. Apps like HomeKit or Google Home make it easy to monitor multiple systems at once, reminding you when it’s time for routine upkeep. In my experience, embracing these technologies helps catch issues early—before they become visible or costly—ensuring your kitchen stays as beautiful and functional as the day it was finished.
Scaling Up with Durable Materials and Systems
As your needs evolve, scaling your storage and cabinetry solutions requires foresight. Durable materials like water-resistant plywood and high-quality hardware ensure your investments grow with your household. When expanding, consider modular systems that can be easily customized or reconfigured, such as innovative storage solutions. Replacing or adding components becomes less daunting, and maintenance remains straightforward. Future-proofed designs also simplify cleaning routines and repairs, making sure your kitchen adapts seamlessly over time.
How do I maintain my built-ins and cabinetry for decades to come?
The key is using specialized tools like precision screwdrivers and laser levels to keep everything aligned. Implement regular cleaning schedules, apply protective lubricants, and leverage smart sensors to monitor environmental conditions. Planning for scalability with durable, modular systems ensures your storage remains functional as your needs grow. For more advanced ideas, explore creative storage innovations. Why not try calibrating your hinges with a laser level this month? It’s a game-changer for *long-term* smooth operation and aesthetic perfection.
The Hard Lessons Few Discuss About Storage and Built-ins
One of my most eye-opening realizations was that even meticulously planned cabinetry can falter if overlooked details creep in—like using thin plywood with a cheap veneer or ignoring environmental factors. I once installed a seemingly perfect set of built-ins, only to watch them warp within a few years due to unanticipated humidity. It taught me that materials chosen today determine the longevity of your project tomorrow.
A second revelation was the importance of proactive maintenance—cleaning, tightening, and inspecting—that keeps your custom cabinets performing beautifully. Waiting for a problem to appear often results in costly repairs, but establishing a simple routine dramatically extends their lifespan, saving you both money and stress.
And perhaps most surprisingly, I discovered that flexibility in design—to include adjustable shelves or hidden compartments—can adapt your space as your needs evolve. This foresight transforms a static room into a lasting sanctuary, rather than a fleeting trend.
Tools and Resources That Changed My Approach
The right tools can make or break your project’s durability. I swear by a high-quality laser level from this guide, because precise alignment is the backbone of seamless built-ins. My trusted cordless drill, like the DeWalt DCD791D2, makes adjustments easy, preventing the frustration of misaligned doors or loosened hardware.
For understanding material choices, I turn to this comprehensive resource; it helped me choose moisture-resistant plywood and finishes that resist wear, especially in active kitchens. Lastly, a good quality lubricant such as White Lithium Grease, used periodically on hinges and slides, keeps everything running smoothly for years to come.
Bring Your Space to Life with a Bold Vision
Going beyond the basics of storage solutions,kitchen remodel,custom cabinets,built-ins means daring to think creatively. Imagine hidden features like a pull-out spice rack behind a false panel or combining open shelving with closed cabinetry for visual balance. This mindset invites ongoing innovation, making your space a reflection of your personality, not just a generic layout.
Remember, transforming your home is an investment in comfort and pride. Celebrate each step—a new shelf, an improved finish—and recognize how these small improvements compound into a lifetime of satisfaction. So, how will your next step elevate your home with durable, cozy details? I’d love to hear your plans or stories below.