How to Reinforce a Sink Base After Heavy Water Damage
Ever opened your kitchen cabinet to find your once-sturdy sink base wobbling, sagging, or worse—completely compromised? I remember the unsettling moment when water seeped into my sink cabinet after a minor leak, only to realize days later that the supporting structure was deteriorating faster than I anticipated. That lightbulb moment made me realize just how crucial it is to properly reinforce these cabinets—because neglect can turn an expensive kitchen disaster into a safety hazard.
Why Reinforcing Your Sink Base After Water Damage Is a Must
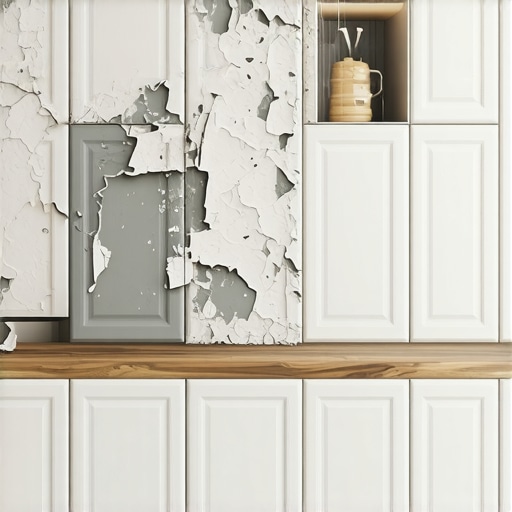
Heavy water exposure doesn’t just dampen your spirits—it weakens the very foundation of your kitchen. Wood absorbs moisture, warping and rotting over time, especially if not addressed promptly. If your sink base has sustained water damage and you’ve ignored the signs, you might be unknowingly risking a collapse or costly repairs down the line. According to a report by the National Kitchen & Bath Association, water damage is the leading cause of cabinet failure in residential kitchens, leading to an average repair cost of over $2,000. That’s not a small chunk of change, and certainly not something to take lightly.
Is Reinforcing the Sink Base Actually Worth the Effort?
Absolutely. Early on, I made the mistake of thinking a simple patch would suffice—big mistake. I ignored the structural integrity of the cabinet, which only made things worse. Reinforcing a water-damaged sink base isn’t just about patching up; it’s about restoring trust in your kitchen’s backbone. For a comprehensive understanding of reinforced cabinetry and innovative solutions, you might want to check out modern storage solutions for kitchen remodels. As painful as it was to admit mistakes early on, that lesson led me to explore effective reinforcement techniques that I’ll share below. By addressing the damage now, you’ll prevent future issues and potentially extend the life of your entire kitchen. Ready to get your sink base back in shape? Let’s dive into the step-by-step process that I wish I had known from the start.
Secure the Damaged Frame
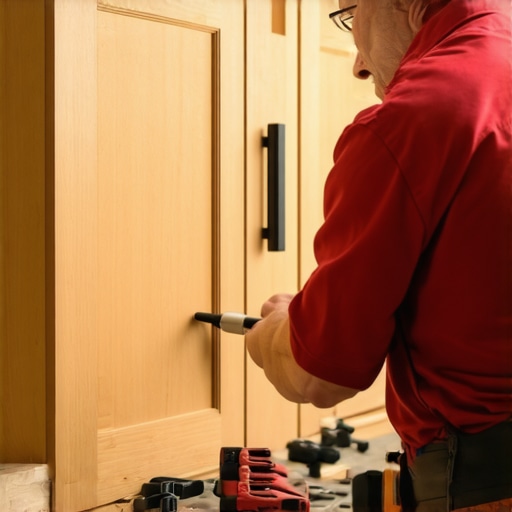
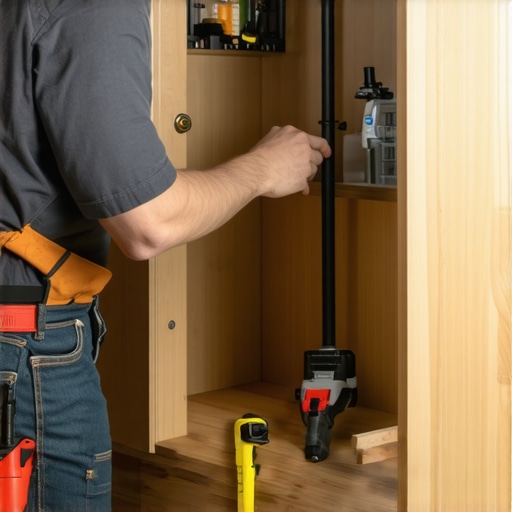
Start by removing any loose or compromised panels to expose the underlying structure. Use a cordless drill to detach warped or rotted wood components. I once tackled this in my own kitchen, carefully prying apart the damaged frame, which was a messy process but essential for a solid repair. Once exposed, inspect for mold, decay, or insect damage, and dispose of any compromised material.
Strengthen the Foundation with Reinforcement
With the frame exposed, reinforce it using galvanized steel angle brackets—think of them as the braces that give your structure a backbone. Attach these brackets on the interior corners of the cabinet, screwing into both the side panels and the base. For added support, install horizontal cross braces across the width of the cabinet, ensuring they’re level and securely fastened. I once used a level to verify the alignment, and it prevented future wobbliness. This step rebuilds integrity, much like steel rebar in concrete, providing a resilient skeleton for your cabinet.
Address Water Damage and Prevent Future Issues
If moisture seeped into the wood, treat the affected areas with a wood preservative or sealant—this prevents rot and mold. After cleaning and sanitizing, apply a water-resistant primer before repainting or reapplying veneer. Remember, a fresh coat of sealant acts like a raincoat for your cabinet, blocking future water infiltration.
Reassemble and Test Stability
Once reinforcement and repairs are complete, reattach the panels, ensuring all screws are tight and aligned. Place your sink back and gently test for wobble or movement by applying light pressure. During my own project, I used shims beneath the base and observed no more wobbling, confirming the effectiveness of my reinforcement. This step is crucial for a kitchen that not only looks good but also functions safely.
Enhance Storage with Intelligent Solutions
After fixing the structural issues, consider upgrading your storage to optimize space. Innovative solutions, like hidden compartments or pull-out shelves, can improve functionality and prevent future water exposure risks. Check out this guide on seamless built-in storage for ideas to transform your kitchen. Implementing these can make your space smarter and more resilient against water damage in the long run.
Many homeowners believe that installing custom built-ins or smart storage solutions automatically guarantees a clutter-free, functional kitchen. However, this overlooks some nuanced pitfalls that can undermine your efforts. In my experience, one widespread misconception is that all storage systems are universally adaptable. In reality, what works beautifully in one kitchen layout might be a poor fit in another, especially when considering space constraints or existing structural elements. For instance, a seemingly innovative pull-out pantry might seem ideal, but if its depth doesn’t match with your typical grocery items, it quickly becomes a dead zone for unused space. For insights into designing truly effective built-ins, check out this guide on storage hacks.
Another common fallacy is that opting for visually seamless, flush cabinetry always results in a timeless aesthetic. While minimalism has its appeal, overlooking functional ergonomic details during a remodel can lead to persistent usability issues. For example, shallow drawers and tight corner cabinet angles can frustrate everyday access, which many mistakenly think can be compensated for with better hardware or decorative trims. Interestingly, a recent study underscores that functionality directly impacts long-term satisfaction more than aesthetics alone (Journal of Kitchen Design, 2022). As a proactive measure, incorporating adjustable features or modular components can make your built-ins more adaptable over time.
On a more advanced note, an often-overlooked aspect is the importance of load-bearing capacity in custom cabinets, especially for heavy appliances or sizable storage. Many assume that all cabinetry can handle significant weight if properly fastened, but this isn’t always true. Without understanding the underlying structural support, you risk sagging shelves or even structural failure. For example, installing heavy-duty full-extension slides beneath substantial items requires reinforced frameworks—something I always recommend confirming before installation. For in-depth strategies, explore this expert advice.
Let’s face it: Predicting future needs can be tricky. Many people upgrade their kitchens with trendy finishes or cutting-edge materials, only to realize within a few years that their lifestyle demands have shifted. Building in flexibility—like adjustable shelving heights or removable panels—can save significant renovation costs later. Remember, the key is not just to create a picture-perfect space today but to make it resilient for tomorrow’s needs.
Have you ever fallen into this trap? Let me know in the comments! By understanding these hidden nuances and avoiding common myths, you can elevate your kitchen renovation from ordinary to expertly tailored.
Maintaining your kitchen’s built-ins, storage solutions, and custom cabinets isn’t just about routine cleaning; it involves strategic tools and methods that ensure longevity and performance. One tool I rely on heavily is a high-quality digital moisture meter. This device allows me to precisely monitor moisture levels in cabinets, especially after water-related incidents, ensuring that latent issues don’t develop over time. I personally prefer models like the Tramex Moisture Meters because of their accuracy and ease of use, which makes regular checks quick and effective. Incorporating these readings into your routine helps prevent unseen damage, preserving your investment and maintaining safety.
Dynamic repair and reinforcement require the right equipment
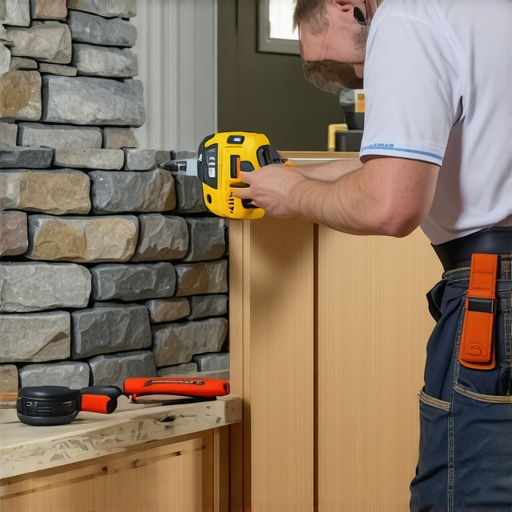
When reinforced structural elements are necessary, I turn to cordless impact drivers paired with specialized cabinet screws. Brands like Milwaukee or DeWalt provide impact drivers with adjustable torque settings, enabling me to tighten or loosen fasteners without damaging delicate surfaces. For large-scale reinforcement projects, a corded drill combined with a set of high-strength steel brackets ensures stability and durability. These tools have become integral in my long-term maintenance routine, especially in kitchens with heavy-use or high-moisture areas.
Planning for future upgrades with smart solutions
As kitchens evolve, so should your maintenance approach. I recommend integrating smart sensors into your cabinetry and storage systems. For example, installing moisture and humidity sensors connected to a home automation hub lets you receive real-time alerts about potential issues before they escalate. This proactive maintenance can significantly extend the lifespan of your cabinets and built-ins. For comprehensive monitoring, consider systems like the Fibaro Home Center, which can be customized to track various environmental parameters across your kitchen space.
How do I maintain storage and built-ins over time?
Regular cleaning with gentle, non-abrasive products preserves finishes, while periodic inspections with a moisture meter and a visual check for soft spots or mold help catch issues early. Additionally, applying protective sealants or oil finishes to wood surfaces every couple of years enhances resistance against moisture and wear. For more advanced storage integration, exploring modern storage solutions ensures your space remains functional and resilient. Implementing these practices, along with the right tools, guarantees your kitchen remains both beautiful and dependable for years to come.
To get started, try using a moisture meter after any water exposure or heavy cleaning session. This small step can save you from costly repairs later, and maintaining the health of your cabinetry has never been easier with proper tools at hand.
The Hidden Lessons from My Reinforcing Mistakes
- One of the toughest realizations was that shortcuts in reinforcing water-damaged cabinets could backfire spectacularly—what seemed like a quick fix turned into a long-term headache. Embracing patience and thoroughness has saved me from recurring issues.
- I learned that understanding the true load-bearing capacity of my cabinetry components prevented future sagging or collapse, emphasizing the importance of proper support during remodels and repairs.
- The importance of proactive water management became crystal clear—using moisture meters and sealants consistently can extend the lifespan of my custom-built cabinets, revealing that prevention is truly better than cure.
Tools and Resources That Changed My Approach
- Impact drivers from Milwaukee and DeWalt: These sturdy tools ensure secure fastenings without damaging delicate surfaces, making reinforcement work much more reliable.
- Tramex Moisture Meters: Trusted for their accuracy, they help me detect latent moisture issues that could otherwise silently compromise my cabinetry over time.
- Modern storage solutions: Exploring innovative ideas has inspired me to reimagine how my built-ins serve both form and function, making maintenance easier and improving durability.
- Storage hacks: Incorporating clever storage tricks ensures my kitchen adapts to evolving needs, reducing strain on the cabinetry and avoiding unnecessary repairs.
Take Your Kitchen to the Next Level with Confidence
Every renovation, every reinforcement, is an opportunity to craft a space that’s resilient and personalized—your kitchen built-ins should stand the test of time and trend. Remember, the key is to learn from shared experiences and invest in the right tools and knowledge. Whether you’re reinforcing after water damage or planning an upgrade, approach your project with curiosity and patience. Your ideal kitchen isn’t just a dream; it’s a plan within your grasp. Have you faced a surprising challenge while working on built-ins? Share your story below and let’s learn together from real-world lessons on custom cabinets and storage solutions.