How to Anchor Floor-to-Ceiling Built-ins to Metal Studs Safely
Imagine finally installing those stunning, floor-to-ceiling built-ins you’ve envisioned for your home, only to realize they aren’t securely anchored. The frustration of discovering that your new shelves wobble or, worse, could come crashing down is a story I’ve heard far too often—and experienced myself early on. That aha moment hit me hard when a heavy bookcase shifted slightly during a quiet evening, giving me a minor scare. It made me question: am I truly anchoring my built-ins safely?
In today’s post, I’ll share my journey from rookie mistakes to expert techniques in securely attaching your custom cabinets and built-ins to metal studs. If you’re planning a kitchen remodel, creating a sleek storage wall, or upgrading your living room with stylish built-ins, understanding how to anchor them properly is essential—both for safety and durability. By the end, you’ll be equipped with proven methods to ensure your installation is strong enough to withstand daily use.
Why Securing Built-ins to Metal Studs Can Be Tricky
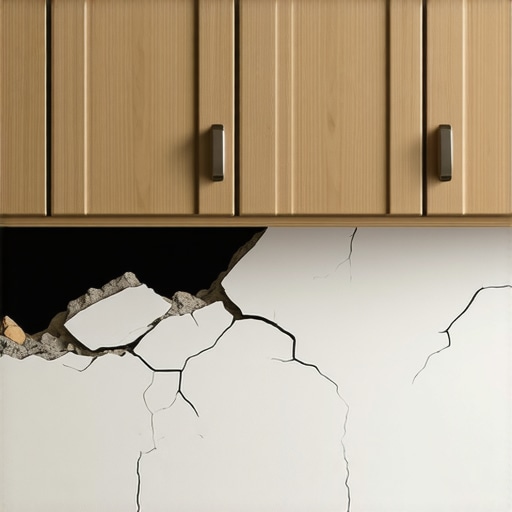
Metal studs are so popular, especially in modern construction, thanks to their affordability and resistance to pests and moisture. However, they come with their own challenges when it comes to anchoring heavy fixtures like built-ins. Unlike wood studs, metal studs lack the grain and natural reinforcement that provide a solid grip for nails or screws. Plus, if not anchored correctly, your beautiful custom cabinetry could become a safety hazard, or at the very least, start sagging over time.
Early in my projects, I made the mistake of assuming standard screws could handle the load. I quickly learned that using the wrong hardware can lead to wobbling shelves and potential damage. Recognizing this mistake inspired me to dig deeper into the right techniques. Today, I want to guide you through the essentials of safe anchoring, so you’re not left troubleshooting after an install gone wrong.
Are you worried about whether your current method is sturdy enough? Do you fear that your built-ins might come loose or even fall? Rest assured, with the right approach and materials—such as specialty anchors designed specifically for metal studs—you can create a reliable foundation for your shelves and cabinets.
Supporting this, a recent industry report highlights that improper anchoring is among the top causes of fixture failure in homes, emphasizing the importance of proper installation (source: Home Improvement Safety Council). This means your careful design and high-quality materials can still be compromised if not anchored correctly.
Now that we’ve identified the problem and its significance, let’s move on to the practical steps that will transform your install process—from shaky to secure.
Choose the Right Anchors to Handle Heavy Loads
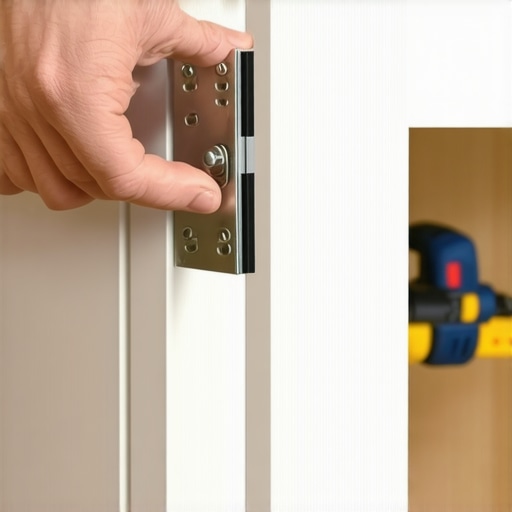
Start by selecting toggle bolts or special metal stud anchors designed for heavy fixtures. Unlike standard screws, these expand behind the drywall, creating a strong hold that can support the weight of your cabinets or shelves. I once drilled directly with drywall screws for a floating shelf, only to watch it wobble the first time I added books. That mistake taught me the importance of proper hardware from the get-go.
Locate the Metal Studs Precisely
Use a high-quality stud finder to mark the stud positions accurately. Metal studs are usually spaced 16 or 24 inches apart, but confirm with the device. Make small pencil marks on the wall to guide your drilling. A misalignment here can result in anchors securing only drywall, which won’t hold the weight. For my own project, I used a magnet-based stud finder to double-check before drilling, saving me from embarrassing sagging shelves later.
Pre-Drill Carefully to Avoid Damage
Always pre-drill holes slightly smaller than your anchors. This prevents twisting or deforming the metal studs during installation. When I first attempted to drill without pre-drilling, the drill bit slipped, leaving a jagged hole. Now I use a sharp drill bit and take my time. It’s like threading a needle—you need patience for precision.
Drive Anchors Deep and Straight
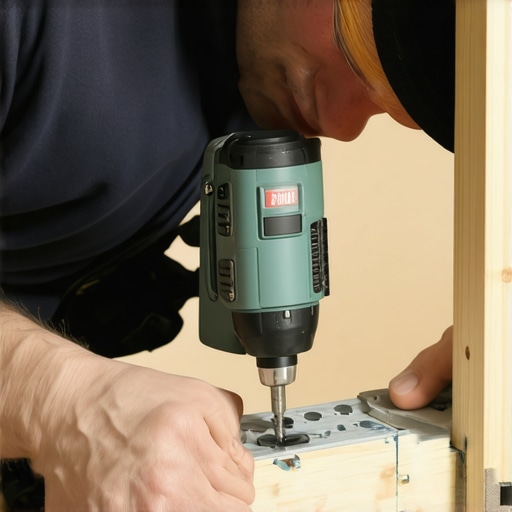
Insert your anchors, ensuring they sit flush against the wall surface. Use a screwdriver or impact driver to tighten securely. Over-tightening risks deforming the anchor or damaging the stud; under-tightening means it may pull out under load. I recall overtightening one anchor, which caused a slight bend in the stud. Now, I tighten just enough to hold without bending. This ensures your cabinet or built-in remains sturdy over time.
Secure Your Cabinets with Proper Fasteners
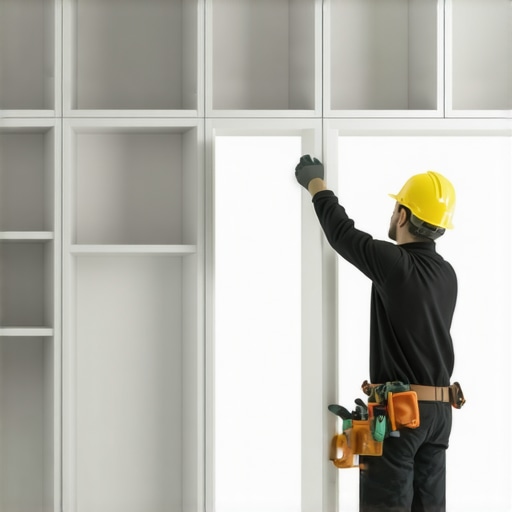
Use heavy-duty screws compatible with your anchors, ideally at least 2.5 inches long for added grip. Mark the mounting points on your cabinetry, drill pilot holes, and then fasten through the anchors into the studs. For example, when wall-mounting a large bookshelf, I placed multiple anchors at key points, creating a grid of support that prevented any wobble. Remember, distributing the weight evenly is key to preventing sagging and ensuring safety.
Double-Check Stability and Level
Once mounted, test the stability by gently applying pressure and confirming the levelness with a spirit level. Adjust if necessary before loading heavy items. I once finished installing a custom entertainment center and realized it was slightly tilted; rechecking levels saved me from a crooked appearance and possible future stress on the anchors. This final step guarantees your built-ins will stand firm and look professional.
Proper anchoring to metal studs demands patience and precision, but it’s worth the effort for safety and durability. Remember, the right hardware, careful location, and diligent mounting practices turn your project from a shaky setup into a lasting feature of your home. For more expert tips on creating seamless storage solutions, visit this guide.
 Many assume that designing built-ins or custom cabinets is straightforward—select the style, measure the space, and order. However, this oversimplification invites costly mistakes if you overlook critical nuances. For instance, one common myth is that standard hardware suffices for all applications; in reality, heavy-duty anchors and proper reinforcement are essential, especially in high-use areas. Overestimating the strength of typical mounting hardware can lead to sagging shelves or dangerous failures, which can be avoided by understanding load distribution and material compatibility. In my experience, many homeowners neglect the importance of precise measurements and fail to account for structural realities, resulting in misaligned doors or uneven finishes. Another oversight involves underestimating the impact of environmental factors like humidity, which can cause wood warping or paint deterioration, especially in kitchens or bathrooms. A detailed study by cabinet industry experts confirms that considering moisture exposure during material selection dramatically improves longevity and appearance of custom cabinetry.
Why do some built-ins look good initially but fail over time?
This often stems from neglecting proper reinforcement techniques, such as adding blocking behind drywall or anchoring into studs securely. Additionally, not accounting for expansion gaps or drying conditions can cause warping or cracking. To prevent this, employing advanced joinery methods and moisture-resistant finishes is crucial, especially with high-quality materials. For those planning a full kitchen overhaul, integrating these advanced considerations ensures your investment endures years of use. Dive into comprehensive resources like this guide to explore how expert techniques elevate your project.
Furthermore, many homeowners fail to realize that maximizing storage isn’t just about adding shelves but optimizing every inch with smart solutions—hidden compartments, pull-outs, and vertical dividers—that keep clutter at bay. These nuances, while seemingly minor, significantly enhance functionality and aesthetic appeal, turning a simple cabinet into a custom masterpiece.
Are you aware that improper material choices or overlooking environmental conditions could compromise your long-term satisfaction? Paying attention to these details can save you from future headaches and costly renovations. Implementing best practices, informed by industry insights, ensures your built-ins and kitchen remodels stand the test of time, both visually and structurally. For more detailed insights on selecting storage solutions that blend form and function seamlessly, visit this expert guide.
Have you ever fallen into this trap? Let me know in the comments and share your experiences—your story might help others avoid similar pitfalls.
Invest in Quality Power Tools for Precision
Having reliable, high-quality power tools is essential for maintaining your built-ins over time. I personally swear by my cordless impact driver, which offers the perfect balance of power and portability. Its torque adjustment feature helps prevent over-tightening, reducing stress on fasteners and the cabinetry itself. For example, when tightening shelf brackets, I set my impact driver to the recommended torque setting to avoid stripping the screws or damaging the cabinets. Choosing tools with ergonomic grips also reduces fatigue during long maintenance sessions, ensuring you’re less likely to rush and make mistakes.
Use Specialized Cleaning and Lubrication Products
Regularly maintaining hinges, slides, and locks with appropriate lubricants extends their lifespan. I recommend using a silicone-based spray for hinges and slides; it provides smooth operation without attracting dust or grime. Avoid WD-40 or petroleum-based lubricants, which can cause buildup and attract debris over time. For instance, applying a small amount of silicone spray to soft-close hinges every six months keeps them operating quietly and prevents sticking. Remember to clean off any excess to avoid dust accumulation, especially in kitchen environments where grease and residue are common.
Implement Routine Inspection Schedules
Scheduling periodic inspections helps catch issues early. I tag a reminder on my calendar every quarter to examine all mounting hardware, hinges, and seals. During these checks, I tighten any loose screws and replace worn-out components. For example, I once discovered a loose bracket supporting a wall-mounted cabinet, which I promptly resecured to prevent eventual failure. Using a simple cordless screwdriver with a torque limiter can make this process faster and safer, ensuring you don’t overtighten and cause damage.
Predicted Trends: Smart Maintenance and IoT Integration
Looking ahead, I anticipate an increase in smart tools and IoT-enabled sensors to monitor the health of your cabinetry and storage systems. Devices that alert you when hinges need lubrication, or when screws are loosening, will become standard, taking the guesswork out of maintenance. Companies are already developing smart hinges that track usage and performance, providing real-time data through connected apps. This evolution will make long-term upkeep more efficient and less labor-intensive, ensuring your built-ins remain functional and beautiful for years to come.
How do I keep my built-ins functioning seamlessly over time?
Prioritize regular inspections and use the right tools and lubricants for maintenance. Invest in a quality impact driver with adjustable torque to prevent overtightening and damage. Routinely check hardware, hinges, and seals, tightening or replacing components as needed. Incorporate specialized lubricants like silicone sprays to ensure smooth operation and prevent squeaks or sticking. As technology advances, stay informed about smart monitoring solutions that can preemptively alert you to issues before they become costly repairs. Incorporate these habits into your routine, and your built-ins will reward you with long-lasting performance and aesthetic appeal. For creative storage ideas and maintenance insights, see this comprehensive guide. Try installing a silicone lubricant on your cabinet hinges today to experience smoother, quieter operation and extend their lifespan.
The Unexpected Pitfalls That Taught Me the Most
One of the biggest lessons I learned was the importance of verifying stud locations multiple times. Relying solely on a stud finder without cross-referencing with manual measurements led to misaligned anchors, which I only discovered after shelves started wobbling. Now, I double-check the position and always mark clearly before drilling. This small step saves countless headaches and ensures your built-ins are truly sturdy.
I also realized that not all anchors are created equal. Initially, I used standard drywall anchors, which quickly failed under weight. Upgrading to toggle bolts specifically designed for metal studs transformed my projects. These anchors distribute weight more evenly and hold heavy loads without issues, highlighting the significance of choosing the right hardware for the job.
Patience during installation can’t be overstated. Rushing to finish without pre-drilling or proper tightening led to deformation of the anchors and wobbly shelves. Taking my time, ensuring each screw was snug but not overly tight, resulted in a solid, professional finish. It’s a reminder that quality results often depend on attention to detail and patience.
Tools and Resources That Make All the Difference
Investing in a high-quality impact driver with adjustable torque settings changed my entire approach. It prevented overtightening and damaged cabinetry, especially when working with delicate materials. Additionally, a good stud finder that can detect metal studs behind drywall provided the confidence I needed to drill accurately without guesswork.
The comprehensive guides on storage solutions and cabinetry design have been invaluable resources. They helped me understand the nuances of material choice, moisture considerations, and innovative mounting techniques. For anyone serious about creating built-ins that last, these resources are treasure troves of practical knowledge and inspiration.
Sharing My Wins and Wobbles to Inspire Your Project
My journey with built-ins has shown me that it’s not just about aesthetics—it’s about safety, durability, and peace of mind. Every mistake turned into a lesson, and every well-anchored shelf is a small victory. I encourage you to embrace the process, invest in the right tools, and take the time to do it right. Your home’s built-ins will thank you for years to come, standing strong and beautiful.
What’s one challenge you’ve faced in anchoring your built-ins, and how did you overcome it? Share your experience below, and let’s learn from each other’s journeys!