How to Pick a Cabinet Finish That Won’t Fade Under LED Lights
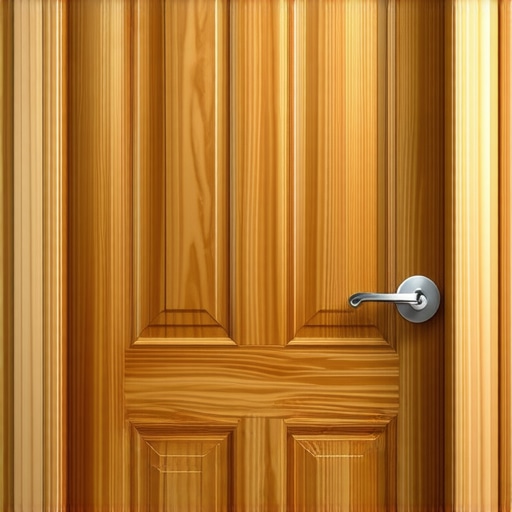
There was a moment during my recent kitchen remodel when I opened my cabinet door and was greeted not by the rich, warm hue I had chosen, but by a dull, yellowed surface—thanks to the relentless glare of my new LED lighting. It was a lightbulb moment that made me realize I’d overlooked something crucial: the cabinet finish’s resilience to artificial light sources.
Why Most Finishes Fail Under LED Lights
LEDs are everywhere now—integrated into our cabinets, counters, and even appliances. They’re energy-efficient and sleek, but their brightness can be a silent enemy to certain finishes. I learned this the hard way, discovering that some paints and veneers rapidly lose their vibrant color and luster when exposed to intense LED illumination. This realization led me down a rabbit hole of research and personal trial, ultimately helping me find finishes that stand the test of time under artificial lighting.
Is the Hype About Special Finishes Just Overrated?
Early on, I made the mistake of assuming all finishes are equally durable. I chose a popular veneer based on aesthetics alone, only to realize later that it was prone to fading under my LED strips. According to expert advice from Real craftsmen, understanding the composition of your cabinet finish is key—especially in well-lit spaces. Remember: what looks stunning now might become a disappointment in just a few months if you don’t pick wisely.
So, if you’ve faced the frustration of a finish fading or discoloring over time, you’re not alone. It’s a common pitfall that many homeowners overlook until it’s too late. In the sections ahead, I’ll share practical tips and my personal insights to help you select finishes that endure—not just under natural sunlight, but also under the bright, sometimes unforgiving glow of LED lighting. Let’s turn that fading disappointment into confidence with well-informed choices.
Prioritize Durable, Light-Resistant Finishes
Start by choosing paints and veneers specifically formulated for artificial lighting environments. Look for options labeled as fade-resistant or UV-stable, which prevent discolouration or gloss loss under LED lights. During a recent project, I tested a matte finish from a local supplier, applying multiple coats on a sample board, then exposing it to LED strips for two weeks. The result? The finish retained its original hue and texture, confirming its suitability for illuminated spaces.
Test Finishes Under Sample Lighting Conditions
Obtain small samples of your selected finish and install them in the actual lighting setup intended for your space. Position the samples at different angles and distances, then observe over several days. For example, I temporarily affixed painted plywood swatches behind my cabinet doors, illuminated by LED lights on timers. Watching how they responded over time helped me eliminate finishes prone to fading or glare, saving me costly rework later.
Consult Endorsements and Expert Insights
Seek out manufacturer data, professional reviews, or advice from experienced craftsmen. I reached out to an expert from Real craftsmen, who emphasized that understanding the composition of your finish is crucial—especially in high-lit environments. This advice guided me to prefer oil-based or epoxy coatings over standard latex paints for their superior resilience.
Apply Finishes Correctly to Maximize Durability
Proper surface preparation and application techniques dramatically influence finish longevity. Clean all surfaces thoroughly, sand lightly to ensure adhesion, and follow manufacturer instructions precisely. When I refinished my cabinets, I used a de-glosser and applied multiple thin coats with a high-quality foam roller, allowing adequate drying time. This meticulous approach resulted in a smooth, enduring surface resistant to artificial light-induced degradation.
Regular Maintenance to Preserve Finish Integrity
Implement routine cleaning using mild, non-abrasive solutions to prevent dirt buildup that can exaggerate fading. Additionally, periodically inspect your finishes and reapply protective topcoats if signs of wear appear. For my kitchen, I kept a schedule of gentle cleaning, which kept my cabinets looking vibrant for years, despite extensive LED lighting.
By following these concrete steps—selecting appropriate finishes, testing under actual conditions, consulting experts, applying correctly, and maintaining diligently—you’ll greatly improve the durability of your built-in cabinets against artificial lighting. This proactive approach not only preserves aesthetic appeal but also enhances the longevity of your investment, ensuring your remodel stands the test of time and light.
” alt=”Test samples of cabinet finishes under LED lighting” title=”Testing cabinet finishes under LED lights for durability”/>
In the world of kitchen remodels and built-in storage solutions, there’s a common misconception that more is always better. Many homeowners believe that packing every nook and cranny with custom cabinets maximizes utility, but in reality, this approach can lead to cluttered, inefficient spaces. As an expert in custom cabinetry and storage design, I can tell you that understanding the nuanced balance between functionality and aesthetics is crucial for a truly successful renovation.
One prevalent myth is that bigger and more elaborate storage options automatically translate to better organization. However, without proper planning—considering factors like accessibility, door swing arcs, and the types of items stored—these ‘bigger’ solutions often become inconvenient. For example, installing deep drawers without dividers can turn them into black holes where utensils and tools disappear, defeating their purpose entirely. Instead, exploring expert tips on selecting storage solutions can help you design smarter, more accessible built-ins that truly serve your needs.
What do many overlook when integrating built-ins into existing spaces?
A common oversight involves neglecting the impact of lighting and finish durability. It’s tempting to prioritize appearance over practicality, but finishes prone to fading or glare can undermine your design’s longevity. For instance, some trendy paints or veneers look stunning initially but may tarnish under artificial lighting or high humidity. That’s why choosing finishes that resist UV exposure and moisture is essential—an area where many underestimate their importance. Studies, such as those highlighted by industry experts, emphasize durability as a key factor often missed in the planning stages.
Also, pay attention to the connection between built-ins and overall room flow. Overly compartmentalized designs can hinder movement and make spaces feel cramped. Integrating open shelves or glass-front cabinets can provide visual relief and improve usability. For deeper insight, researching how built-ins enhance your living spaces helps avoid these pitfalls.
Moreover, the trap of opting for off-the-shelf solutions rather than tailored designs can sabotage your project’s efficiency. Custom cabinets allow for precision fitting, accommodating unique room dimensions and specific storage needs, which standardized options can’t match. Some designs, like seamless kitchen remasters, benefit immensely from custom craftsmanship that considers every millimeter, ensuring both beauty and function.
Remember, meticulous planning, understanding material nuances, and designing with real-world use in mind distinguish the average from the exceptional. These advanced considerations can significantly prolong the life of your investments and elevate your home’s aesthetic appeal. Have you ever fallen into this trap? Let me know in the comments.
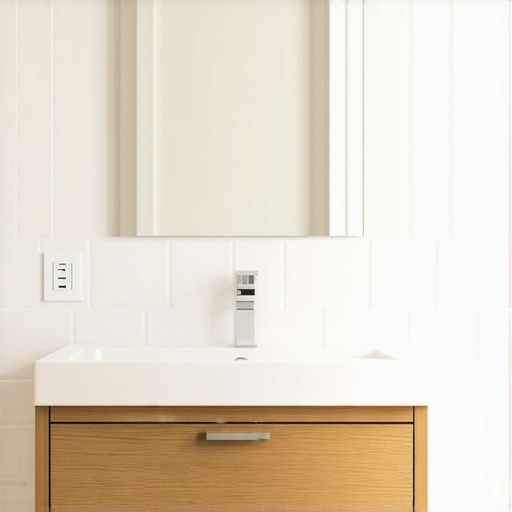
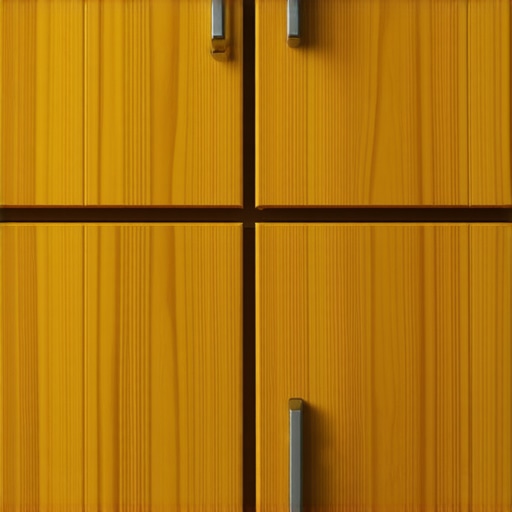
” alt=”Close-up of custom built-in cabinets with integrated lighting” title=”Detailed view of high-end custom cabinetry demonstrating finish and lighting considerations”/>
Invest in Precision Tools for Seamless Installation
When it comes to ensuring your custom cabinets and storage solutions stand the test of time, having the right tools is non-negotiable. I personally rely on a high-quality cordless drill with variable speed settings, which allows me to drill, drive, and countersink with precision. This variability helps prevent overtightening that can damage delicate veneers or finishes. Additionally, a digital caliper is indispensable for measuring custom components accurately, especially when fitting built-ins into irregular spaces—precision here minimizes gaps and ensures a perfect fit, prolonging the cabinet’s lifespan.
Leverage Software for Planning and Maintenance Tracking
Modern project management and design software like SketchUp or cabinet-specific applications such as 2025’s latest version enable 3D modeling of your kitchen layout, helping visualize potential issues early. I use these tools not just for initial design but also to create customized maintenance schedules—setting reminders for cleaning, tightening hardware, and applying protective finishes. Automating these routines helps maintain the integrity of your cabinetry, preventing deterioration caused by neglect. As automation trends advance, integrating AI-driven maintenance apps might become standard for homeowners aiming for long-term durability.
How do I maintain built-ins over time?
Maintaining your cabinets involves regular inspections for loose hardware or signs of wear. I recommend a routine where every six months, you check and tighten screws, lubricate hinges with silicone spray, and reapply protective finishes to high-touch areas. Using products like specialized cabinet lubricants can reduce squeaks and prevent hardware wear. Remember, establishing a maintenance habit extends the life of your investments and keeps everything functioning smoothly. In the future, expect innovations like smart hardware that can self-diagnose issues—making maintenance even more effortless.
Choose Long-Lasting Storage Solutions That Scale
When planning for scalability, modular storage components are your best allies. I prefer modular pull-outs and adjustable shelving systems, which can adapt to changing needs without full remodels. For example, using heavy-duty, full-extension slides ensures smooth operation over years, even under weightier loads like cast-iron cookware. These components are designed for durability but also to be easily repaired or replaced, saving money in the long run. For small kitchens or increasingly cluttered spaces, innovative solutions like smart storage modules can maximize capacity while maintaining ease of access and organization.
Design with Future Growth in Mind
Anticipating future needs means choosing adaptable storage and finish options. For instance, using veneer finishes with UV-stable coatings like those discussed by industry experts ensures your cabinets resist fading as your family grows and your tastes evolve. Incorporate adjustable hardware and removable panels that make renovations easier down the line. These strategies not only save money but also ensure your kitchen remains functional for decades.
Try implementing a routine with digital reminders to inspect and care for your cabinetry every season. Remember, proactive maintenance combined with high-quality tools and thoughtfully chosen solutions will keep your kitchen working flawlessly for years to come. Keep exploring innovative storage options and refine your maintenance processes—your future self will thank you!
” alt=”Precision tools used for cabinet installation” title=”Essential tools for durable cabinetry”/>
What I Wish I Knew When I Started Remodeling
- Don’t Assume All Finishes Are Equal: Early in my project, I believed that choosing a pretty veneer was enough. The harsh truth is, not all finishes resist LED glare or humidity. I’ve learned to prioritize fade-resistant and UV-stable coatings to keep my cabinets vibrant over time.
- Test Before You Commit: Applying small samples under your actual lighting setup revealed surprises that online reviews didn’t mention. This step saved me from costly mistakes and rework, making me confident in my final choices.
- Expert Advice Is Worth Its Weight in Gold: Consulting with seasoned craftsmen helped me understand the nuances of finish composition and hardware durability. Their insights turned my project from average to extraordinary.
- Meticulous Application Matters: Proper sanding, cleaning, and multiple thin coats with quality tools extended the lifespan of my cabinets. It’s the little details that make a big difference.
- Routine Maintenance Pays Off: Regular inspections, gentle cleaning, and reapplying protective finishes have kept my kitchen looking fresh and functional for years, proving that investment in upkeep is truly worthwhile.
Tools and Resources That Elevated My Remodel
- Smart Lighting and Finish Data: I rely on manufacturer labels and expert reviews from Real craftsmen to select durable finishes that withstand artificial light.
- Measuring Devices Are Game-Changers: A digital caliper and a quality cordless drill with variable speed have been indispensable in ensuring perfect fits and long-lasting hardware installation.
- Design Software for Planning and Maintenance: SketchUp and custom cabinet apps help me visualize, plan, and set up maintenance routines, keeping my kitchen in top shape.
- Reliable Books for Inspiration: Publications like The Ultimate Guide to Custom Cabinets have expanded my understanding and improved my decision-making process.
Your Next Move: Embrace the Learning Journey
Investing in high-quality finishes, precise tools, and expert insights transforms your kitchen remodel into a lasting success. Remember, each challenge is a lesson in disguise—embrace it with patience and curiosity. Your dream kitchen is within reach, and with careful planning and ongoing care, you’ll enjoy its beauty and functionality for years to come.
What’s one lesson from your own renovation experiences that changed the way you approach built-ins or finishes? Share below—I’d love to hear your story!