The Best Way to Clean Your New Granite Countertops
I stood there, paralyzed, staring at a dull, cloudy ring on my brand-new Brazilian quartzite. It had been exactly four days since the installers left. I had just finished my custom cabinets as a game changer in your kitchen remodel journey, and this stone was supposed to be the indestructible centerpiece of my home. In my excitement to keep it pristine, I’d grabbed a bottle of “all-natural” lemon and vinegar spray, thinking I was being eco-friendly. Instead, I was essentially pouring acid on my investment. The panic was real. I thought I’d ruined the seal forever. But through that mini-disaster, I learned exactly how these stones breathe and what they actually need to stay “showroom new” for decades. Today, I’m going to strip away the mystery and show you the dead-simple routine that keeps your surfaces gleaming without the pricey chemical cocktails.
Don’t Let Your Cleaning Habits Ruin Your Investment
For years, I thought stone was stone. Hard, cold, and impervious. I was wrong. Granite is surprisingly porous, and while it’s tough, it has a “skin” that needs respect. When you’re selecting storage solutions for a perfect kitchen upgrade, you’re usually thinking about where the pots go, not how a stray drop of olive oil might soak into your island if left overnight. My biggest early mistake was assuming that if a cleaner worked on my windows, it was fine for my counters. It took one expensive service call to realize that pH-neutral isn’t just a buzzword; it’s a survival requirement for natural stone. I remember the technician shaking his head, explaining that the “zingy” scent of my cleaner was the sound of my sealer being stripped away. If you’ve invested in a massive island, perhaps even one with the best way to support a 4-foot granite overhang, you know that keeping that much surface area clean can feel like a part-time job. Let’s make it a five-minute habit instead. It’s about working smarter, not harder, and definitely not more expensive. [image_placeholder_1]
Is that specialized granite spray actually worth the hype?
You see those fifteen-dollar bottles at the big-box stores and wonder if it’s just fancy water. The truth is, you don’t necessarily need a “granite-only” brand, but you absolutely cannot use common household acidic or abrasive cleaners. According to the Natural Stone Institute, using acidic cleaners like vinegar or lemon juice can cause “etching,” which is a chemical reaction that eats away at the stone’s surface. It’s not a stain you can scrub out; it’s physical damage. It looks like a permanent dull spot that only a professional can polish out. We’re going to talk about the dish soap trick, the microfiber secret, and how to tell if your sealer is actually doing its job. Have you ever noticed a “foggy” patch on your counters after cleaning and wondered what you did wrong? You aren’t alone, and it’s usually an easy fix if you catch it early. Setting the stage for the right products is the first step in ensuring your kitchen remains the heart of the home, durable and bright. This isn’t just about aesthetics; it’s about making sure your hard-earned money doesn’t literally go down the drain because of a bad cleaning habit.
Ditch the Heavy Chemicals for This Simple Daily Mix
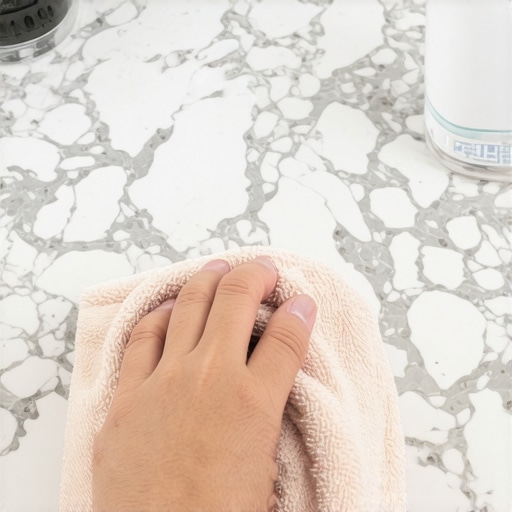
Cleaning natural stone shouldn’t feel like a complex chemistry experiment. Think of your sealer as the sacrificial “wax” on a luxury car’s finish; its job is to repel invaders, but it is fragile. For my daily routine, I use a mixture of 95% warm water and a single drop of pH-neutral dish soap. That is it. In my experience with modern kitchen remodels featuring custom cabinets and built-ins, homeowners often over-clean, scrubbing until they strip the protective layer right off the stone. When I was setting up my own kitchen, I prioritized the best way to organize your cleaning supplies under the sink so my “safe” spray was always the first thing I grabbed, preventing me from reaching for the bleach in a moment of panic. 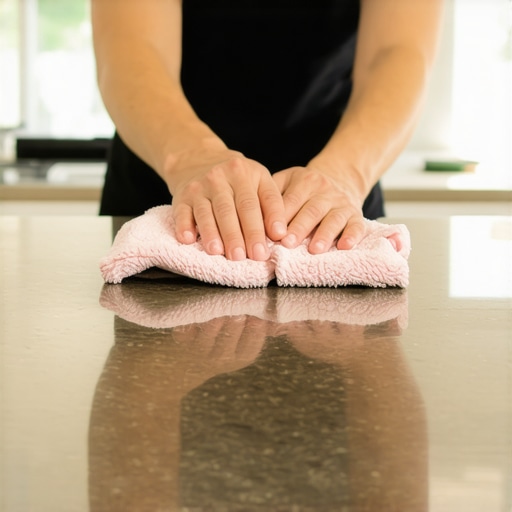
Why Microfiber is Your Countertop’s Best Friend
Paper towels are fine for a quick spill, but they can be surprisingly abrasive on high-polish surfaces over years of use. I switched to high-gsm microfiber cloths because they grab the dust and oils instead of just pushing them around. It is a similar philosophy to learning how to clean matte black cabinet hardware without scratches—it is all about the texture of the tool. If you have spent time creating seamless kitchen remasters with built-in storage solutions, you likely have expansive surfaces to cover, and a high-quality cloth makes the job glide. Once you have wiped the surface, follow up with a bone-dry cloth in circular motions to buff out any soap film for that streak-free shine.
The 10-Minute Water Test to Prevent Permanent Damage
I will never forget the “Great Salsa Spill” of 2023. A bowl of lime-heavy salsa sat on my quartzite island for six hours after a late-night party. I woke up the next morning with my heart hammering, certain the acidity had eaten a hole in the stone. I wiped it away, and the surface was perfect. No etch, no stain. This was only possible because I had performed the water bead test just a month prior. This simple check is the only way to know if your stone is actually protected or just pretending to be.
Test Your Sealer Every Six Months
Take a tablespoon of room-temperature water and pour it onto a high-traffic area of your counter, specifically near the sink or stove. Set a timer for ten minutes. If the water is still standing in a tight, rounded bead when the timer dings, your sealer is healthy. However, if the water has flattened out or left a dark, damp-looking spot on the stone, your protection has vanished. This “thirsty” stone is now a magnet for oils and pigments. Re-sealing is not a massive construction project; it is a simple wipe-on process that ensures your investment survives the next gathering. Ignoring this test is like driving a car without insurance—everything is fine until the moment it isn’t.
Stop Obsessing Over Door Styles and Look at the Box
Most homeowners spend 90% of their time agonizing over paint colors or whether to go with Shaker or flat-panel doors. While aesthetics matter, I have seen breathtaking kitchens fall apart in three years because the structural engineering was ignored. A common myth is that ‘all wood’ cabinets are inherently superior. In reality, the joinery technique is far more important than the material alone. In my experience, if you want your kitchen to survive a decade of heavy use, why your cabinet boxes should be stapled, glued, and screwed is the most critical conversation you can have with your builder. Relying on just one of those methods is a recipe for sagging shelves and misaligned doors. When you are innovative storage solutions for modern kitchen remodels, you are adding significant weight to those boxes with heavy mixers and stacks of stoneware; they need that triple-reinforced structural integrity to hold up. 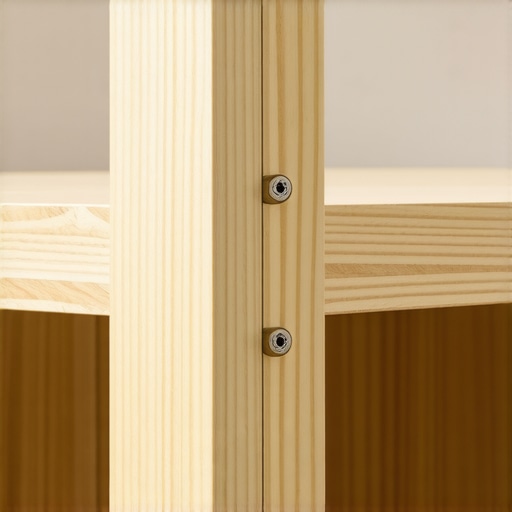
The Trap of Standard Interior Paint on Custom Woodwork
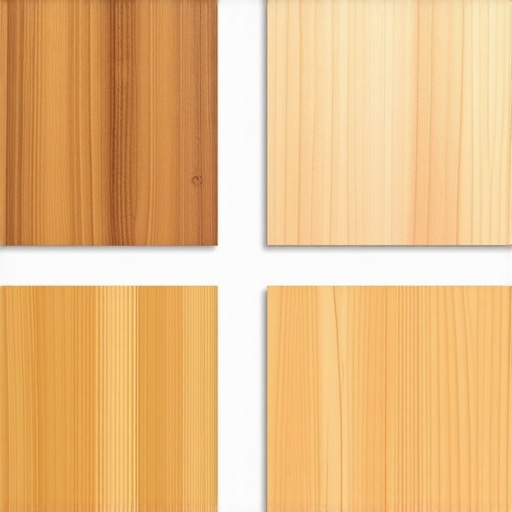
Here is a hard truth that many general contractors won’t tell you: standard wall paint should never touch your cabinets. I have seen clients try to save a few hundred dollars by using the same gallon they used on their trim. This is a massive mistake. According to the National Kitchen & Bath Association (NKBA), cabinet finishes must meet specific durability standards for moisture and heat resistance that standard latex paint simply cannot provide. This is why using standard interior paint on your kitchen cabinets is a five-year mistake that leads to peeling around handles and bubbling near the stove. If you are going for a painted look, you need to understand the best wood species for painted cabinets that will not crack at the joints. Natural expansion and contraction are the enemies of a smooth finish, and picking the wrong substrate will result in hairline cracks at every seam before the first winter is over.
Why does my expensive white kitchen look dingy and yellow after just two years?
It is incredibly frustrating to invest in a bright, airy space only to watch it take on a sickly amber hue. This usually happens because of high-VOC topcoats or poor UV-resistance in the lacquer. Understanding why your white cabinets are turning yellow and how to prevent it involves looking at the chemical makeup of the finish. If your kitchen gets a lot of natural sunlight, you need a non-yellowing acrylic or a water-borne conversion varnish. Additionally, I always warn clients about layout ‘traps’ that even seasoned designers miss. For instance, why you should never place a dishwasher directly against a wall is a lesson in ergonomics and moisture management. Without a proper end panel or spacer, the steam can wreak havoc on your side walls and limit your range of motion. We often get caught up in the ‘look’ of a magazine photo, but a functional kitchen is built on the details you can’t see. Have you ever fallen into one of these ‘hidden’ traps during a renovation? Let me know in the comments below.It is one thing to have a beautiful kitchen on day one; it is another to have those doors still hanging straight and the drawers gliding silently five years later. I have found that the secret isn’t just in the quality of the wood—it is in the hardware and the precision of the installation tools. For instance, I never start a project without a self-leveling cross-line laser. It might sound like overkill for a home project, but when you realize your floors are rarely flat, you will understand how to level a kitchen island on a significantly sloped floor without losing your mind or your cabinet’s structural integrity. If you rely on a standard bubble level, you are essentially guessing over long distances. When it comes to the ‘bones,’ I have seen too many people use drywall screws for cabinets because they are cheap. This is a huge mistake; they are brittle and will snap under the weight of your dishes. I always insist that why your base cabinets should be secured with 3-inch rugged screws is a conversation about long-term safety, as these screws feature a built-in washer head that prevents the cabinet back from pulling through the wall over time. 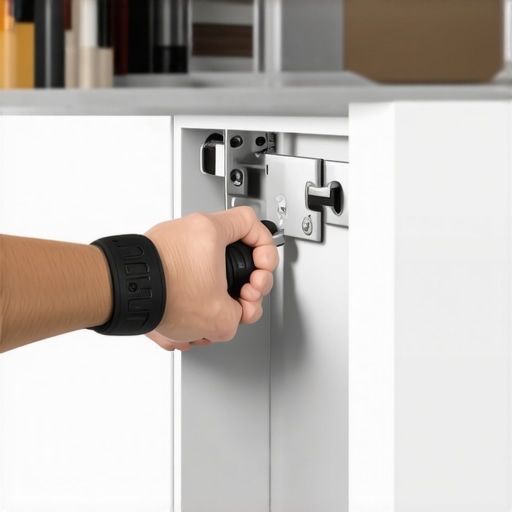
How do I maintain my custom storage and hardware over time?
The most common question I get from past clients is about those tiny misalignments that happen as a house settles. You do not need to call a contractor for this; you just need a Pozidriv screwdriver and ten minutes. Most high-end hinges, such as those from Blum, use a clever three-way adjustment system. Spending time on the 5-minute hinge adjustment for fixing wonky cabinet reveals is the easiest way to keep your kitchen looking crisp and professional. Also, if you notice your drawers are not as smooth as they used to be, it is vital to know why your drawer slides are grinding and how to clear the ball bearings. A quick blast of compressed air and a tiny dab of dry lubricant—never use WD-40 as it attracts dust—will fix the issue 90% of the time. Looking toward the future, we are seeing a massive shift toward ‘invisible’ utility. We are moving into smart storage solutions for small kitchens in 2025 that include integrated sensors and touch-to-open mechanics. According to the technical documentation for Blum’s SERVO-DRIVE system, motorized opening supports are becoming the new standard for heavy trash pull-outs and high-lift wall cabinets, significantly reducing physical strain on the cabinet joints. If you want to feel like a pro today, grab a flashlight and check the ‘reveal’—the gap—between your cabinet doors; if they aren’t perfectly parallel, try that adjustment screw trick tonight for an immediate, satisfying win.
The Hard Truths I Discovered After a Decade of Renovations
Over the years, I have realized that the most expensive kitchen isn’t always the best—the most thoughtful one is. First, always plan for the ‘messy’ reality; no matter how many innovative storage solutions for modern kitchen remodels you install, you still need a designated spot for the mail and keys. Second, the height of your surfaces can change your physical comfort daily. I often suggest checking why your kitchen island should be two inches taller than your perimeter counters to save your back during long prep sessions. Finally, never underestimate the power of hardware. I’ve seen beautiful doors ruined by poor choices, which is why I always share the secret to choosing hardware that does not snag your pockets. These small nuances are what separate a showroom from a sanctuary.
My Must-Have Toolkit for a Flawless Kitchen
If you want your renovation to stand the test of time, you need more than just a hammer. I rely on the Natural Stone Institute for every question regarding countertop longevity. For the technical side of cabinetry, I always refer back to the expert guide for 2025 regarding custom cabinets to stay ahead of material trends. For maintenance, a pack of 400 GSM microfiber cloths and a dedicated pH-neutral cleaner are the only things allowed near my stone. If you are extending your project beyond the kitchen, consider how built-ins that elevate your living rooms functionality can create a cohesive flow throughout your entire home.
Your Kitchen Remodel Journey Starts with One Solid Decision
Embarking on a renovation can feel like standing at the base of a mountain, but remember that every stunning home you see started with a single plan. Whether you are focusing on the structural integrity of your boxes or the perfect seal on your stone, these details build a legacy of comfort for your family. A successful kitchen remodel isn’t just about the reveal; it’s about the years of quiet, reliable service your space provides. Don’t be afraid to ask the hard questions of your contractors and demand the quality your home deserves. Which part of your current kitchen layout is giving you the most stress or ‘flow’ issues right now? Let me know in the comments below!