Why Vertical Knife Slots Are Safer and Cleaner Than Countertop Blocks
It was a typical Saturday morning when I reached for my chef’s knife and almost cut myself on the cluttered countertop. That moment of close call was a lightbulb moment for me. Traditional knife blocks spilling out blades or the cluttered counter space where knives lay exposed—not only looked messy, but also posed real safety risks. I realized there’s a smarter, cleaner way, and it comes down to one simple change: switching to vertical knife slots. I want to share my journey and show you how this small tweak can make your kitchen much safer and more organized.
The Hidden Dangers of Countertop Knife Blocks
For years, most of us grew up with those classic wooden blocks—stacked with knives right on the counter. But let me tell you, I learned the hard way that this method has some serious pitfalls. First, safety—knives in a traditional block can slip out, especially if the slots become worn or if you’re hurried. I once sliced my finger because a knife was loose and shifted unexpectedly.
Second, cleanliness. Countertop blocks are a magnet for dust, crumbs, and kitchen grime. They’re tough to clean thoroughly, which can lead to bacterial buildup and potential contamination. Plus, the blades are exposed, meaning dust and even kitchen splashes land right on the metal—gross, right?
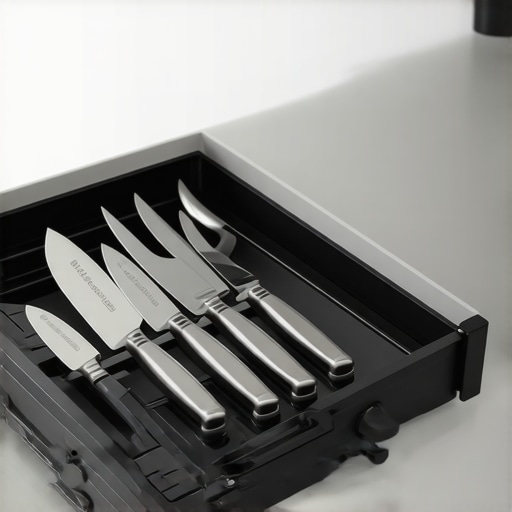
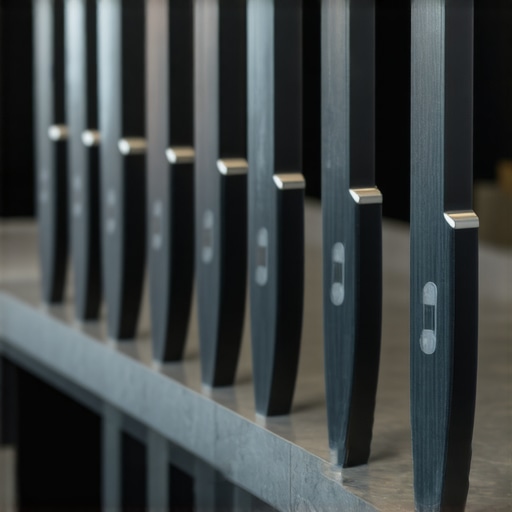
After making these mistakes early on, I started exploring better solutions. That’s when I discovered how vertical knife slots built into cabinets can solve both safety and hygiene issues. Not only do these slots keep knives out of sight, but they also secure blades in a way that’s more stable and hygienic. For minimalists and safety-conscious folks alike, this approach can be a game changer.
What We’ll Cover Today
In this post, I’ll guide you through why vertical kitchen knife storage is a smarter choice. We’ll cover the safety benefits, how much cleaner and more organized your space can be, and even some practical tips on adding these slots into your custom cabinets.
Is This Just a Trend, or Is It Truly Worth It?
When I first considered making the switch, I was skeptical. Could this really be better than what I had? I’ll admit, I made the mistake early on of assuming all storage solutions are equal. Trust me, I’ve tried the fancy magnetic strips, the over-the-sink holders, and the countertop blocks. None felt as safe or as neat as built-in vertical slots. Studies show that proper storage reduces accidents—so why settle for less?
If you’re tired of risking cuts every time you reach for a knife or battling a cluttered, bacteria-prone countertop, then you’re in the right place. I’ll show you how to transform your space so safety, cleanliness, and convenience are at the forefront. Ready to discover a smarter way to keep your knives? Let’s dive into how you can implement vertical slots that fit your style and needs.
Start with Precise Measurements of Your Space and Knives
Before diving into construction, I pulled out my tape measure and laid my favorite knives side by side on the countertop to measure their handle widths and blade lengths. This detailed check ensured the slots would fit comfortably without forcing or loosening. I marked the measurements directly onto my cabinet carcass to visualize the spacing, avoiding the common mistake of guessing. For best results, consider the widest, most unwieldy knife in your set to ensure universal compatibility.
Create the Layout for Vertical Slots
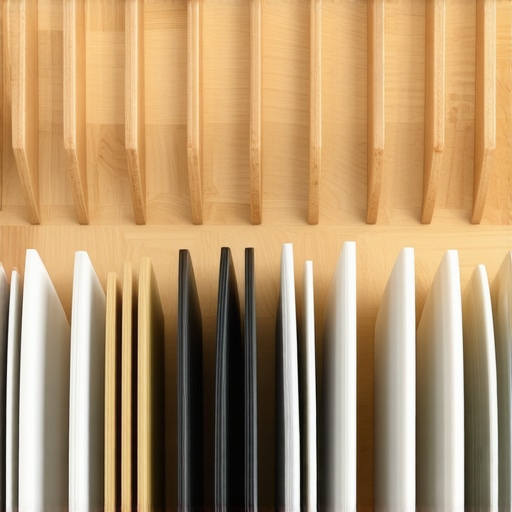
Next, using a pencil and a straightedge, I drew vertical lines on the interior side panel of my cabinet, spacing them according to my earlier measurements. Think of this step like designing the tracks for your slides—precision here matters. To enhance durability, I kept the spacing consistent, typically around 1.5 inches apart, accommodating different knife sizes and avoiding overcrowding, which can cause blades to collide or get stuck.
Choose the Right Cutting Tools and Materials
For the actual cuts, I used a jigsaw with a fine-tooth blade for cleaner edges, similar to how artisans carve wood with care. The material of the interior panel should be sturdy—hardwood or plywood works best—so it withstands regular use. I also selected a drill bit matching the width of the jigsaw blade to drill initial pilot holes at the top and bottom of each cut line, making the jigsaw’s job easier and more precise. This is comparable to preparing the track for a smooth ride, ensuring the blade slides effortlessly through the material.
Execute the Cuts with Care and Cleanliness
With everything aligned, I secured the panel with clamps and carefully threaded the jigsaw along the marked lines, maintaining a steady speed for smooth cuts. You might recall a time I experienced a wobble mid-cut—so I recommend practicing on scrap material first. Keeping my workspace dust-free, I used a small brush to sweep away debris after each cut, preventing dust from settling into the slots and maintaining hygiene. If you encounter resistance, don’t force the blade; instead, adjust your angle slightly or slow your pace—patience pays off in precise work.
Finish and Install the Slots Properly
After completing the cuts, I smoothed the edges with fine-grit sandpaper to prevent accidental cuts and facilitate easy knife insertion. Applying a light coat of food-safe mineral oil or sealant helped protect the wood from moisture, especially in humid climates, as discussed in this article. Finally, securing the panel back into the cabinet with concealed screws or dowels kept everything flush and sturdy. This approach not only modernized my kitchen but also enhanced safety—trusted solutions that align with custom cabinet ideas for a seamless fit.Many homeowners believe that installing built-in storage solutions or custom cabinets is a straightforward upgrade, but there’s more beneath the surface that often gets overlooked. Contrary to popular belief, not all built-ins are created equal, and the nuances in design choices can significantly impact functionality and longevity. For instance, a common myth is that mass-produced cabinets can easily be customized and will serve long-term needs, but expert insights reveal that tailored solutions often outperform off-the-shelf options in durability and style. Moreover, effective storage isn’t just about aesthetics; it’s about understanding the subtle interplay between materials, hardware selection, and environmental factors like humidity, which, if ignored, can cause warping—especially in high-moisture zones. Did you know that improper consideration of these elements can lead to costly repairs down the line? Delving into these details ensures your remodel isn’t just visually appealing but truly optimized for daily use.
One trap many fall into is overestimating the ease of installation. While DIY projects are tempting, neglecting precise measurements and structural analysis can result in ill-fitting cabinets that compromise both safety and aesthetics. For example, if you skip detailed assessments of wall anchoring or load distribution, your investment could sag or wobble prematurely. To avoid this, consulting expert resources like [this comprehensive guide](https://artisancabinetworkz.com/custom-cabinets-as-a-game-changer-in-your-kitchen-remodel-journey) can provide insights into the critical nuances of custom cabinetry installation.
For the advanced remodeler, understanding the *hidden factors* makes all the difference. One such nuance is the importance of selecting the right core material for durability under load and environmental conditions. Solid plywood, for instance, offers better stability than particleboard in humid areas, reducing the risk of warping—as highlighted in various expert studies. Another overlooked aspect is hardware longevity; choosing high-quality, soft-close hinges and slides can prevent sagging and operational issues over time.
Ever wondered how to optimize corner spaces without sacrificing accessibility? Innovative solutions like push-to-open mechanisms or angled shelves can maximize these tricky zones. Combining these advanced techniques results in smarter, more efficient storage solutions that elevate your kitchen’s style and function.
In summary, the art of creating durable, functional, and beautiful built-ins and cabinets hinges on appreciating these subtle yet critical nuances. Skipping them may seem like a shortcut, but it often leads to regret and costly fixes. Remember, a well-executed custom solution not only beautifies your space but also enhances daily convenience and safety. Want to learn more about elevating your home’s storage game? Explore [this article](https://artisancabinetworkz.com/built-ins-that-elevate-your-living-rooms-functionality) for additional expert tips. Have you ever fallen into this trap? Let me know in the comments.
Once you’ve installed your beautifully crafted and thoughtfully designed built-ins or custom cabinets, the journey doesn’t end there. Regular maintenance is essential to ensure they stay functional, attractive, and durable over the years. Personally, I recommend a routine inspection schedule every six months, focusing on hinges, hardware, and finish condition. Using high-quality tools like a precision screwdriver set allows me to tighten loose hardware without risking damage. For delicate finishes, a microfiber cloth and a gentle cleaner specifically formulated for wood or painted surfaces help remove dust and grime without abrasion.
How do I maintain my built-ins and cabinets over time?
Spend time checking for signs of wear, such as chipping paint, loosened joints, or warping in humid environments. Address minor issues promptly—tighten screws, reapply sealants, and adjust hinges as needed—to avoid costly repairs later. Upgrading hardware periodically, like switching to soft-close hinges or durable drawer slides, can also enhance functionality. For storage options, consider updating internal organizers or adding energy-efficient LED lighting to improve accessibility and visual appeal. In future trends, smart hardware integrated with connectivity features may even allow remote maintenance alerts, making upkeep more convenient. Using reliable software like expert tips can guide you in choosing storage solutions that adapt with your needs—so don’t hesitate to experiment with new accessories or configurations. Regularly cleaning and inspecting your cabinets preserves not only their appearance but also their structural integrity. For instance, applying a light coat of specialized protective sealant or wax helps repel moisture and reduce wear—especially in kitchens or bathrooms where humidity accelerates deterioration.
Tools I recommend for ongoing maintenance
My toolkit includes a flexible multi-bit screwdriver for quick adjustments, a putty knife for minor repairs or re-glazing, and a soft brush attachment for cleaning hard-to-reach areas. For more intensive work, a small orbital sander with a fine grit disc can refresh worn surfaces without damaging the underlying material. Additionally, as trends move toward eco-friendly and smart solutions, I see an increasing role for maintenance apps that remind you when to check or service certain components, ensuring your investments last longer. As you embrace these maintenance routines, you’ll find your cabinetry and storage systems continue to serve you well, keeping your space stylish and functional. Don’t forget, incorporating thoughtful tools and proactive care now can save you time and money in the future—so why not start with a simple monthly check of your hinges and hardware? For more in-depth insights on preserving your cabinetry, visit this article.
Embarking on a kitchen makeover can feel overwhelming, but integrating mindful built-ins and innovative storage solutions transforms your space into a haven of efficiency and style. From my personal journey, I’ve uncovered invaluable lessons that go beyond the surface, helping you avoid common pitfalls and achieve a truly custom look.
Lessons That Changed My Approach to Built-ins and Storage
- Details Matter More Than You Think: During my project, I realized that every millimeter counts when designing built-ins. Precise measurements for every cabinet, shelf, and slot prevent unnecessary adjustments later and ensure a sleek, professional finish.
- Embrace Thoughtful Materials: Choosing the right materials—not just for aesthetics but for durability—is crucial. I found that hardwoods like birch plywood resist warping, especially in humid zones, making your cabinets last longer and look better over time.
- Sneak-In Storage Saves Space and Hassle: Innovative solutions such as hidden spice racks or toe-kick drawers transformed my kitchen’s functionality, allowing me to hide clutter without sacrificing convenience. You can explore more creative ideas in this resource.
- Think Long-Term Maintenance: Regular check-ins and simple upkeep prolong your installed features’ lifespan. Simple tools like a microfiber cloth or soft-close damper adjustments keep everything running smoothly, saving money and stress down the line.
Tools and Resources That Make the Difference
- Digital Measuring Devices: Precision is everything. Devices like laser distance meters helped me get exact measurements, reducing errors and fitting issues. Consider investing in a quality tool for your project.
- Specialized Hardware: High-quality soft-close hinges and heavy-duty slides ensure longevity and ease of use. I trust expert recommendations for hardware choices that stand the test of time.
- Design Software: Visualizing your design before cutting can prevent costly mistakes. Software like SketchUp or even specialized cabinet design programs can help you plan and perfect every detail.
- Consultation with Craftsmanship Experts: When in doubt, reach out. Consulting with seasoned cabinetmakers—like those at this contact page—can provide insights tailored to your space and needs.
Your Next Move Towards a Smarter Kitchen
Building beautiful, durable, and highly functional built-ins is more than a renovation; it’s an investment in your daily life. As you plan your kitchen remodel, remember that paying attention to subtle details and utilizing expert-recommended tools can unlock the full potential of your space. Don’t shy away from experimenting with custom solutions—your perfect kitchen awaits. Want more tailored advice? Consider exploring these insights for seamless integration ideas.
What’s Your Next Step in Your Kitchen Makeover?
Are you ready to embrace custom-built features that bring style and function together? Share your plans or questions below and let’s craft your dream kitchen together!