Why Most Mudroom Benches Sag and the Cleat Fix That Stops It
I remember the first time I built a mudroom bench for my home’s entryway. It looked perfect—sturdy, charming, and just the right height for kicking off shoes. But within months, that beautiful piece was sagging in the middle, the wood bowing under the weight of daily family chaos. It was one of those lightbulb moments where I realized I hadn’t quite dialed in the structural support, and that slight failure turned into a persistent eyesore.
That experience taught me a lot. It’s incredibly frustrating to invest time and effort into creating functional, beautiful storage—and then see it start to sag. This problem isn’t unique; many homeowners and DIY enthusiasts face this exact dilemma, especially with built-in or semi-permanent structures like mudroom benches. The good news? I found a simple, effective fix that stops sagging in its tracks—the cleat support system—and I want to share that with you.
Today, we’re going to explore why most mudroom benches sag over time and how a straightforward cleat installation can preserve their integrity. No more wobbly, tired-looking benches—just sturdy, reliable storage that stands strong year after year.
Why Your Mudroom Bench Is Giving Way to Gravity
Understanding the root causes of sagging helps us prevent future problems. Typically, it’s a matter of inadequate support to bear the weight of shoes, boots, coats, and other everyday clutter. Many builders overlook the importance of proper bracing during the initial installation, or they rely solely on the weight of the structure’s frame. Over time, this leads to wood bending, joints loosening, and the inevitable droop.
There’s also the issue of wood quality and design. Using thinner plywood or cheap materials can make a bench more susceptible to warping under load. Plus, if the support structure isn’t customized for your space and the weight it endures, sagging becomes almost inevitable.
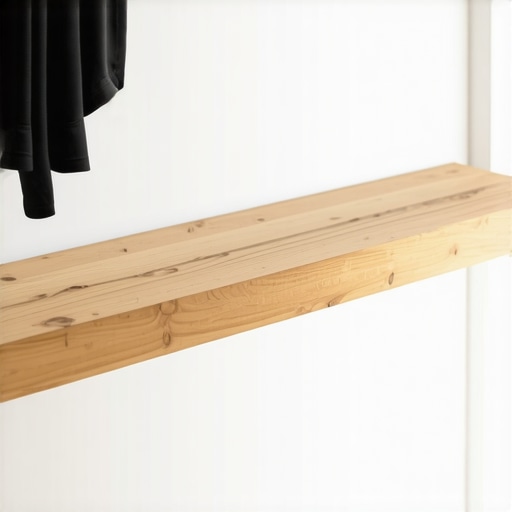
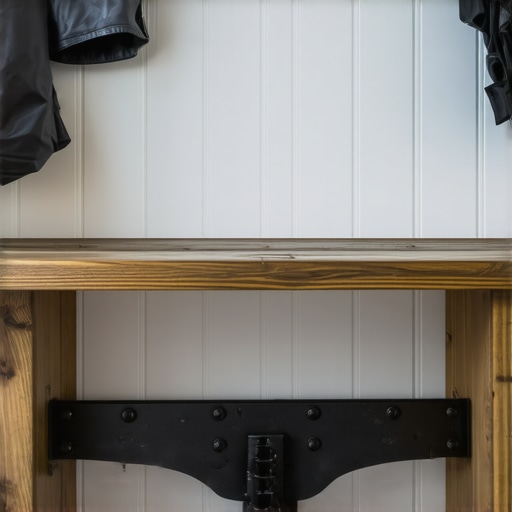
Thankfully, there’s a proven solution that doesn’t require ripping out the entire bench or reinforcing with complex steel supports. Just a simple cleat—an angled strip of wood attached to the wall or the underside of the bench—can do wonders. This approach ensures even weight distribution and provides a stable backbone that keeps your bench looking sharp and functioning flawlessly.
If you’re curious about how to select the best materials or want to see beautiful cabinet ideas that boost your home’s style, I recommend exploring some inspiring designs at [custom cabinets ideas that transform your home’s style](https://artisancabinetworkz.com/custom-cabinets-ideas-that-transform-your-homes-style). For now, let’s dive into how to implement this clever fix and protect your mudroom investment.
Are you tired of seeing your mudroom bench sag after just a few months? You’re not alone—and the solution might be easier than you think. Next, we’ll look at the step-by-step process of installing a cleat support system that guarantees your bench stays upright and sturdy for years to come.
Select the Right Materials to Reinforce Your Bench
Before jumping into the installation, gather sturdy materials. Use high-quality 3/4-inch thick plywood or solid hardwood strips for your cleats. A specific time I did this was during a weekend project where I used scrap oak—all it took was a few cuts and some sanding to make the support strips strong enough to handle heavy loads.
Mark Your Wall and Bench for Precise Placement
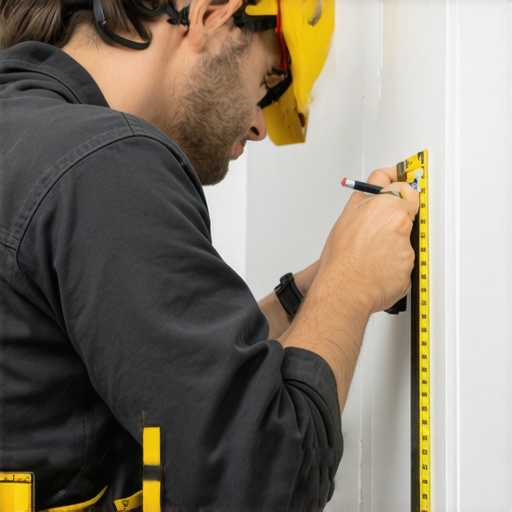
Measure carefully where the cleats will go—typically about 6 inches from the ground for optimal support. Use a level and pencil to mark horizontal lines on your wall. Think of this step as laying the backbone for a building—accuracy here ensures everything else aligns perfectly.
Tip:
If your walls are uneven, use shims or a level laser for accurate marking. I once had a wall that was slightly sloped, so I used shims behind the cleat to keep it flush, preventing future wobble.
Attach the Cleats to the Wall
Secure the support cleats using heavy-duty wall anchors and screws. Drill pilot holes into the wall, then attach the cleats tightly, ensuring they’re level. Imagine this as anchoring a safety belt—you need it firm and at the right angle. During my last install, I used a stud finder to locate wall studs, which gave me extra support and peace of mind.
Secure the Bench to the Cleats
Lift the bench and align it with the installed cleats. Use screws from underneath, going through the bench into the cleats. This creates a solid support—like a boat tied securely at its moorings. I once had a small helper hold the bench while I drilled, which made the process smoother and prevented mistakes.
Finish with Sealing and Testing
Sand any rough edges and apply a finish or paint matching your decor. Once dry, place weight on your bench to test stability. If it doesn’t sag or wobble, congratulations—your support system is a success. This simple fix transformed a wobbly, sag-prone bench into a piece that confidently handles daily use.
For more expert insights on cabinetry and built-in solutions, check out how custom cabinets can dramatically boost your home’s functionality and style at this guide. Implementing these straightforward steps protects your investment and ensures your mudroom stays neat and reliable for years to come.
 Many homeowners dive into built-in furniture or custom storage thinking they fully understand the process, but several misconceptions can lead to costly mistakes. Let’s examine the most prevalent myths and where they fall short in real-world applications.
First, there’s the idea that standard measurements apply universally. In reality, every space has its quirks—walls aren’t perfectly straight, floors aren’t level, and existing structures may influence your design. Relying solely on generic templates often results in ill-fitting installations, which compromise both function and aesthetics. To avoid this, I always recommend meticulous measurements and custom adjustments, especially when working with complex layouts or unique room dimensions. For inspiration on how tailored solutions can elevate your space, explore custom cabinet ideas.
Another common fallacy is the belief that added storage always equals increased clutter. In fact, poorly designed storage solutions can do the opposite—they create chaos and make accessing essentials more difficult. The key lies in strategic compartmentalization and understanding your usage patterns. Built-ins that incorporate adjustable shelves, hidden compartments, and smart organization tools are game-changers. Check out innovative storage tips to see how customization prevents clutter.
Many assume that cost directly correlates with quality—higher price tags guarantee superior durability and design. While price can be an indicator, it isn’t the whole story. The real determinant is material choice and craftsmanship. For instance, solid wood cabinets can last a lifetime if crafted with precision, but cheap particle board will warp over time regardless of the price. Educating yourself on materials, like reading about wood advantages and pitfalls, ensures your investment is sound.
A less obvious misconception is that built-ins are only suitable for large spaces. Many think they can’t work in small or awkward rooms, but this couldn’t be further from the truth. Clever design—like floating cabinetry, vertical storage, or under-stair systems—maximizes every inch. For instance, small-space storage innovations have revolutionized how we use limited areas.
Lastly, a sneaky trap involves rushing the planning phase, underestimating the importance of detailed measurements and design. Skipping this step can lead to misfitted cabinets, uneven finishes, and wasted time or money. Always double-check dimensions, consider door swing clearances, and if possible, consult with experts who can anticipate issues before they become costly fixes.
Curious about advanced strategies? For example, optimizing a kitchen remodel with built-ins involves nuanced decisions like choosing between inset or overlay doors depending on humidity levels and usage. For a deep dive into such topics, see expert tips on kitchen upgrades.
Understanding these misconceptions is essential for designing spaces that are both beautiful and functional. Do you have a built-in project that didn’t turn out as expected? Share your experience in the comments—let’s learn from each other!Maintaining your custom cabinets, built-in storage, and kitchen remodel investments is crucial for long-term durability and function. As someone who has navigated countless projects, I rely on specific tools and techniques to ensure everything stays in top shape over the years. One of my essential tools is a high-precision moisture meter; it helps me monitor wood humidity levels, preventing warping or warping-related issues, especially in areas prone to humidity fluctuations. Additionally, investing in soft-close damper systems, like those from Blum, allows me to prevent cabinet doors and drawers from slamming—reducing wear and tear over time.
For ongoing maintenance, I recommend establishing a regular cleaning and inspection routine. Use a microfiber cloth and a gentle cleaner to keep surfaces dust-free without damaging finishes. Periodically check hinges, drawer slides, and support hardware—tightening screws and replacing worn components proactively can save you money and hassle in the long run. Also, applying a suitable wood conditioner or finish every few years helps maintain the luster of your cabinetry, especially if your space experiences temperature or humidity swings.
How do I keep my built-ins functioning seamlessly year after year?
One strategy I swear by is installing a magnetic field tester to identify hidden electrical issues behind some built-ins or integrated lighting. This small, affordable device alerts you to potential problems before they escalate into costly repairs. A professional-grade option I suggest is the Non-Contact Voltage Tester by Fluke, which I personally use on every project to ensure safety and proper operation.
Looking ahead, I believe the trend in built-in maintenance will lean toward smart monitoring systems. These could notify homeowners of humidity spikes, hardware looseness, or even suggest cleaning schedules—making home upkeep more intuitive and less manual. Imagine having your cabinets send alerts to your phone, reminding you to re-oil hinges or check seals. Such innovations will surely become more accessible as smart home technology advances.
Time to Get Hands-On: Start Improving Your Maintenance Routine Today
Try integrating a moisture meter into your weekly check-ins, especially if your cabinets or built-in storage are near water sources or in humid climates. Consistent monitoring helps catch issues early and ensures your custom cabinetry remains a beautiful and functional centerpiece for years. For a comprehensive understanding of how to enhance your storage solutions, don’t miss exploring modern kitchen remodeling with built-ins. Taking proactive steps now will make future maintenance easier and extend the lifespan of your investments.
The Hardest Lesson I Learned About Built-ins and Storage Enhancements
One of my most significant takeaways is that every space demands a bespoke approach. I once attempted to replicate a popular design without adjusting measurements to my room’s unique dimensions, which resulted in mismatched proportions and frustration. That experience reaffirmed the importance of meticulous planning and tailored solutions rather than relying solely on templates. Embracing personalized design not only elevates functionality but also imbues your space with character and purpose.
Tools and Resources That Transformed My Projects
My go-to resource has consistently been this collection of custom cabinet ideas. It offers insights into innovative designs that marry aesthetics with practicality. For measurements and planning, I trust a quality laser level and a durable tape measure—precision is paramount when crafting built-ins that fit seamlessly. Additionally, exploring expert tips on storage selection helps me avoid common pitfalls and achieve long-lasting results.
Keep Moving Forward: Your Built-ins Can Be Futureproof
Thinking ahead can save you headaches later. Incorporate adjustable shelves, hidden compartments, and versatile hardware—all features that adapt to your evolving needs. Don’t shy away from experimenting with innovative storage ideas like custom kitchen remodels with smart built-ins. Starting today, small adjustments—such as installing adjustable supports or modular shelves—can significantly enhance your space’s longevity and usability. Embrace the journey of transforming your home into a tailored sanctuary that truly reflects your lifestyle.