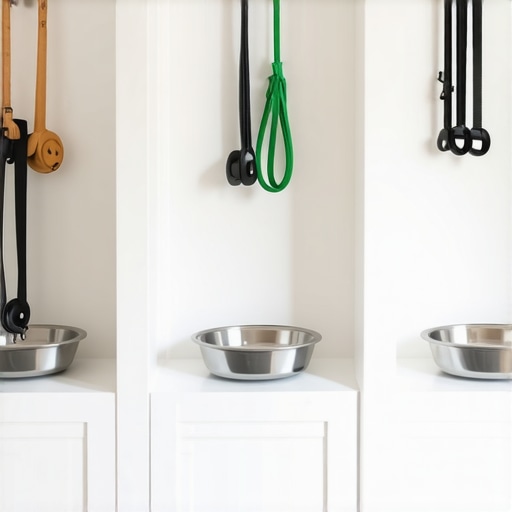
3 Built-In Pet Stations to End Mudroom Clutter Forever
It was a typical Saturday morning when I finally lost it. Shoes, leashes, raincoats, muddy paw prints—everywhere. My mudroom looked more like a pet tornado had barreled through than a neat entryway. I realized I was spending half my day just trying to find where I left Fido’s leash or wipe off Charlie’s paws before entering the house. That lightbulb moment? I knew I needed a better system—something built-in, functional, and tailored to my family’s needs.
Why Pet Stations Are Game-Changers for Mudroom Messes
Disorganized mudrooms are a universal pain point, especially for pet owners like us. It’s not just about clutter; it’s about convenience, cleanliness, and even safety. Muddy paws tracked all over the floor can lead to slips or nasty muddy footwear that’s hard to jostle into shape. Plus, when everything’s just thrown into a corner or shoved into a random cabinet, it adds to the chaos.
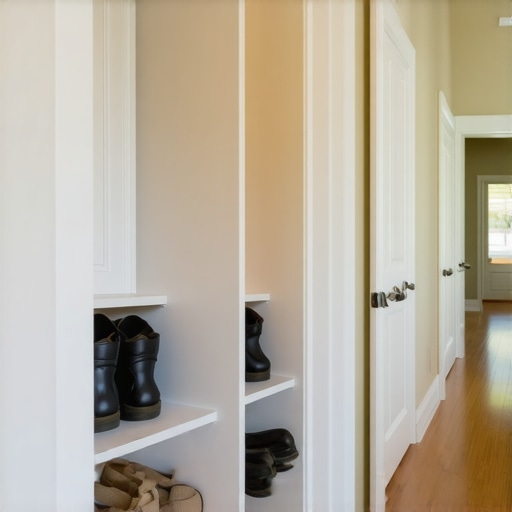
A well-designed, built-in pet station can truly transform your entryway. It keeps leashes, collars, grooming supplies, and muddy gear organized in a dedicated space—right where you need it. But the real magic happens when these stations are integrated seamlessly into your existing cabinetry or wall units, turning clutter into simplicity.
Early on, I made a rookie mistake—going for off-the-shelf storage solutions that didn’t fit my space or match my decor. The results? Clunky, inconvenient, and quickly abandoned. That’s why I’m so passionate about custom-built solutions. When they’re designed thoughtfully, they don’t just hide clutter—they streamline your entire entry routine.
Ready to stop tripping over your pet’s gear? Let’s dive into how custom-built pet stations can finally make that mudroom mess a thing of the past. By the end of this, you’ll see how a little planning and expert craftsmanship can turn your chaotic entryway into a sleek, functional space—the kind everyone admires and benefits from.
Is a Built-In Pet Station Actually Worth the Hype?
Many skeptics worry that custom solutions might be expensive or require too much effort. Believe me, I’ve been there. I initially thought a few plastic bins would do the trick, but they quickly proved to be clunky and unsightly. Investing in well-designed, custom cabinetry may seem like a luxury, but it pays dividends in organization, durability, and even home value. If you’re concerned about whether this is just another fad, consider this: a study by the National Association of Realtors highlights that professional remodeling projects, especially those with custom features, can boost home resale value by up to 10%.
One mistake I made early in my own renovation journey was underestimating the importance of durable materials that withstand the wet and muddy environment. For example, using low-grade plywood resulted in warping after a few seasons, but choosing high-quality, moisture-resistant options saved me headaches—and money—in the long run.
If you’ve ever faced this kind of mudroom chaos, you’re not alone—and there’s a practical, beautiful solution waiting. Next, I’ll show you how to design your own built-in pet stations that not only organize but elevate your entire home’s style and function. Trust me, once you see the transformation, you’ll wonder why you waited so long.
Selecting the Perfect Location and Measuring Space
Start by choosing a spot near your mudroom entrance that’s easily accessible yet out of the way of main traffic. Use a tape measure to record height, width, and depth, ensuring it won’t obstruct doors or walkways. I once mistakenly placed mine by the coat closet, which caused clutter, but shifting it to an open wall made all the difference.
Designing the Layout for Functionality
Envision a space that holds leashes, collars, grooming supplies, and muddy shoes. Think of it as designing a mini kitchen—efficient compartments, drawer sawing, and easy access matter. I opted to incorporate a long narrow drawer for leashes and hooks mounted on inside panels for quick grab-and-go access. Consider including a raised platform for muddy paws, which I made from moisture-resistant plywood—more on that later.
Choosing Durable Materials Is Crucial
In my first attempt, I used low-grade plywood, which warped after a season of rain and mud. To avoid that, I selected high-quality, moisture-resistant plywood, like C-3 grade, which resists warping and swelling—especially important in damp environments. For more on selecting right materials, check this guide: Why C-3 Grade Plywood Fails in High Humidity Kitchens. I then coated internal surfaces with waterproof sealant and used stainless steel hardware to prevent rust.
Building the Frame and Shelves
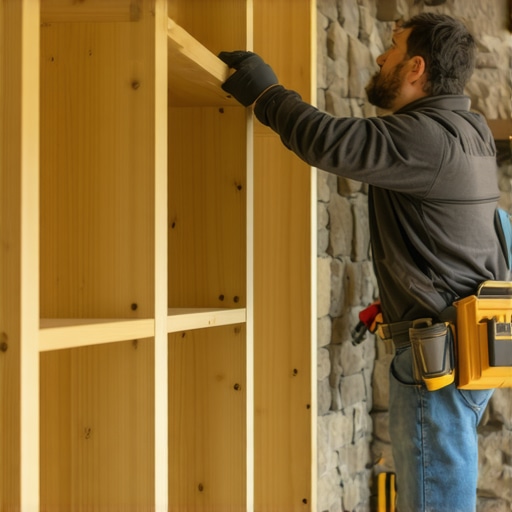
Start by framing your structure with sturdy 2x4s anchored directly into the wall studs. Think of this as constructing the backbone—like building a strong foundation for a house. Use a level to ensure all vertical and horizontal elements are perfectly aligned; neglecting this caused my first shelves to tilt, causing chaos with hanging gear. Attach pre-cut plywood panels to create walls and shelves, securing with corrosion-resistant screws. Remember, precise measurements and support are key to a sturdy build.
Incorporating Specialized Storage Features
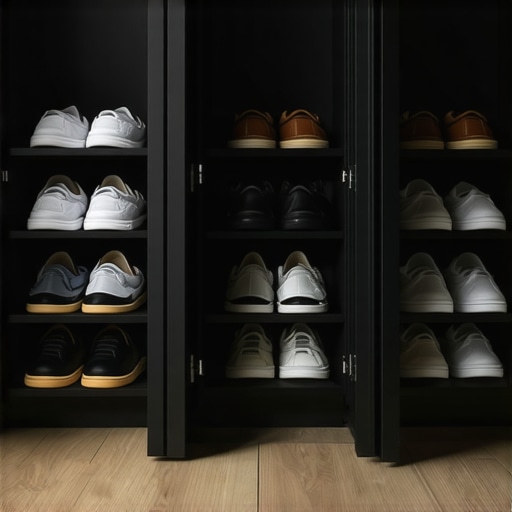
Add hooks, bins, and maybe a small bench with compartments. Use adjustable hooks for flexibility; I mounted them on a reinforced panel behind the main compartment, allowing for accessories to be rearranged as needed. For muddy shoes, install moisture-resistant trays with drain holes. I repurposed plastic or rubber mats for grip and easy cleaning.
Sealing and Finishing Touches
Once assembled, sand all surfaces smooth. Apply a waterproof sealant or epoxy coating on all exposed wood to withstand moisture. For aesthetic consistency, paint or stain the unit to match your decor. I chose a matte finish to mask fingerprints and dirt—similar to those hard-wearing finishes in modern kitchens, which you can explore here: 5 Kitchen Remodel Fixes That Stop Persistent Drawer Jamming.
Mounting for Safety and Stability
Secure your built-in to the wall using heavy-duty brackets and anchors. I used steel support braces, similar to those used for floating shelves, to ensure stability during daily wear and tear. This prevents accidental tipping, especially with active pets and kids.
Final Check and Optimization
Walk through your new station, test accessibility, and make adjustments. Keep in mind, customization allows you to tailor the space obsessively—adding compartments for toys or a water bowl holder. Remember, designing with flexibility ensures your pet station remains functional and stylish for years to come, enhancing your mudroom’s organization while celebrating craftsmanship.Many homeowners and designers believe they understand the essentials of custom cabinetry and built-ins, but in reality, there’s a hidden layer of nuance that often gets overlooked. One widespread misconception is thinking that choosing high-quality materials alone guarantees a flawless result. While material quality is vital, the real mastery lies in understanding how subtle details—like grain direction, joint alignment, and hardware placement—affect long-term durability and aesthetic harmony. For instance, improper grain matching can cause visible seams that diminish the visual impact and can lead to structural weaknesses over time. Letting budget dictate these fine choices is a mistake that can cost you dearly, both financially and in satisfaction.
Another common myth is that standard dimensions work universally. In practice, a successful custom project begins with meticulous measurements and tailored adjustments. Many assume that off-the-shelf sizes can be tweaked easily, but in reality, minor miscalculations escalate into frustrating fitting issues and uneven gaps. This oversight often results in the need for costly modifications or rework, which could have been avoided with proper planning and expert insight.
The biggest trap, however, is neglecting the importance of flow and integration within your space. Custom cabinets and built-ins should not just be visually appealing—they must serve the user seamlessly. Overlooking traffic patterns or functionality differences can make your beautiful new storage solutions inconvenient, leading to more clutter and frustration. Investing in professional consultation is crucial for optimizing these aspects, ensuring that your cabinetry supports your daily routines and enhances the room’s utility.
Consider the advanced question: How can I ensure that my custom cabinetry maintains pristine function after years of use? Insights from industry experts highlight the importance of choosing hardware with high cycle ratings and incorporating soft-close mechanisms from the start. Regular maintenance of hinges and slides prolongs their lifespan and preserves the quality of your installation. A study published in the Journal of Architectural Engineering emphasizes that well-chosen hardware significantly reduces wear-and-tear, extending cabinet life and maintaining aesthetic appeal—so short-term savings on hardware may lead to long-term headaches.
Avoiding these pitfalls requires a blend of technical knowledge and a keen eye for design harmony. Remember, your custom cabinetry isn’t just about matching your style; it’s about creating a space that works flawlessly for years. Curious how to incorporate these insights into your next project? Explore expert tips on selecting storage solutions for a perfect kitchen upgrade or learn more about transforming your home with custom cabinets. Have you ever fallen into this trap? Let me know in the comments.Maintaining beautifully crafted custom cabinets and built-ins requires the right arsenal of tools and a proactive approach to upkeep. Personally, I swear by a combination of high-quality hardware, precise measurement devices, and specialized cleaning products to keep my installations in tip-top shape. For example, a digital caliper ensures I get perfect measurements for adjustments, especially when aligning doors and drawers. It saves so much frustration compared to relying on traditional tape measures, which can be prone to error over time.
When it comes to hardware, investing in soft-close hinges and heavy-duty slides makes a world of difference. Not only do these components extend the lifespan of your cabinets, but they also enhance user experience by preventing slamming and reducing wear. For ongoing maintenance, I recommend using a silicone-based lubricant on hinges and slides twice a year. It’s a simple step that preserves smooth operation and minimizes squeaks.
Cleaning is equally important. I like to use a microfiber cloth dampened with a gentle cleaner—preferably one designed specifically for wood or laminate finishes. Avoid generic all-purpose cleaners, which can strip protective finishes over time. Regular dusting combined with occasional wiping prevents the buildup of dirt and grease, especially in kitchens or mudrooms.
To keep your custom cabinetry functioning flawlessly, it’s essential to monitor hardware wear and make adjustments before issues become apparent. A Phillips head screwdriver and a hex wrench kit are invaluable for fine-tuning alignment and tightening loose screws. For stubborn stains or sticky residue, a mixture of mild soap and water usually does the trick, but always test a small area first to avoid damage.
Looking ahead, the trend toward smart maintenance is gaining traction. Coming innovations involve sensors embedded within cabinetry that can alert you when hinges or tracks need lubrication or replacement. While these are still emerging, they promise to revolutionize long-term care for built-ins, making upkeep more intuitive and less time-consuming.
How do I maintain my cabinetry over time?
Start by inspecting hinges, pulls, and slides monthly to catch any looseness or wear. Using the right tools—like a screwdriver or Allen wrench—to tighten or replace parts can prevent bigger problems down the line. Incorporate regular cleaning with products suited for your cabinet finish to preserve surface quality. Don’t forget to lubricate moving parts periodically; a silicone spray is usually ideal. Lastly, schedule a professional check-up every few years, especially if your built-in features see heavy use.
If you’re interested in elevating your storage solutions, explore innovative ideas for maximizing space at https://artisancabinetworkz.com/smart-storage-ideas-to-maximize-your-kitchen-space-this-year. For further insights on maintaining your custom kitchen on a budget, this article offers valuable tips: https://artisancabinetworkz.com/expert-tips-on-selecting-storage-solutions-for-a-perfect-kitchen-upgrade. Taking small, consistent steps now can save you significant time and money later, ensuring your built-ins continue to impress and serve for years to come. Try beginning with a regular lubrication routine or an annual professional inspection—your future self will thank you.
Reflecting on my journey, the most vital lesson was realizing that perfection in storage isn’t about extravagance but thoughtful customization. I learned that investing time in detailed measurements and material quality profoundly impacts durability and aesthetics. Moreover, integrating storage solutions seamlessly into your home’s design elevates both functionality and style, turning chaos into an organized sanctuary. Finally, I discovered that continuous maintenance, from hardware checks to proper cleaning, extends the life of your built-ins, ensuring they remain a trusted part of your home for years to come.