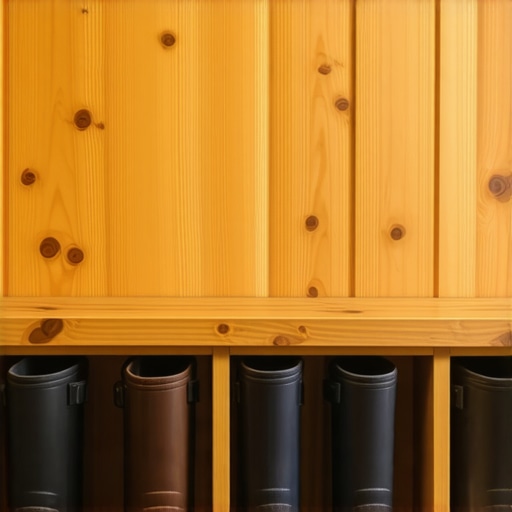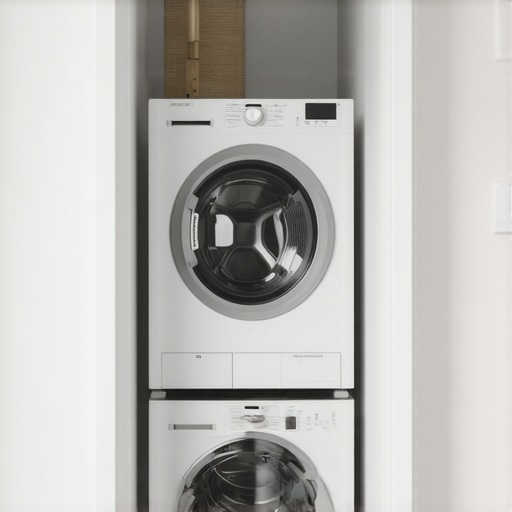
3 Built-In Laundry Hampers That Save Your Bathroom Floor Space
One morning, after battling a mountain of laundry that somehow seemed to expand overnight, I suddenly realized something. My bathroom floor was a no-go zone—clothes, hampers, and miscellaneous odds and ends had taken over every available inch. It hit me that my cluttered space was not only frustrating but also draining my daily peace of mind. That lightbulb moment made me rethink my entire storage approach.
If you’re tired of tripping over laundry baskets or battling for space in a cramped bathroom, you’re not alone. I’ve been there, and I know the feeling of wanting a clean, functional sanctuary without sacrificing precious floor space. Luckily, the solution isn’t as complicated or expensive as you might think. Today, I want to share with you three built-in laundry hamper ideas that can transform your bathroom into a clutter-free zone—saving your floors and your sanity.
Why Built-In Hampers Are a Game-Changer for Small Bathrooms
Bathrooms are often the trickiest spaces to organize. Limited room means that every inch matters, especially when it comes to laundry storage. Traditional hampers can be bulky, unattractive, and easy to overlook when designing your space. But installed directly into your cabinetry or wall, built-in laundry hampers become part of the room’s flow, seamlessly hiding away dirty clothes until laundry day.
One of the benefits I discovered early on is that built-in solutions help maintain a tidy appearance and reduce clutter-induced stress. Plus, if you choose the right design, they’re incredibly convenient—you won’t have to lug laundry baskets around or squeeze through narrow doorways to toss your clothes in. Did you know that optimizing bathroom storage can even improve your mental well-being? According to a recent study, tidy spaces significantly reduce stress and anxiety (source: Psychology Today). That’s quite the incentive to rethink how we handle laundry!
So, if you’ve faced the frustration of cluttered bathroom floors, stick around. I’ll guide you through how to select the perfect built-in laundry hampers—making your space functional, stylish, and above all, clutter-free.
Is a built-in laundry hamper really worth the hype?
I’ll admit, I was skeptical at first. Investing in custom cabinetry seemed like overkill, but I quickly learned that mistakes—like choosing the wrong size or location—could make or break the whole project. I once installed a poorly planned laundry pull-out that jumbled my mornings and added to my stress. Learning from that slip-up, I now recommend paying close attention to your bathroom’s layout and your daily routine before opting for a built-in hamper. Taking the time to plan properly can save you headaches down the line. Want some tips on selecting the right storage solutions? Check out this guide for expert advice.
Measure Your Space for Precision
Start by measuring the available wall or cabinet area where you plan to install your built-in hamper. Use a tape measure to record width, height, and depth, noting any irregularities or obstructions like pipes or electrical wiring. I once hastily measured a small bathroom and ordered a hamper that was too wide, forcing me to redo the entire installation—learning this the hard way underscores why careful measurement is essential. Document your dimensions and compare them against standard cabinet sizes to identify the best fit.
Identify Optimal Locations and Access Points
Choose a spot that’s convenient for daily use—near the laundry hampers or close to your bathroom vanity. The goal is to minimize steps and avoid placing the hamper in high-traffic zones that might cause clutter elsewhere. I decided to position mine inside a deep cabinet next to the laundry area, which kept the clutter hidden but still accessible. Remember, aligning the hamper with your routine helps maintain consistency and eases cleanup.
Design and Select Your Components
Decide whether you want a pull-out drawer, a hinged lid, or a simple compartment. For a sleek look, consider a custom cabinet door that hides the hamper entirely. Use example designs from [this detailed guide](https://artisancabinetworkz.com/transform-your-kitchen-with-custom-cabinets-expert-guide-for-2025) to visualize options. When I designed mine, I opted for a pull-out system with smooth ball-bearing slides, which made accessing laundry effortless and reduced bending—implementing quality hardware was key to durability. Picking the right components ensures longevity and ease of use.
Select Materials That Last
Opt for moisture-resistant materials like plywood or MDF with a sealed finish to withstand humidity typical of bathrooms. Avoid particleboard, which warps over time. During my project, I chose a hardwood veneer for aesthetics and durability, ensuring the cabinet matched existing trim. This attention to material choice prevents sagging or damage, saving you future renovation headaches. For further insights into building durable cabinets, explore [this resource](https://artisancabinetworkz.com/why-euro-style-cabinets-are-actually-sturdier-than-face-frame-builds).
Plan the Assembly and Installation Process
Sketch your cabinet design or use digital tools to create detailed drawings. Mark the placement of slides, hinges, and handles. During assembly, I found that pre-drilling holes for hinges and hardware prevented splitting and aligned everything perfectly—taking your time reduces errors and saves frustration. Use a level to ensure horizontal and vertical accuracy, especially if installing within existing cabinetry. Having precise plans is crucial for a seamless look and function.
Prepare the Opening for Inset Fit
If opting for an inset cabinet, scribe the opening to match uneven walls or ceilings. Use a compass or scribing template to trace the exact profile. I once faced a sloped wall and used a carpenter’s scribe to create a custom fit, which eliminated gaps and fooled the eye into thinking it was a built-in. This technique elevates the style and ensures a tight, professional finish—essential for custom cabinetry success.
Executes the Installation with Care
Begin by securing the cabinet frame into wall studs or anchors, using appropriate hardware for your wall type. I drilled into wooden studs with heavy-duty screws, ensuring a solid hold. Attach slides or hinges, following manufacturers’ instructions verbatim. Regularly check alignment with a level—this prevents doors from misaligning or drawers from jamming. Patience during this step directly affects the long-term integrity of your built-in hamper.
Finish with Aesthetic Touches
Apply paint, stain, or sealant as desired, paying attention to edges and corners for a clean appearance. Install handles or knobs chosen to complement your bathroom decor. I decided on matte black hardware for contrast, which added a modern flair and was easier to grip daily. Adding soft-close dampers or door stops enhances usability and prolongs hardware life. Small details make a big difference in the overall look and feel.
While many assume that opting for custom cabinets automatically guarantees a perfect kitchen, this belief overlooks several nuanced pitfalls that can undermine your project’s success. One common misconception is that more expensive or intricate designs always yield better results. In reality, over-customization can lead to rigidity, mismatched aesthetic harmony, or increased costs without proportional benefits. For instance, prioritizing elaborate detailing over functional layout can reduce storage efficiency, especially if the design isn’t tailored to your specific workflow, as highlighted in expert guides on custom cabinet ideas.
Maintaining your custom cabinetry and built-in storage is essential to ensure they continue to serve their purpose efficiently and look stunning over the years. Using the right tools and adopting precise methods can make all the difference in preserving their beauty and functionality. One of my go-to tools is a high-quality small detail sander. I use it regularly to smooth out touch-up areas without removing too much material, especially when dealing with painted or stained surfaces. This allows me to easily handle routine refinishing and minor surface repairs, preventing small issues from escalating into costly replacements.
Another invaluable device I rely on is a digital moisture meter. Bathrooms and kitchens are humid spaces, and monitoring the moisture level in your cabinetry helps prevent warping or mold growth. By keeping moisture content in check, I can identify early warning signs and take corrective action—saving the investment in your cabinetry. For software, I prefer using cabinet design and maintenance tracking apps like SketchUp. It enables me to document detailed measurements, plan upcoming repairs, and even simulate future modifications, which is especially useful when long-term planning or scaling your storage solutions.
How do I maintain built-ins to last for decades?
Regular cleaning with a microfiber cloth and a gentle, pH-neutral cleaner is a simple yet effective maintenance routine. I avoid harsh chemicals that can damage the finish or cause discoloration. For hardware like hinges and slides, I lubricate them biannually with silicone-based spray—I’ve found this drastically reduces squeaking and premature wear, ensuring smooth operation down the line. When it comes to long-term results, sealing the wood with a light coat of wax or polish can help protect against moisture and scratches—especially for surfaces that see frequent use.
The future of cabinetry maintenance points toward smarter solutions. Emerging products, such as integrated sensor-based humidity monitors and IoT-enabled hardware, promise real-time health tracking for your cabinets and storage areas. Implementing these might seem advanced now, but as technology becomes more affordable and accessible, expect routine upkeep to become more automated and precise, reducing the need for manual inspections and repairs.
Try this: Use a magnetic pull-behind screwdriver for quick hardware adjustments
This tool allows for swift tightening or loosening of hinges, handles, or drawer pulls, especially in tight spaces. Its magnetic tip securely holds screws, preventing drops and saving time during maintenance. Incorporate this simple tip into your routine, and you’ll find minor repairs become effortless—keeping your custom cabinets in prime condition without the need for professional intervention. Want to learn more about optimizing your cabinetry’s durability? Check out this article for insights on durable cabinet materials.
What I Wish I Had Known Before Diving Into Built-In Projects
One of my biggest lightbulb moments came when I realized that rushing measurements and rushing plans often led to gaps or misalignments, costing me time and money. Patience and thorough planning are your best friends in creating built-in storage that lasts. Also, I learned that selecting durable, moisture-resistant materials upfront saves headaches later—don’t skimp on quality. Lastly, I discovered that embracing a minimalist approach—less clutter, more intentional design—transforms everyday spaces into sanctuary-like environments, making maintenance easier and your home more relaxing.
Tools and Resources That Elevate My Custom Cabinets Experience
Over time, I’ve come to rely on a few trusted resources. For precise measurements and planning, this guide has been invaluable, ensuring I avoid costly errors. When selecting hardware or finishing options, these resources help me choose options that stand the test of time. Additionally, digital design tools like SketchUp enable me to visualize before building, reducing surprises and ensuring that each detail fits perfectly. Investing time in these tools elevates the final result and makes the entire process more enjoyable.
Built-In Storage: Your Home’s Quiet Hero
Designing built-in cabinets and hidden hampers isn’t just about aesthetics—it’s about reclaiming your space and peace of mind. Every time I step back and see my thoughtfully integrated storage solutions, I feel a sense of accomplishment and serenity that motivates me to tackle other home projects. If you’re hesitant, remember that starting small—such as a custom hamper inside a cabinet—can make a big difference over time. Your home deserves furniture and storage that work with you, not against you. So, why not take that first step today? What part of your home could benefit most from a custom touch? Share your ideas below, and let’s inspire each other to create spaces we love.