Why Your Kitchen Island Should Have a Different Color Than Your Cabinets
It was a sunny Saturday when I finally decided to tackle my long-overdue kitchen renovation. As I stood there, staring at the sea of uniform wood tones, I realized something. My kitchen felt flat, uninspired—like a staging set rather than a warm, functional space. That’s when the lightbulb went off: a matching color scheme was stifling the potential of my design, dulling the personality I desperately wanted to express. I had made a rookie mistake early on by assuming that matching cabinets and island would create harmony, but all it did was make my kitchen feel bland and forgettable.
Standing Out: The Secret to a Kitchen That Pops
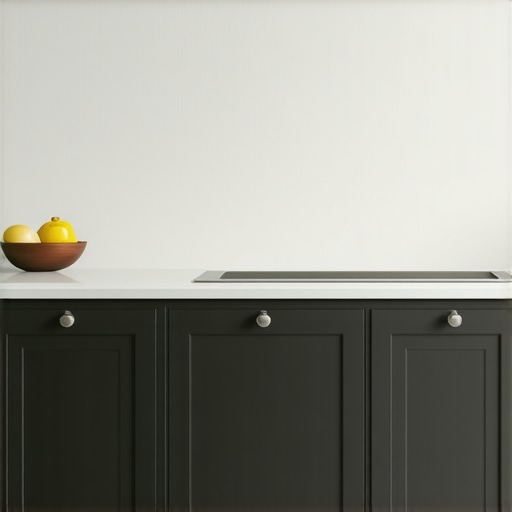
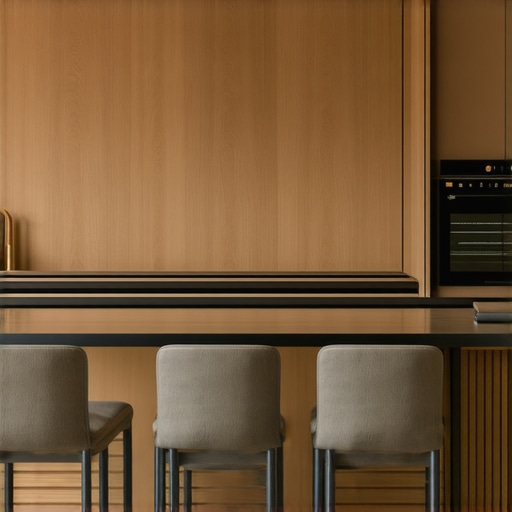
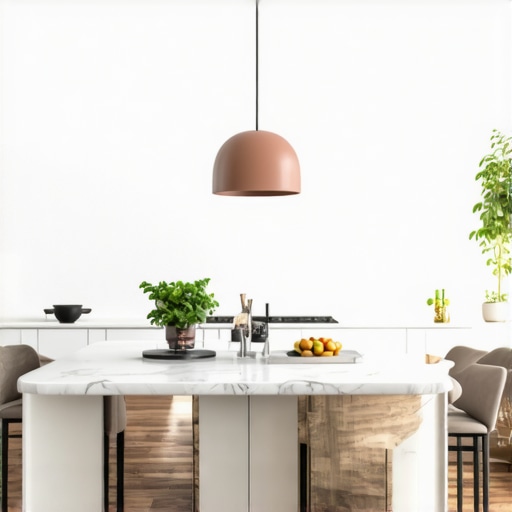
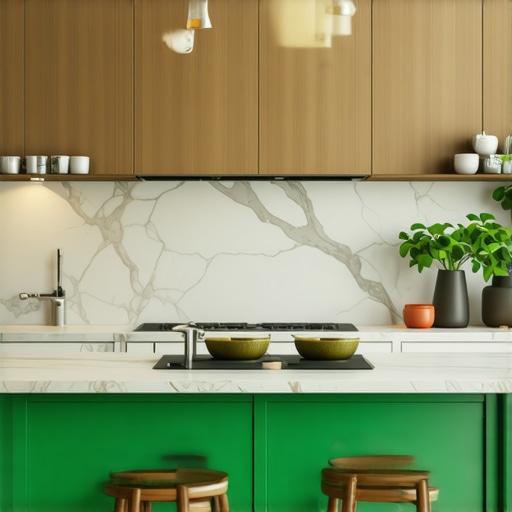
What I didn’t realize then was that choosing a contrasting color for my kitchen island could have transformed my entire space. It’s a simple trick that can add depth, visual interest, and a sense of deliberate design—without sacrificing style or functionality. In fact, interior designers often recommend using color contrast to define zones and create visual anchors. And surprisingly, a survey from Houzz shows that 65% of homeowners find that a contrasting kitchen island color helps to make the room feel more personalized and inviting.
But why is this a game-changer? Well, think of your kitchen as a canvas. Using different colors emphasizes your craftsmanship and adds a layer of sophistication that a monochrome palette simply can’t match. Plus, it’s an easy way to incorporate trending hues or your favorite bold shades, making your space truly unique.
Have you ever faced the frustration of a bland kitchen that lacks visual punch? If so, you’re not alone. I’ve been there, and I want to help you avoid the same pitfalls. Today, we’ll explore how to effectively select contrasting colors for your kitchen island, emphasizing style, harmony, and your home’s personality.
Is It Really Worth the Extra Effort to Change the Color?
Early in my project, I mistakenly believed that switching up cabinet colors would be a hassle—repainting, re-staining, all that fuss. I later learned that the impact far outweighs the effort, especially when you consider how a contrasting island can serve as a focal point, elevating your entire kitchen. A little extra planning now can save you from a bland, forgettable space later. To see how seamless and stylish this can be, check out our guide on [creating seamless kitchen remasters with built-in storage solutions](https://artisancabinetworkz.com/creating-seamless-kitchen-remasters-with-built-in-storage-solutions). It highlights the importance of thoughtful design choices that make a big visual difference.
So, are you ready to break free from monotony? Let’s dive into how to select the perfect contrasting color that complements your cabinets and reflects your personal style.
Select Colors That Complement and Contrast Effectively
Start by analyzing your existing cabinets. Take clear, natural-light photos of your kitchen to see how colors behave in different lighting. Choose a color for your island that provides a distinct contrast—such as a dark navy against white cabinets—that creates visual separation without clashing. Use color visualizer tools or paint sample swatches in your kitchen to see how shades interact at different times of day. Remember, the goal is to add depth and personality, so pick hues that resonate with your style.
Use Color Wheels to Find Perfect Contrasts
Employ a color wheel to identify complementary or split-complementary shades. For instance, if your cabinets are in warm tones like oak or honey, opt for a cool contrasting color like slate gray or emerald green. This approach ensures harmony while creating a focal point. Avoid colors that are too similar or clash harshly; aim for a balanced yet striking contrast. I once painted my island a bold burgundy against soft gray cabinets, and the effect was immediate—elegant yet vibrant, transforming the entire room.
Test Paints in Your Space Before Committing
Order small samples of your shortlisted shades and paint large swatches on your island surface or a board placed within the room. Observe how natural and artificial lighting affect the shades throughout the day. This step prevents costly mistakes and reveals how the colors will truly look in your environment. When I did this, I discovered my chosen navy looked different at sunset—so I adjusted to a lighter shade, saving time and expense later.
Consider Texture and Finish for Impact
Matte, satin, or semi-gloss finishes influence how colors appear and feel. Satin finishes reflect light subtly, making colors more vibrant without overwhelming the space. For a sophisticated look, opt for a semi-gloss or satin finish on your contrasting island. This also helps with durability and cleaning, which are crucial for kitchen surfaces. When I remodeled my kitchen, I used semi-gloss for the island and satin for cabinetry—this combination provided a modern yet warm ambiance.
Coordinate with Existing Design Elements
Match your chosen island color with other accents like backsplashes, hardware, or decorative items. A cohesive color story enhances visual appeal. For example, if you have matte black hardware, pairing it with a deep green island can create a chic, contemporary vibe. Also, consider the surrounding walls; a neutral backdrop allows your contrasting island to pop. I once opted for a muted olive green island paired with white cabinets and brushed nickel hardware, resulting in a balanced and inviting space.
Balance Bold Choices with Subtle Accents
If you select a bold island color, keep surrounding elements neutral to avoid visual overload. Conversely, if opting for a softer hue, add vibrant accessories or decorative details to bring energy. This nuanced approach keeps the kitchen lively without overwhelming the senses. When I painted my island a rich teal, I kept the walls and backsplash simple, allowing the island to be the star of the room. It became a conversation piece that unified the entire design.
When it comes to redesigning your kitchen with built-in storage solutions, many homeowners focus on the visible aesthetics—like choosing the perfect cabinetry finish or innovative shelving ideas. However, an often overlooked nuance lies in understanding the *limitations* of custom-crafted solutions, especially if misconceptions persist. Contrary to popular belief, not all built-ins are created equal; poor planning can lead to cramped spaces, awkward access points, or costly adjustments down the line.
Is Custom Always Better Than Off-the-Shelf?
While custom cabinets promise tailored fit and unique styling, they can become pitfalls if dimensions are not meticulously calculated. For example, custom units that don’t account for room flexibility can limit future layout changes or fixture replacements. Experts warn that a mismatch between design and practical usage frequently leads to frustration and wasted investment. According to a study by the National Kitchen and Bath Association, improper planning is responsible for nearly 40% of post-remodel revisions, emphasizing the need for deep expertise upfront. To avoid such traps, it’s wise to collaborate with experienced designers who consider long-term usability, not just immediate visual appeal. You might also explore [creating seamless kitchen remasters with built-in storage solutions](https://artisancabinetworkz.com/creating-seamless-kitchen-remasters-with-built-in-storage-solutions), which focus heavily on adaptability. Investing in Reliable Tools for Longevity
To ensure your built-in cabinets and storage solutions stand the test of time, using high-quality, specialized tools is key. I personally rely on a digital caliper for precise measurements, ensuring perfect fits during installations or modifications. A cordless router with variable speed control helps smooth edges and create decorative profiles that resist chipping over years of use. These tools, although an upfront investment, drastically reduce errors and rework, saving you time and money in the long run.
Additionally, a good orbital sander paired with fine-grit sandpaper keeps cabinet surfaces smooth, preventing wear and tear that can compromise finish integrity. For maintaining hinges and slides, a fine-tip lubricant like lithium grease prevents squeaks and corrosion, maintaining smooth operation without attracting debris.
Software That Simplifies Long-Term Management
On the digital side, I recommend using CAD (Computer-Aided Design) software to document your kitchen layout, measurements, and custom parts. Programs like SketchUp offer an intuitive interface for visualizing future modifications or scale adjustments, which becomes invaluable when planning minor tweaks or expansions. Keeping detailed digital records helps you troubleshoot or upgrade later without guesswork, aligning with the trend towards smart, interconnected home management systems.
Routine Checks and Preventative Maintenance
Establishing a regular schedule for inspecting your built-ins and storage can prevent costly repairs down the line. Check hinges, slides, and seals every six months, tightening screws and applying lubricant as needed. Wiping down surfaces with a damp cloth and avoiding harsh chemicals preserves finishes and prevents grime buildup. When I established a monthly maintenance routine—taking just 15 minutes—I avoided issues like misaligned drawers or squeaky hinges, keeping my kitchen pristine and functional for years.
Scaling Your Storage With Modular Components
As your needs evolve, integrating modular storage components can expand functionality without a full remodel. Adjustable shelves, pull-out trays, and customizable drawer organizers allow you to adapt the space efficiently. Many companies now offer smart storage solutions that can be installed into existing cabinets—check out these innovative options. This approach aligns with future trends focusing on flexibility, sustainability, and user-centric design, making your kitchen more adaptable over time.
How do I maintain my built-in cabinets over time?
Regular inspections, cleaning, and lubrication are vital for long-term performance. Keeping tracking hardware and slides in optimal condition prevents functionality loss. Applying a protective finish or polish periodically preserves the surface appearance and prevents moisture damage, which is crucial for maintaining aesthetics and structural integrity. For expert guidance, consulting detailed resources like the Furniture Clinic maintenance guides can provide tailored advice for different materials and finishes.
Remember, a proactive maintenance routine not only extends the lifespan of your cabinets but also preserves their beauty and usability, making your investment worthwhile. Try setting a quarterly check and maintenance schedule; it’s a simple step that yields long-term benefits. If you’d like personalized tips or assistance, feel free to reach out to us.
Embracing the nuances of custom cabinets and innovative storage solutions can transform your kitchen into a haven of both beauty and functionality. Remember, every detail—be it selecting the right hardware or considering the placement of your built-ins—contributes to a space that truly reflects your personality and meets your needs. By integrating expert insights and practical strategies, you’ll unlock the hidden potential of your home, creating a kitchen that’s not only stylish but also a joy to use every day.
Lessons That Changed My Perspective on Building Better Kitchen Spaces
- The Power of Contrasts: I realized that contrasting cabinet and island colors add depth and personality, making your space memorable. The initial effort pays off by elevating the design and creating visual anchors.
- Think Long-Term with Custom Solutions: Custom cabinets may seem costly and time-consuming, but their tailored fit and functionality often justify the investment. Planning carefully prevents future frustrations and costly revisions.
- Don’t Overlook Small Details: Small upgrades like adjusting hinges or applying proper finishes can significantly extend the lifespan of your built-ins. These seemingly minor steps ensure longevity and maintained beauty over years.
- Prioritize Flexibility and Adaptability: Modular components and smart storage ideas allow your kitchen to evolve with your needs, avoiding the trap of outdated layouts and maximizing space utilization.
Tools and Resources That Make a Difference
- CAD Software for Precise Planning: Using programs like SketchUp helps visualize your kitchen remasters and identify potential issues before construction begins, saving you time and money.
- High-Quality Tools for Durability: Investing in a digital caliper and durable lubricants ensures that your built-ins stay flawless and functional, even after years of use.
- Trusted Guides and Expert Blogs: Resources like creating seamless kitchen remasters and storage hacks have informed my approach and can inspire your next project.
- Community and Professional Support: Connecting with experienced designers or local craftsmen can provide tailored advice, helping you avoid common pitfalls and achieve your vision.
Your Next Step in Mastering Built-In Brilliance
Empower yourself to take on that kitchen project you’ve been dreaming of. Whether it’s designing a customized baking station or installing strategic storage, every step you take enriches your home and lifestyle. Remember, the journey of creating a functional and beautiful space is ongoing—each improvement builds upon the last, leading to a kitchen that truly works for you. Dive into the wealth of resources available, and don’t hesitate to reach out for personalized guidance. Your future self will thank you for the effort you put in today.
What feature or storage upgrade are you most excited to incorporate into your kitchen? Share your ideas below and let’s get inspired together!