The Secret to a Perfectly Level Kitchen Peninsula on Uneven Floors
I remember the first time I installed a kitchen peninsula myself. Everything seemed perfect—until I stepped back and noticed that it wasn’t level. That sinking feeling hit me hard. How could something so seemingly simple turn into a frustration? It was a lightbulb moment that I wasn’t alone in this dilemma. Many homeowners face the challenge of achieving a perfectly level countertop on uneven floors, and honestly, it can make or break the look and functionality of your entire kitchen.
Why a Level Kitchen Peninsula Really Matters
A kitchen peninsula is more than just a countertop; it’s a central hub of activity, a place to prep, dine, and gather. But if it’s uneven, it can cause spills, uneven seating, and a visual imbalance that throws off your entire design harmony. The problem often begins beneath the surface, especially if your home is built on uneven or sloped land—something I didn’t fully appreciate until my own project revealed the truth.
What many folks don’t realize is that ignoring uneven floors during installation can lead to costly fixes down the line. A study by the National Association of Home Builders reports that proper leveling before installing fixtures can significantly reduce repair costs and improve overall satisfaction. Yet, early in my journey, I made the mistake of assuming the countertop would naturally adjust during installation. Spoiler alert: it doesn’t. That lesson was a hard one, but it set me on the right path.
Today, we’ll dive into practical solutions that can save you time, money, and headaches. From techniques to tools to clever design tweaks, you’ll learn how to make your kitchen peninsula look flawless—even on uneven floors.
Is It Really Worth the Extra Effort to Level a Countertop?
You might be skeptical. After all, isn’t a small height difference acceptable? Well, not quite. Small inconsistencies can be more noticeable than you think, especially with bright lighting or sleek finishes. Plus, ignoring leveling can compromise the longevity of your cabinets and fixtures. I thought about skipping some steps early on, but I quickly realized that a detailed approach would pay off in stability and aesthetics. For more expert tips on upgrading your kitchen, check out this comprehensive guide on [transforming your kitchen with custom cabinets](https://artisancabinetworkz.com/transform-your-kitchen-with-custom-cabinets-expert-guide-for-2025).
If you’ve faced this problem or are about to tackle it, you’re not alone. But armed with the right knowledge, you can turn what seems like a tricky hurdle into a straightforward fix. Now, let’s explore the core methods to achieve that perfectly level look that will make your kitchen feel brand new.
Assess the Floor and Cabinet Base
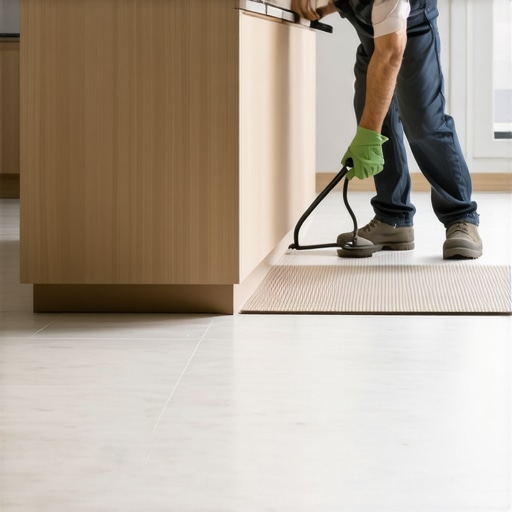
Begin by measuring the height differences across your cabinet base using a long level or straightedge. For example, I once noticed a ¾-inch gap on one side of my peninsula after placing it. Mark the highest and lowest points.
Choose Your Shimming Strategy
Think of shims like the spacers you use in construction—rigid or flexible—depending on the unevenness. For small discrepancies, thin plywood or composite shims work well; for larger gaps, consider adjustable leveling legs.
Create a Stable Foundation
Remove the cabinet doors and drawers to get clear access. Use a robust chisel to clean any debris or paint that could prevent the shim from making proper contact. For my project, cleaning off old paint improved adhesion.
Install Adjustable Leveling Legs or Shims
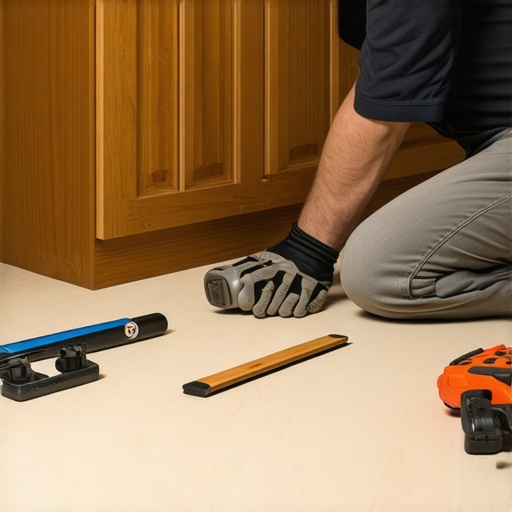
Set the peninsula into position and insert adjustable leveling legs at the lowest points. Tighten or loosen these legs gently to raise or lower the countertop until it’s perfectly level. I used a spirit level on the countertop edge to verify—again and again until satisfied.
Secure the Shims for Long-Term Stability
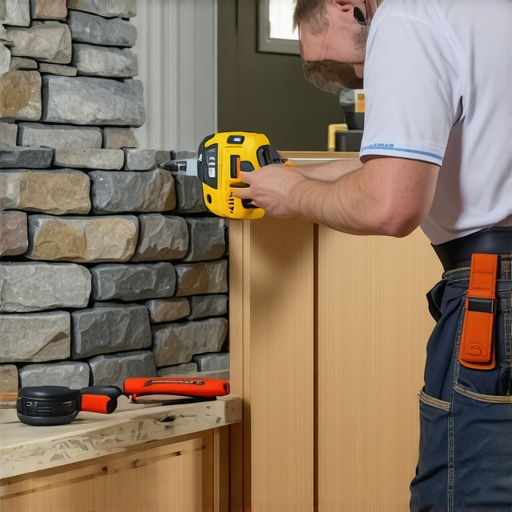
If shims are needed, glue them in place with construction adhesive, then trim excess. For added stability, drill small pilot holes through the shim into the cabinet frame, and screw in to secure. During my attempt, this method prevented shifting over time.
Double-Check Level and Make Fine Adjustments
Place your level along the length and width of the countertop for accuracy. Small tweaks can be made by tightening or loosening the leveling screws or repositioning shims. I repeated this step multiple times to avoid noticeable tilting.
Consider Using Built-In Storage to Cover Adjustments
Once level, you can hide unsightly shims behind toe kicks or decorative moldings. For a sleek look, integrate custom cabinets or built-ins that mask the adjustment points and provide extra storage, enhancing both form and function—learn more about built-in storage solutions.
Many homeowners believe that selecting trendy cabinetry or maximizing available space is enough to create a functional kitchen. However, this oversimplified view often leads to overlooked pitfalls. One common myth is that standard storage solutions fit all lifestyles, but in reality, these models can trap you in inefficient workflows or create clutter over time. For example, many rely on generic corner cabinets, not realizing that often, custom solutions like diagonal drawers or pull-out trays unlock true accessibility and efficiency, as highlighted in the comprehensive guide on custom cabinetry ideas. An advanced mistake I see frequently is underestimating the importance of tailored storage for specific kitchen tasks, which can lead to wasted space and frustration. Take, for instance, poorly designed spice drawers or baking stations that don’t consider the user’s height, reach, or workflow patterns. These oversights can diminish the value of even the most luxurious remodel.
What Are the Hidden Risks of Relying Solely on Off-the-Shelf Solutions?
A crucial nuance often missed is that standard solutions don’t account for the unique dimensions and traffic flow of your kitchen. This leads to issues like doors that swing into each other or drawers that don’t open fully, reducing usability. According to industry expert insights, customizing storage can increase efficiency by up to 30%. Moreover, DIY approaches, while tempting, often overlook these intricate details, causing long-term inconveniences. You might think installing ‘quick-fit’ cabinetry is enough, but without precise measurements and adjustments, you risk creating zones of clutter or safety hazards. So, before jumping into your next remodel, consider a detailed plan that prioritizes your specific needs over generic models. To get inspired, explore built-in storage solutions that maximize every inch seamlessly. Remember, a well-thought-out storage strategy not only elevates aesthetics but also enhances your cooking experience—making it a worthwhile investment. Have you ever fallen into this trap? Let me know in the comments.Maintaining a beautiful, functional kitchen requires the right tools and techniques to ensure longevity and ease of use. I personally swear by a high-quality cordless drill with a set of hex bits, which simplifies everything from tightening cabinet hardware to installing new built-ins. The convenience of quick, one-handed operation cannot be overstated, especially when you’re adjusting adjustable leveling legs or securing shims in place. Additionally, a digital laser distance meter has become invaluable for me; it provides precise measurements that prevent mismatched cabinet heights or countertop misalignments over time. These tools save me hours during ongoing adjustments and help track progress accurately for future projects.
For ongoing maintenance, I’m a fan of an ultrasonic cleaner for hardware components like hinges and pulls. This keeps them looking brand new and prevents corrosion, which is essential for cabinets exposed to humidity or frequent use. Furthermore, I rely on a high-quality wood conditioner before refinishing or touching up painted cabinetry. It prevents uneven finish absorption and prolongs the life of the paint, especially in areas with fluctuating humidity levels.
Looking ahead, the trend is shifting toward smart maintenance solutions that connect tools via Bluetooth or Wi-Fi. Imagine receiving alerts when a hinge needs tightening or when cabinet doors are misaligned—making upkeep proactive rather than reactive. Companies like Milwaukee are pioneering Bluetooth-enabled power tools that sync with smartphone apps, offering both convenience and precision.
How do I keep my storage solutions running smoothly over time?
Regular inspections are key. Check for loose screws or hinges monthly, and tighten or replace hardware as needed. Periodically clean interior surfaces with non-abrasive, mild cleaners to prevent dust buildup, which can impair drawer slides and hinges. For storage hacks that last, consider applying a protective finish to exposed wood surfaces—this shields against moisture and wear, especially useful in kitchens with high humidity. Incorporating smart solutions like soft-close dampers with remote adjustment capabilities can also simplify long-term upkeep, ensuring drawers and doors always operate smoothly without frequent manual fixes. Want to optimize even further? Explore innovative storage ideas at [Smart Storage Solutions for Small Kitchens in 2025](https://artisancabinetworkz.com/smart-storage-solutions-for-small-kitchens-in-2025) to keep your space efficient for years to come. Don’t forget, integrating these strategies now will pay off in the long run, saving you time and money on costly repairs or replacements.
The Hidden Lessons from My Kitchen Journey
One of the most eye-opening lessons I learned was how critical precise measurements are, especially when customizing storage solutions. Misjudging even a fraction can lead to gaps or mismatched finishes, which detracts from your kitchen’s harmony. I also realized that investing time in thoughtful planning beforehand saves countless hours during installation and results in a more satisfying outcome. The trick is embracing every setback as a learning opportunity — that mindset turned my project from frustration into a rewarding DIY triumph. Lastly, I discovered that collaborating with skilled artisans, rather than aiming for DIY perfection on every detail, elevates the entire remodel and ensures longevity and beauty.
Tools and Resources That Changed My Approach
My go-to toolkit expanded when I started using a high-quality digital laser for precise measurements; it eradicated inaccuracies that plagued earlier projects. An ultrasonic cleaner for hardware components became invaluable for maintaining that fresh, polished look over time. For inspiration and guidance, I highly recommend exploring innovative storage ideas and comprehensive guides on custom cabinets. These resources not only offer practical solutions but also spark the creative spark needed to transform a mundane kitchen into a masterpiece.
Let Your Creativity Shape the Future of Your Kitchen
Every successful storage solution or custom cabinet is a reflection of your unique lifestyle and taste. Take bold steps, experiment with innovative ideas, and don’t shy away from challenging conventions. Whether it’s integrating smart storage hacks or embracing unconventional materials, your willingness to explore can make all the difference. Remember, your kitchen isn’t just a space for cooking but a sanctuary for your family’s memories and a showcase of your personal style. So, get inspired, start planning, and make your vision a reality. Ready to take that first step? Share your ideas or challenges below — I’d love to hear your journey into creating a kitchen that truly works for you.