How to Create a Coffee Station in a Wasted Kitchen Corner
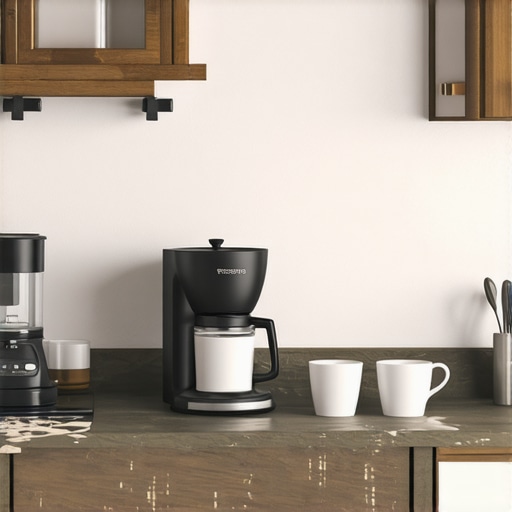
There’s been a morning I won’t forget. I woke up, bleary-eyed, and glanced at that neglected corner of my kitchen—one of those oddly shaped, awkward spaces that everyone seems to ignore. It used to be a spot where I tossed stray utensils or stacked empty cereal boxes, never quite knowing what to do with it. But on one particularly sluggish weekend, I had a lightbulb moment: what if I turned that wasted corner into something delightful—a cozy coffee station? Suddenly, that overlooked space became my favorite part of the kitchen.
Why the Nook in Your Kitchen Deserves a Second Chance
Sometimes, the most inefficient spots are right in front of us, whispering for attention. That wasted corner could hold your coffee machine, teapot, mugs, and even snacks—all within easy reach. Utilizing underused spaces not only maximizes your kitchen’s footprint but also injects personal style. According to a recent privacy policy, smart storage solutions can increase kitchen efficiency by up to 40%. Imagine the time saved by having your morning essentials right where you need them.
Early on, however, I made a mistake by trying to cram too much into that small space without proper planning. The result? A cluttered, frustrating mess. That taught me a valuable lesson: intentional design is key. With thoughtfully chosen cabinets, shelving, and accessories, you can create a functional, beautiful coffee corner that feels curated rather than cluttered.
If you’ve ever stared at that corner, wondering if it could actually work as a coffee station, you’re not alone. Many homeowners overlook potential in overlooked spaces. But with a dash of creativity and some clever storage hacks, your wasted corner can become the most Instagram-worthy part of your kitchen.
Now, let’s roll up our sleeves and start exploring how to make this dream a reality. Whether you’re a seasoned DIYer or just looking for a few simple upgrades, I’ll share tips to help you avoid common mistakes and get the most out of your space.
Selecting the Perfect Spot and Planning Your Layout
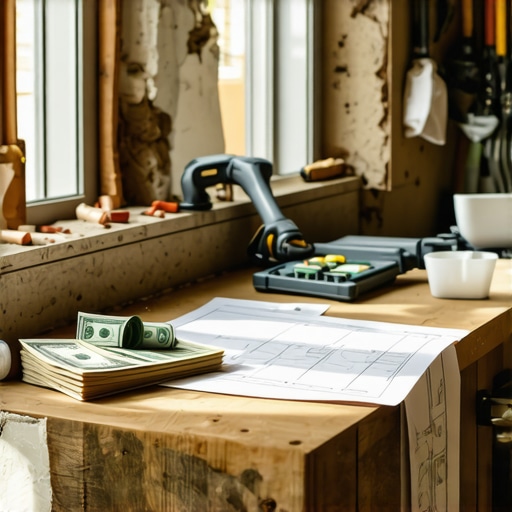
Before diving into installation, assess your corner’s dimensions and existing electrical outlets. Measure the space meticulously and sketch a basic layout. Think of this step as creating a blueprint—like architects do before building a house. I recall struggling with a tight squeeze around a corner cabinet, forcing me to remeasure thrice, eventually discovering a corner radius that accommodated a narrow coffee machine and a small shelf for mugs. This planning phase ensures your coffee station isn’t just functional but also visually appealing, eliminating the frustration of cramped setups.
Choosing Built-In Cabinets and Storage Solutions
Opt for custom cabinets that maximize your space and blend seamlessly with your kitchen’s style. Think of these cabinets like tailored suits—fitted perfectly for your needs. Visit this guide to understand the benefits of bespoke designs. I once designed a shallow cabinet with a pull-out tray for coffee supplies, which kept everything accessible yet hidden behind a sleek facade. Incorporating adjustable shelves and dedicated compartments allows you to organize mugs, beans, and accessories efficiently, reducing clutter and making your mornings smoother.
Selecting and Installing the Right Shelving and Countertops
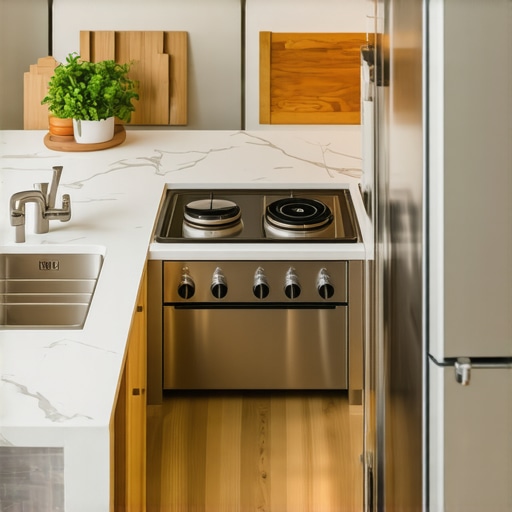
Floating shelves are excellent for displaying mugs or small jars, but ensure they’re supported by sturdy wall brackets—like the steel pins that hold up a floating shelf, as shown here. For countertops, choose materials like quartz or butcher block for durability and easy maintenance. Remember, installing countertops correctly is vital; use a level and shims to avoid uneven surfaces. I faced a challenge when my countertop was slightly tilted, which I corrected by adding shims underneath, leading to a professional finish that made cleaning easier and improved my station’s overall look.
Integrating Appliance Garages and Power Access
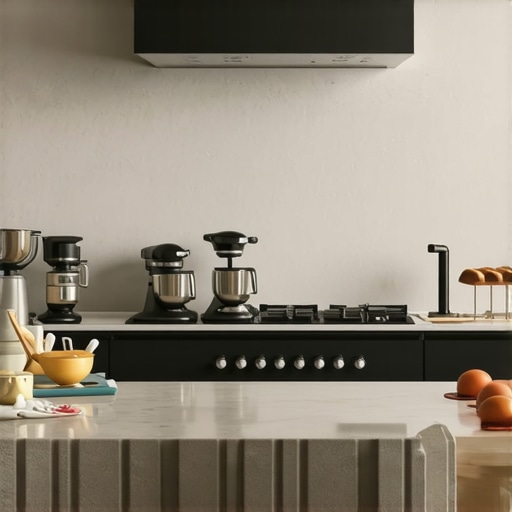
To keep work surfaces tidy, incorporate an appliance garage—like a small cabinet where you can store the coffee maker when not in use. Install a dedicated power strip inside to plug in your devices, preventing cable clutter. This setup is akin to having a mini kitchen island specifically for your coffee gear, making it quick to set up and pack away. I installed a slide-out shelf for my grinder, which I can pull out for use and tuck away afterward, saving space and reducing visual noise.
Adding Lighting and Finishing Touches
Proper lighting, such as under-shelf LED strips, illuminates your workspace and highlights decorative elements. Use warm white lights to create a cozy ambiance. I learned the hard way that poor lighting makes it difficult to see labels or prevent spills—so I installed dimmable LEDs, which offer flexibility for early mornings or evening ambiance. Finishing touches like matching hardware, decorative jars, or a chalkboard for notes personalize your station and make it inviting.
Final Tips for a Flawless Transformation
Ensure all components are well-secured and unobstructed for safety and ease of use. Don’t rush the process—take your time aligning shelves and sealing surfaces. Remember, a custom setup like this isn’t just about looks; it’s about creating a space that works for your lifestyle. If you want to explore more options, this resource provides excellent storage hacks for small kitchens, perfect for optimizing your new coffee corner. With a little patience and precise execution, your forgotten corner can evolve into a charming, functional retreat that energizes your mornings.While the popularity of built-in storage solutions and custom cabinetry has skyrocketed, many homeowners still cling to outdated beliefs that can hinder their kitchen remodel success. One prevalent myth is that installing built-ins automatically results in a clutter-free space. In reality, without thoughtful planning and organization, these solutions can become dumping grounds for random items, defeating their purpose. It’s essential to combine custom cabinets with smart storage hacks—like adjustable shelves and designated zones—to truly maximize efficiency.
Another common misconception is that all custom cabinets are prohibitively expensive or time-consuming. However, as outlined here, strategic design choices and partnering with experienced craftsmen can make custom solutions more attainable than you might think.
Be cautious of the trap of over-personalizing your storage—it may seem tempting to include every conceivable feature, but this can lead to increased costs and compromised functionality. Focus instead on your specific needs and a coherent aesthetic to avoid a cluttered or chaotic outcome.
For those considering a kitchen overhaul, it’s worth noting that many mistakenly assume that built-in storage is only suitable for large kitchens. In fact, smaller spaces benefit significantly from clever cabinetry and niches that utilize every inch efficiently.
Now, let’s address a more advanced question that often trips up even seasoned renovators: How can you integrate built-in storage without sacrificing natural light and airflow? Achieving this balance requires strategic placement and minimal obstruction, such as incorporating open shelving or glass-front cabinetry where possible. Consulting expert guides like this resource can provide valuable insights.
Remember, the key to successful built-in solutions is not just about creating more storage but about enhancing your kitchen’s overall harmony and usability. Avoid these pitfalls, plan thoughtfully, and you’ll craft a space that truly reflects your lifestyle and aesthetic preferences. Have you ever fallen into this trap? Let me know in the comments!”,
Maintain Your Built-Ins and Storage Solutions for Long-Term Success
Achieving a stunning kitchen remodel is only half the journey; maintaining your custom cabinets and built-in storage is crucial to ensure they stay functional and beautiful over time. I personally recommend investing in high-quality cleaning tools like microfiber cloths and gentle, pH-balanced cleansers to protect finishes and prevent deterioration. Regularly inspecting hinges, drawer slides, and shelf supports helps catch issues early, saving you from costly repairs later. For example, I use a soft brush with a bit of mineral oil on hinges every six months to keep them operating smoothly and quiet, inspired by techniques detailed here.
To streamline ongoing maintenance, I utilize an ultrasonic cleaner for small hardware parts, which efficiently removes grime and extends their lifespan—this might sound fancy, but it’s a worthwhile investment for any DIY enthusiast. As trends move toward smart homes, integrating sensor-based lighting or automated cleaning systems can future-proof your kitchen, making maintenance less of a chore and more of a set-and-forget approach. Looking ahead, I believe the shift toward connected appliances and built-ins will emphasize smart monitoring tools that alert you to issues before they manifest visibly.
How do I keep my kitchen storage systems running smoothly over time?
In my experience, establishing a routine checkup schedule is vital. Wipe down surfaces weekly, lubricate hinges and slides biannually, and replace worn hardware promptly. Dust and debris tend to accumulate behind cabinets and under shelves, so using compressed air or a small vacuum attachment periodically can prevent buildup. For larger projects, consider hiring a professional for annual inspections—like I did when adjusting my custom cabinetry alignment after shifting foundations. This proactive approach ensures longevity and continuous performance of your investment.
Another tip is to revisit your organizational layout periodically. As your needs evolve, adjusting shelving heights or swapping out accessories can keep your storage solutions practical. And don’t forget, using software like design planning tools can help you visualize future upgrades or renovations, saving time and effort down the road.
For those considering scale-up, integrating modular components allows easy expansion or reconfiguration, which is particularly advantageous as family sizes or hobbies change. With regards to long-term results, investing in durable, tried-and-true hardware finishes—like solid brass or stainless steel—resists corrosion and maintains aesthetic appeal. Remember, regular maintenance combined with quality tools sustains the beauty and functionality of your kitchen for years.
Lessons That Changed My Approach to Built-Ins and Storage
One of the biggest revelations was realizing that custom solutions aren’t just about aesthetics—they can significantly improve your daily workflow and reduce frustration. I once thought more drawers meant better organization, but I learned that dedicated zones and smart compartmentalization are what truly make a difference. Sharing this insight saved me time and money, and it can do the same for you.
Another lesson was understanding that flexibility is key. Fixed configurations often limit future modifications, so I started designing my built-ins with adjustable shelves and modular components. This way, the space adapts as my needs evolve, making my kitchen remain functional and stylish over the years.
Finally, I discovered that investing in quality hardware and finishes pays off in the long run. It might be tempting to cut costs, but durable fittings and properly sealed surfaces ensure your storage solutions remain pristine, reducing maintenance and replacement costs, and preserving their beauty for years.
Tools and Resources That Elevated My Kitchen Renovation Journey
For designing custom cabinets and maximizing small spaces, I rely on Expert Guides that offer step-by-step insights and innovative ideas. They help me visualize options and streamline decision-making.
When it comes to practical storage hacks, this resource has been invaluable in discovering space-saving tips that I wouldn’t have thought of on my own. The detailed examples and real-world applications made implementation straightforward.
For maintaining my built-ins, I turn to maintenance techniques that extend their lifespan and keep them looking brand new. Knowing the right cleaning routines and supporting hardware ensures an enduring aesthetic and functionality.
Lastly, exploring smart storage innovations continually updates my approach and reminds me that even small tweaks can make a significant difference in clutter reduction and efficiency.
Your Turn to Make It Happen in Your Kitchen
Transforming a forgotten corner into a beautiful, functional coffee station or storage zone is a rewarding challenge that pays off every day. With thoughtful planning, quality materials, and smart solutions, you can craft a space that truly reflects your lifestyle. Don’t wait for the perfect moment—start today, experiment boldly, and enjoy the process of creating a kitchen that energizes and inspires you every morning.