Why Your Cabinet Handles Should Be Placed Higher Than You Think
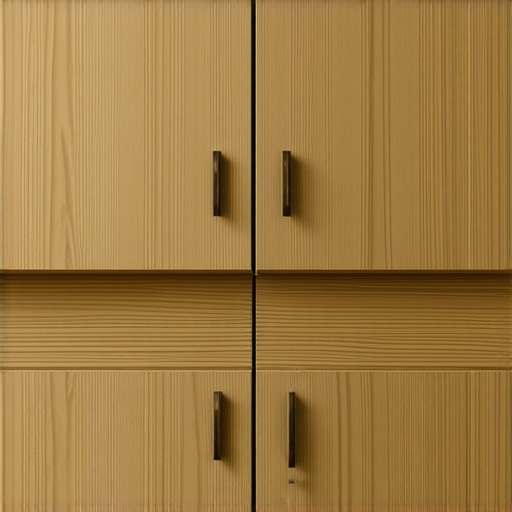
I remember the frustrating moment when I finally pulled out my newly installed cabinets and realized the handles were too low. It was like trying to open a door that was just slightly out of reach—every single time. That lightbulb moment hit me hard: I’d overlooked a simple detail that could make a huge difference in both the functionality and aesthetic of my kitchen. Since then, I’ve become a firm believer that cabinet handles should be placed higher than you might initially think.
Elevate Your Handles, Elevate Your Experience
Finding the perfect handle height isn’t just about looks; it’s about making your daily routine smoother. When handles sit too low, it can cause unnecessary strain, especially when your arms are full or you’re reaching across the countertop. Plus, low handles can get in the way when you’re trying to clean or open multiple cabinets quickly.
Over the years, I’ve experimented with different handle placements, and I can honestly say that positioning them higher has transformed my kitchen into a more ergonomic and visually pleasing space. If you’re remodeling or just updating your cabinets, considering this small change can significantly enhance your experience. Curious about the details? Let me show you how to get this right.
Is High Handles the Overkill or the Game-Changer?
Initially, I was skeptical. I thought, “Won’t it look strange?” or “Could this be just a style trend?” But the truth is, I made the mistake early on of following the standard convention—handles at the bottom of the cabinet—and paid for it with discomfort and less-than-ideal aesthetics. Literature from design experts notes that adjusting handle height can improve both function and visual harmony [source](https://artisancabinetworkz.com/expert-tips-on-selecting-storage-solutions-for-a-perfect-kitchen-upgrade).
In this post, I’m going to walk you through the practical reasons and methods to confidently raise your handles—so your kitchen isn’t just beautiful but also super functional. Ready to make a change that truly makes a difference? Let’s dive into why this small shift could be your kitchen’s game-changer.
Mark Your Ideal Handle Height
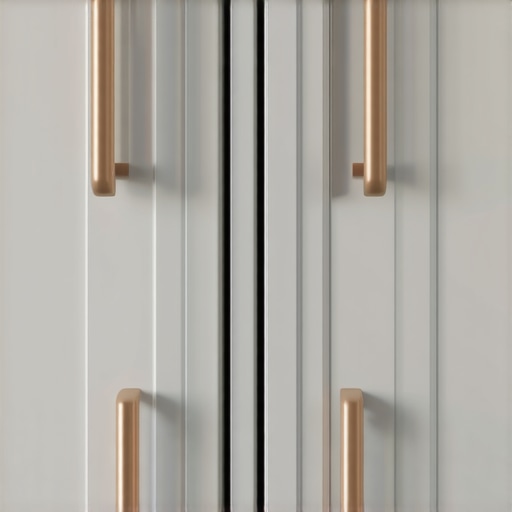
First, measure the distance from the top of the cabinet door to where your hand naturally rests when grabbing the handle. Use a tape measure and a pencil to note this spot on each door to ensure consistency. For most users, about 2-3 inches below the top of the cabinet frame is comfortable, but adjust according to your arm length. This step is crucial because it sets the foundation for ergonomic placement and makes the process smoother when drilling.
Choose the Right Handle Style and Placement
Opt for handles that complement your cabinet design and are easy to grip. For larger drawers, consider longer handles to distribute force evenly. Once you’ve decided, mark the center points where screws will go, aligning with your earlier measurements. Using a level along the side of the cabinet can help keep your marks straight, ensuring a uniform appearance across all cabinets. I once spent extra time leveling the marks, which paid off as it prevented crooked handles that detract from the kitchen’s look.
Pre-drill Holes Like a Pro
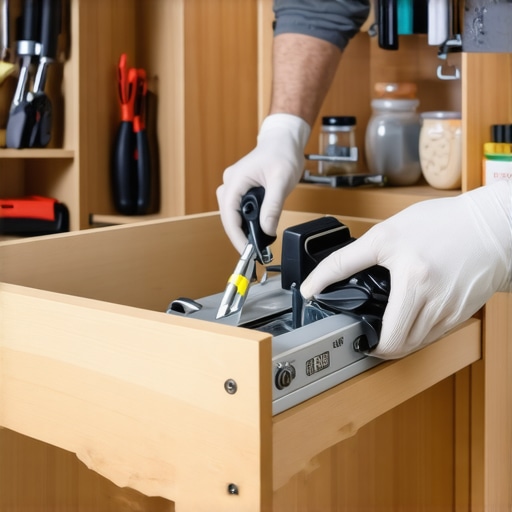
Pre-drilling is vital to prevent wood splitting and to keep holes precisely where you want them. Use a drill bit slightly smaller than your screw diameter, and mark each hole with a pencil before drilling. To get perfect alignment, clamp a straightedge or a piece of scrap wood as a guide if you’re drilling multiple handles at once. A mistake I made during my last remodel was not double-checking the drill bit size, leading to loose handles that shifted over time. Always test on scrap material first.
Install Handles with Care
Screw in the handles by hand initially, then tighten using a screwdriver, being careful not to overtighten, which could strip threads or damage the cabinet. Use a level or a template if available to ensure handles are perfectly horizontal. When I installed my handles, I used painter’s tape aligned with the handle to keep everything straight—simple but effective. Remember, consistent handling positions will improve both the appearance and practicality of your cabinetry.
Refine and Adjust for Comfort
After installation, step back and assess the handle height and alignment. Test opening and closing to ensure handles are positioned not only visually appealing but also comfortable for everyday use. If any handles feel off or are difficult to grip, loosen and readjust. I found that taking the time for minor tweaks made a noticeable difference in daily usability and reduced strain during routine tasks.
Seek Inspiration and Expert Tips
For additional ideas on handle placement, explore expert storage solutions for kitchen upgrades or check out custom cabinet options that facilitate ergonomic handle positioning. Remember, elevating handles is a simple upgrade that yields significant benefits when executed correctly. Take your time with each step, and you’ll enjoy a more functional, beautiful kitchen for years to come.
When embarking on a kitchen transformation, many assume that sticking to traditional storage ideas guarantees optimal space and usability. However, this mindset often leads to missed opportunities and costly mistakes. One prevalent myth is that custom cabinets are too expensive and only worth it for high-end homes. In reality, investing in tailored solutions can maximize storage efficiency and enhance your kitchen’s functionality—more than generic options ever could [source](https://artisancabinetworkz.com/transform-your-kitchen-with-custom-cabinets-expert-guide-for-2025). Another misconception is that built-in storage compromises aesthetic flexibility. On the contrary, thoughtful integration of built-ins can create a sleek, seamless look while hiding clutter, turning your kitchen into a modern oasis.
Is Your Storage Strategy Too Rigid or Overcomplicated?
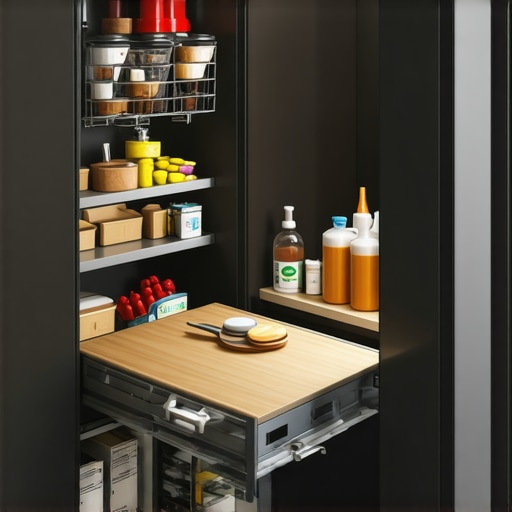
Many homeowners fall into the trap of over-engineering their storage, believing more compartments and elaborate systems are always better. But complexity often backfires when it hampers accessibility or adds unnecessary cost. Instead, simplicity paired with smart organization—like pull-out trays or corner drawers—can significantly boost practicality. Avoiding overspending on features you won’t actually use is crucial; for instance, installing a lazy susan in every corner might seem like a good idea but can limit your space for larger items. Know when to embrace innovative solutions—they can revolutionize your kitchen, especially when guided by expert insights found in articles about [storage hacks](https://artisancabinetworkz.com/built-ins-and-storage-hacks-for-a-sleek-functional-kitchen).
Be cautious of the ‘one-size-fits-all’ approach, which often neglects your specific needs. Every kitchen layout and lifestyle demands a tailored solution. For example, smart storage ideas like hidden toe-kick drawers or under-sink organizers are often overlooked, yet they can double your usable space without major renovations. This is why consulting experienced professionals can prevent costly mistakes and help you create a truly personalized environment. You might think that you can DIY every aspect of this upgrade, but a misstep in measurement or installation can lead to uneven gaps or damaged finishes. Proper planning and expert guidance are key to avoiding these pitfalls.
Finally, watch out for the common trap of relying solely on popular trends without considering practicality. While stylish open shelving might look appealing, it can quickly become a dust magnet and clutter magnet if not carefully designed. As noted by industry experts, balancing aesthetics with functionality is vital for a sustainable and enjoyable kitchen. If you’re considering updates, explore innovative ideas like integrated storage solutions that blend seamlessly with your cabinetry, transforming your space into a refined, efficient area. Remember, the goal is to enhance your lifestyle, not just follow fleeting fads. Have you ever fallen into this trap? Let me know in the comments, and I can help you navigate towards smarter, more effective storage strategies.Maintaining your custom kitchen setup over time requires the right combination of tools and dedicated methods. I personally swear by high-quality cordless screwdrivers like the DeWalt DCF887, which offers the power and precision to tighten handles, adjust hinges, or install new shelving without fuss. Their rechargeable batteries last for entire projects, and their ergonomic design reduces fatigue, making ongoing adjustments much more manageable. For measuring and alignment, a digital laser level such as the Bosch GLL 55 has become indispensable. It ensures all your built-ins are perfectly plumb and level, which is crucial for both aesthetics and functionality, especially when you plan to scale up your storage solutions in the future. Regularly inspecting and recalibrating hinges and soft-close mechanisms with specialized tools, like the Blum service toolkit, helps prolong their lifespan and prevents annoying squeaks or misalignments. Online, I’ve found that investing in a set of fine-tipped screw extractors saves the day when dealing with stripped screws—saving time and money in the long run.
How do I keep my custom cabinets looking and functioning their best over years of use?
Long-term durability stems from consistent maintenance and using the right cleaning agents. For instance, avoiding harsh abrasives and opting for gentle, pH-balanced cleaners like Weiman Kitchen Cleaner preserves delicate finishes. When it comes to hardware, applying a light coat of furniture wax or lubricant such as WD-40’s Specialist Silicone Lubricant prevents squeaks and corrosion, especially in humid environments. Periodic checks of drawer slides and hinges—ideally every six months—can catch issues early. If you notice any resistance or sticking, lubricate or tighten components proactively. Embracing organized storage and labeling, inspired by insights from this expert guide, simplifies maintenance routines and helps you identify worn parts before they fail. As trends move towards smart, integrated systems, I foresee the rise of IoT-enabled hinges and sensors that alert you when maintenance is due, making upkeep almost effortless. A practical starting point? Try installing a smart hinge sensor on one cabinet to get a feel for future integration. Regular upkeep with these dedicated tools ensures your investment continues to pay off, keeping your kitchen both stunning and practical for years to come.
Throughout this journey of upgrading my kitchen, one of the most enlightening lessons was realizing how a simple tweak—like raising cabinet handles—can radically improve daily comfort and style. It taught me that paying attention to small details often yields the biggest payoffs, from ergonomic ease to aesthetic harmony.
Now, with this knowledge, I encourage you to think beyond standard conventions. Challenging the status quo—like traditional handle positions—can lead to breakthroughs in how your space functions and feels. Remember, your kitchen should be a reflection of your lifestyle, evolving with your needs, not just following trends.
If you’re ready to elevate your kitchen experience, consider personalized adjustments tailored to your unique space and habits. Sometimes, the most significant improvements come from trusting your intuition and experimenting with what feels right. After all, a kitchen that accommodates your way of living transforms everyday routines into genuine pleasure.
Happy remodeling! Your next upgrade could be just a higher handle away from making your kitchen truly yours.