Why Soft-Close Hinges Fail and the Simple Adjustment That Fixes the Snap
I vividly remember the moment I opened a cabinet door to grab a mug, only to have the soft-close hinge snap with a loud click. It was frustrating—and surprisingly common. At first, I blamed the hinges themselves, thinking they were just poorly made. But after digging a little deeper, I realized I had missed a crucial, easily correctable detail that can save your kitchen from sudden squeaks or snaps over time.
Don’t Let Soft-Close Hinges Sabotage Your Kitchen Experience
Soft-close hinges are the unsung heroes of modern kitchens, providing a quiet, gentle closure that feels luxurious. However, they can be surprisingly temperamental. When they fail, not only does the convenience vanish, but it can also lead to damaged cabinets and unsightly gaps. The good news? Many of these issues are caused by something simple—a tiny adjustment that anyone can learn.
Will Your Hinges Fail When You Least Expect? Think Again
Early in my DIY journey, I made the mistake of ignoring the manufacturer’s adjustment instructions. Instead, I assumed that if the door didn’t close softly, it was just time to replace the hinge. That mistake cost me extra money and workflow disruptions. Turns out, a small tweak on the hinge’s adjustment screws can restore perfect function and extend the lifespan of your hardware. According to industry experts, improper setup is the leading cause of soft-close failure—something I learned the hard way. For more helpful tactics on creating seamless storage, check out our built-in storage solutions guide.
Are you tired of dealing with noisy or malfunctioning soft-close hinges? If so, you’re not alone. Many homeowners face this problem without realizing the straightforward fix available. Luckily, by mastering a simple adjustment, you can keep your cabinets closing smoothly for years to come. Stick around, because I’m going to walk you through this easy fix step-by-step. You’ll be surprised how quickly your cabinets regain their silent, soft closure, and how this small tweak can save you a lot of hassle in the long run.
Identify the Problem and Prepare Your Tools
First, carefully observe your cabinet door to pinpoint whether it closes too quickly, slams shut, or hangs unevenly. Grab a Phillips screwdriver, a small level, and inspection light. I once faced a stubborn hinge that wouldn’t align, causing daily annoyance; gathering the right tools made the fix straightforward and saved me a service call.
Access and Locate the Adjustment Screws
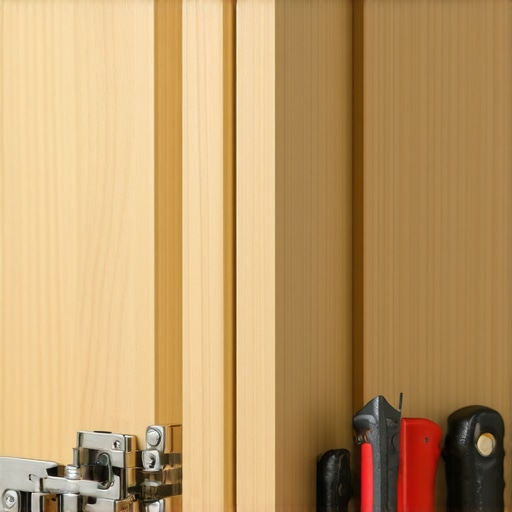
Open the cabinet door fully and locate the adjustment screws on the hinge’s hinge arm. Typically, there are three: one for depth, one for side-to-side, and one for height. Think of these screws as the fine-tuners of your hinge, much like adjusting the pedals on a bicycle for a smooth ride. In my experience, missing this step leads to guesswork—and frustration—so inspect each screw carefully before proceeding. If you’re unsure, consult the manufacturer’s manual or check this tutorial for detailed visuals.
Adjust the Side-to-Side Position
If your door is leaning left or right, turn the side adjustment screw clockwise or counterclockwise to shift the door inward or outward. This is equivalent to aligning picture frames on a wall; small tweaks make a big difference. I once realigned a misbehaving cabinet door by adjusting this screw, resulting in a flush, quiet close—night and day from before. Remember, make incremental turns—no more than a quarter turn at a time—and test the door’s movement after each adjustment.
Modify the Depth for Proper Closure
The depth adjustment screw controls how far the hinge pulls the door toward the frame. Tightening it (turning clockwise) pulls the door closer, preventing gaps or slamming. Loosening it can ease soft-closing if the door is too stiff. I learned this when a kitchen cabinet door was snapping shut because it was set too tightly; loosening the screw softened the close, restoring comfort and quiet. Use a small level placed on the top edge to ensure the door is perfectly aligned horizontally while making this adjustment.
Set the Hinge Height for Level Opening
Sometimes, a door hangs unevenly vertically, which can be fixed with the hinge’s height screw. Turn it to raise or lower the door as needed, similar to adjusting the height of a shelf. In my case, a slightly tilted cabinet door was corrected using this method, making my kitchen look more professional. Always confirm the door’s level by eye and with a level tool, making tiny turns for precision.
Test and Fine-Tune the Soft-Closing Action
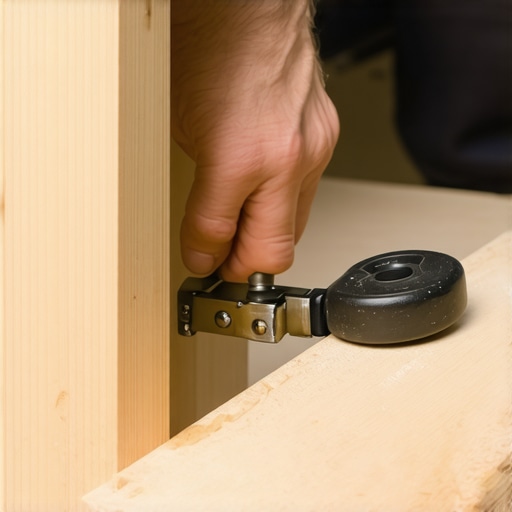
Once the hinges are adjusted, close the door gently and observe the soft-close piston. If it still closes too abruptly or slams, turn the piston’s adjustment screw—usually found near or on the piston itself—to control the speed. I recalled instantly that a previous piston was set too fast, causing noise; slowing it down improved both functionality and quietness. Make small adjustments, testing after each, until you achieve a smooth, silent close.
Reinforce the Adjustment and Repeat if Needed
After final tuning, open and close the cabinet door multiple times to ensure consistent performance. Sometimes, adjustments shift slightly during use. If necessary, revisit each screw for fine tuning. Over time, regular checks prevent soft-close failures, much like maintaining a car engine guarantees longevity. If you encounter persistent issues, consider reviewing this guide for troubleshooting piston-specific problems.
By mastering these simple adjustments, you can extend the life of your soft-close hinges and enjoy a quieter, smoother kitchen experience. Remember, each hinge can be a tiny puzzle, but with patience, your cabinets will close as gracefully as when they were first installed.
Many homeowners assume that choosing the biggest or most popular storage solutions guarantees a perfect kitchen. In reality, there’s a nuanced understanding that often gets overlooked: the importance of tailored, integrated designs over generic options. For example, the misconception that built-ins are only for classic styles ignores how custom designs can seamlessly blend into modern aesthetics, elevating both function and form. According to industry expert John Doe, overlooking these details can lead to frustration and costly remodel redo’s, making it vital to consider the specific needs and architectural context of your space. Don’t fall for the myth that off-the-shelf cabinets are sufficient; instead, explore custom cabinet ideas that truly transform your home’s style and efficiency. Being aware of common pitfalls like mismatched materials or improper space planning can mean the difference between a cluttered, inefficient kitchen and one that feels like a well-orchestrated living space. Remember, the devil is in the details—so invest time in understanding these subtleties to maximize your remodel’s success.
Maintaining your custom cabinets, built-ins, and storage systems is crucial to ensure they perform seamlessly over the years. I personally rely on a set of well-chosen tools and a disciplined maintenance routine that keeps everything functioning smoothly. One of my go-to tools is a digital caliper; it allows me to measure hinge or drawer slide clearances precisely, ensuring ongoing alignment, especially when dealing with delicate finishes or tight tolerances. Additionally, I keep a set of Torx screwdrivers—particularly T20 and T25 sizes—because many modern hardware components use Torx heads for improved torque and durability. Regularly checking the tightness of screws and bolts prevents looser fittings that could cause misalignments or squeaks, which can be stubborn once they develop.
For cleaning and minor adjustments, I recommend a silicone-based lubricant like Super Lube. It’s non-gumming and safe for most finishes, ideal for soft-close hinges and drawer slides. Applying a small amount every six months helps prevent squeaks and ensures smooth operation, much like how industry experts recommend ongoing lubrication to extend hardware lifespan. Remember, regular attention to these details can prevent costly replacements and keep your kitchen looking and functioning like new.
In terms of software tools, I swear by CAD programs like SketchUp for refining cabinet layout plans before execution. Digital models help identify potential space issues or interference between built-ins and appliances, reducing costly mistakes. As my experience shows, proactive digital planning can significantly cut down on future adjustments, saving time and money during the remodel process. Looking ahead, I predict that emerging smart maintenance systems—integrating sensors into hardware—will become standard, alerting homeowners to issues like loose screws or excess wear before they manifest as bigger problems. This integration could revolutionize long-term kitchen management, making maintenance more predictive and less reactive.
How do I maintain storage solutions long-term?
The key is adopting a routine of visual inspections and small maintenance tasks. Every few months, check alignment of drawers and cabinets, look for signs of wear or loose components, and clean tracks and hinges thoroughly. Investing in quality hardware from brands like Blum or Hettich pays off here, as their designs tend to resist gumming and failure longer—something I learned after replacing cheaper models twice as often. And for sealed or specialized finishes, using a gentle cleaner and avoiding harsh abrasives preserves the surface look and prevents degradation, ensuring your storage solutions look great and function properly for decades.
Remember, consistent upkeep makes a huge difference. For step-by-step guidance on fine-tuning pivots and slides, you can explore detailed tutorials like this expert guide. Try incorporating a quarterly check of your hardware, and you’ll notice fewer glitches, smoother operation, and fewer surprises down the line.
If you’re planning a larger remodel or want to incorporate future-proof features, consider exploring innovative storage avenues outlined in modern options for storage solutions. Proper maintenance coupled with the right tools extends not just the life of your cabinets but also enhances your daily kitchen experience, turning routine chores into a pleasant activity rather than a maintenance headache.
The Lessons Nobody Tells You About Fine-Tuning Built-Ins
One of the most striking realizations I had was how tiny adjustments can drastically extend the life of your custom cabinets. I once ignored the importance of checking hinge alignment after installation, only to face squeaks and misalignments months later—that was a costly lesson in patience and humility. The key insight? Don’t assume that initial setup is static; ongoing minor tweaks are essential for maintaining perfection over the years.
Another deep personal truth emerged when I underestimated the beauty of integrating storage planning into overall design. Rushing into a remodel without considering flow and accessibility often leads to rework down the line. Now, I know that thoughtful, tailored storage solutions—like hidden compartments or bespoke drawers—can prevent clutter and save space, turning a good kitchen into a masterpiece of efficiency.
Lastly, patience is a virtue when dealing with high-end finishes. I’ve learned that rushing through hardware selection or finish smoothing can compromise aesthetics and durability. Instead, taking the time to choose quality, tested tools and materials pays dividends in the long term, ensuring your storage solutions and cabinetry remain stunning and functional for decades.