The Hidden Pull-Out Step That Gives Kids Safe Counter Access
It was one of those mornings. I caught my youngest teetering precariously atop a chair, reaching for that elusive cookie jar—only to wobbly stumble and almost send my carefully arranged kitchenware flying. That moment hit me hard: my kid needed a safe, reliable way to get up to the counter without risking a spill or a fall. It’s a common scenario in many households juggling to keep their little explorers safe while empowering them to help out in the kitchen.
Why a Pull-Out Step Could Be Your Game-Changer
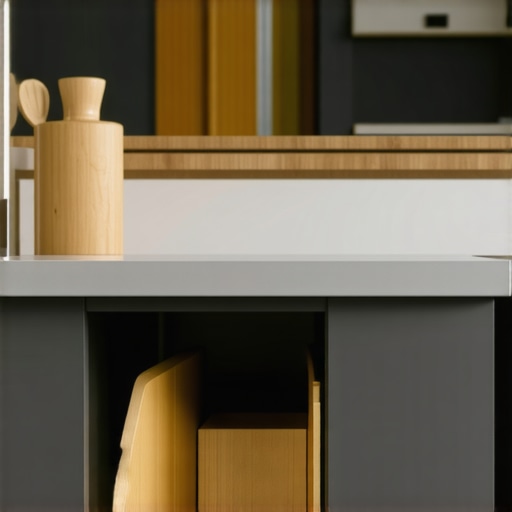
As parents, we’re always on the lookout for clever solutions that blend safety, convenience, and style. I discovered that a specially designed pull-out step hidden within the cabinetry can do wonders. No more unstable chairs or bulky step stools that block access or clutter the space. This under-the-radar feature transforms your existing cabinets into a **kid-friendly platform**—safely and effortlessly. Plus, when not in use, it stays neatly tucked away, preserving the sleek look of your kitchen.
Let’s face it—kids are curious; they’ll find ways to climb or access places they shouldn’t. According to the CDC, falls are the leading cause of non-fatal injuries among children, with many happening in the kitchen. A well-designed pull-out step doesn’t just solve a convenience issue; it’s a vital safety upgrade supported by research. Early on, I made the mistake of thinking a sturdy chair would suffice—until I realized they’re unstable and often unsafe. This simple tweak changed my approach, making me confident my children could help or reach for items without risking a fall.
What’s the big deal? Is this really worth the effort?
Initially, I was skeptical. I wondered if it would be a complicated DIY nightmare or an expensive upgrade requiring an entire remodel. Turns out, with the right guidance, installing a hidden pull-out step is surprisingly straightforward. It’s also customizable to fit your cabinet dimensions and style—whether you have modern, shaker, or traditional cabinetry. Plus, it’s a versatile feature that adds value and safety, especially if your household has young kids or elderly family members.
Thinking back, I wish I had known about this trick when we first moved into our home. It would have spared us a few close calls and given my kids more independence in the kitchen. If you’re curious about how to integrate this feature into your space, I recommend checking out the [ultimate guide to custom cabinets](https://artisancabinetworkz.com/the-ultimate-guide-to-custom-cabinets-for-a-stylish-kitchen-overhaul). It’s packed with ideas that can elevate your entire remodeling journey—just like this simple, smart addition.
Ready to turn that wobbly step into a sleek, safe solution? Let’s explore how you can do it yourself or coordinate with a professional to make your kitchen a safer, more functional space for everyone.
Measure Your Cabinet Space Precisely
Start by removing the cabinet door or drawer where you plan to install the pull-out step. Use a tape measure to determine the width, depth, and height available inside the cabinet. Remember, accuracy here ensures a snug fit that operates smoothly. I once overlooked this step, leading to a step that was too wide, causing jamming—so double-check your measurements!
Select or Build the Right Pull-Out Mechanism
Decide whether you want to buy a pre-made pull-out step or build one custom. For customization, consider using sturdy plywood or MDF, which are easy to work with and durable. If you opt for a DIY approach, cut your material to match your measurements and reinforce edges with wood glue and screws. I crafted mine with basic tools, attaching sliding mechanisms to ensure effortless extension.
Install the Sliding Hardware Carefully
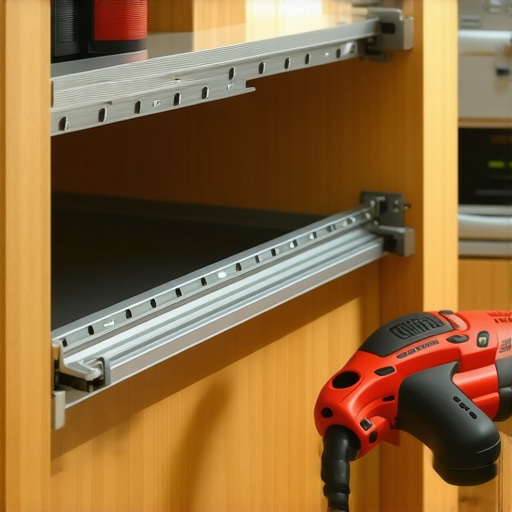
Attach heavy-duty drawer slides to the sides of the cabinet interior and the underside of the step platform. Ensure that the slides are level and aligned properly; misalignment can cause binding or uneven movement. I used a level tool and clamps during installation to guarantee a perfect track. Test the extension several times to confirm smooth operation before finalizing the assembly.
Tip: Use high-quality slides designed for heavy loads if your step will support kids or adults regularly. Check out detailed instructions on installing cabinet hardware for more guidance.
Secure and Finish the Edge Details
Once the slides are in place, attach the platform securely within the cabinet. Sand and finish the edges for a smooth feel—this prevents splinters and ensures safety. Apply paint, stain, or a clear sealant to match your cabinetry style. I painted mine to blend seamlessly, which took an afternoon but looked professionally finished.
Test the Mechanism and Make Adjustments
Push and pull the step several times, watching for any sticking points or wobbly movement. Adjust the tension screws on the slides if necessary. I learned this the hard way when my first attempt was too tight, making it hard to extend, so I loosened the screws incrementally until the movement was flawless.
Reinstall the Cabinet Door or Cover
After confirming everything works smoothly, reattach the cabinet face hardware and door. If your cabinet has decorative panels or handles, ensure they do not obstruct the pull-out motion. This hidden upgrade transforms your kitchen’s safety and functionality—saving space and reducing risk of falls, especially for little helpers. For more insights on custom cabinetry projects, visit this comprehensive guide to custom cabinets.When it comes to designing a perfect kitchen, many homeowners rely on popular beliefs that seem intuitive but can actually lead to costly mistakes. One widespread myth is the idea that stock or modular cabinets are always sufficient for a stylish, functional remodel. In reality, **custom cabinets and built-ins often provide a level of integration and efficiency unmatched by off-the-shelf solutions**, especially when you consider nuanced design details. Contrary to common wisdom, opting for entirely modular components might limit your ability to optimize space and achieve a cohesive aesthetic, particularly in kitchens with non-standard layouts.
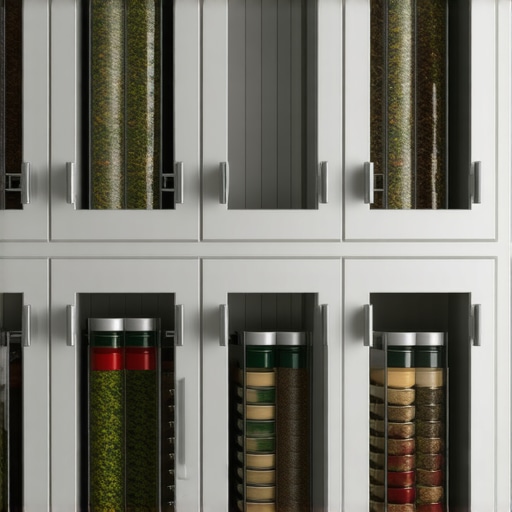
Another misconception involves the role of built-ins. Many assume that they are purely decorative or reserved for luxury projects. However, **integrating built-ins can significantly enhance storage density and accessibility**—think of customized shelving, hidden spice racks, or pull-out pantry solutions that maximize every inch of available space. This isn’t just about looks but about smart functionality that can transform your daily interactions with the kitchen.
Why do so many get this wrong? The allure of quick fixes
Many homeowners fall into the trap of choosing quick, inexpensive solutions with the belief that they’ll be sufficient or easy to upgrade later. Yet, this often leads to frustration when the initial choices clash with the overall design or fail to meet evolving needs. An **overlooked nuance** is that integrating built-ins or custom cabinetry demands careful planning, precise measurements, and understanding of how different materials age and wear. For instance, using standard MDF in high-moisture zones without proper sealing can lead to warping and deterioration over time — a mistake that’s both preventable and costly to fix.
According to industry experts, investing in high-quality, custom storage solutions can have a compounding benefit: they not only serve practical purposes but also elevate the aesthetic appeal and resale value of your home. **Prematurely dismissing the importance of tailored design can result in missed opportunities for seamless integration** and long-term satisfaction. For those considering their next kitchen upgrade, exploring detailed guides on custom cabinets and built-ins can provide invaluable insights into avoiding these pitfalls.
One of the careful nuances many overlook involves the materials used in built-ins. For example, opting for hardwoods or durable plywood ensures longevity and less maintenance, especially in high-traffic or humid environments. Also, integrating thoughtful hardware and soft-close mechanisms prevents wear and ensures smooth operation for years. Remember, every detail counts when crafting a truly functional kitchen that reflects your style and needs.
In summary, the biggest mistake is to view built-ins and custom cabinets as optional or superficial investments. Instead, treat them as foundational elements of sophisticated kitchen design. Doing so helps avoid quick-fix solutions that diminish both functionality and aesthetic coherence. For an in-depth look into how strategic customization elevates your kitchen, check out this expert guide for 2025. Have you ever fallen into this trap? Let me know in the comments.Maintaining your beautifully designed kitchen is just as crucial as the initial remodel. To keep your custom cabinets and built-ins functioning smoothly over time, investing in the right tools and adopting proven maintenance routines is key. Personally, I swear by a few essential tools that make upkeep more manageable and prolong the lifespan of your cabinetry and storage solutions.
First, a high-quality **multi-bit screwdriver set** is indispensable. I keep one handy because adjusting hinges and handles is inevitable as cabinets settle or hardware wears. I prefer a set with interchangeable bits, as it reduces clutter and ensures I always have the right tip for the job. Regular tightening prevents misalignment and keeps doors closing seamlessly.
Next, a **soft cloth and a gentle cleaner**—like a mixture of warm water and mild dish soap—are perfect for routine cleaning. I avoid abrasive cleaners or pads that could scratch or dull finish surfaces. Maintaining a consistent cleaning schedule removes grease and dust, especially on high-touch areas, preserving the aesthetic appeal.
For wood and painted surfaces, I recommend a **beeswax-based polish** or a specialized cabinet wood conditioner. Personally, I use beeswax because it nourishes the wood and adds a subtle sheen, enhancing the natural beauty of your bespoke cabinetry. Applying this every few months keeps surfaces looking pristine and provides a protective layer against moisture and daily wear.
A **level and a tape measure** might seem basic, but I find them vital for repairs or adjustments, especially after shifting humidity or settling of the house. Ensuring that doors and drawers are level prevents sticking and uneven gaps, which over time can impact functionality. For larger projects, a **carbon monoxide detector** is also wise—safety first!
I also keep a **maintenance checklist**—a simple document or digital reminder—to schedule periodic inspections and routine tasks. This proactive approach helps identify issues like loose hardware or minor scratches before they escalate into costly repairs. Embracing a maintenance routine has saved me hundreds and keeps my kitchen looking brand new.
Looking ahead, I predict that automation and smart monitoring tools will become more prevalent in kitchen care. Imagine a sensor that alerts you when humidity levels are too high, risking cabinet warping, or an app that guides you through maintenance tasks based on usage patterns. These innovations could revolutionize how we preserve our kitchen investments.
How do I keep my built-ins performing well over time?
Consistency is your best friend. Regularly checking hardware, cleaning surfaces with gentle products, and applying protective finishes can significantly extend the life of your cabinetry. For detailed insights on maintaining your custom kitchen, I recommend exploring [this comprehensive guide](https://artisancabinetworkz.com/the-ultimate-guide-to-custom-cabinets-for-a-stylish-kitchen-overhaul). It’s packed with expert tips that will help you stay ahead of any issues.
Finally, don’t shy away from experimenting with advanced techniques. One tip I highly suggest trying is applying a **light layer of mineral oil** to natural wood surfaces to nourish and repel moisture, especially if your kitchen faces high humidity. This simple step can keep your cabinets looking fresh for years.
Maintaining your kitchen isn’t just about cleaning—it’s about investing time and care into the elements that protect your space. With the right tools and habits, you’ll enjoy a beautiful, functional kitchen for generations to come.
Embarking on a kitchen renovation with built-ins and custom cabinets can transform your space into a seamless blend of style and function. Over the years, I’ve learned invaluable lessons—some through trial and error—that I wish I’d known from the start. These insights can save you time, money, and frustration as you craft your perfect kitchen environment.
What I Wish I Had Known About Built-Ins from the Beginning
- Every detail matters in custom design: Small choices, like material quality and hardware finishes, significantly impact durability and aesthetics. For example, I overlooked soft-close hinges initially, leading to creaky doors. Now, I emphasize high-quality hardware for longevity and ease of use.
- Patience pays off with quality craftsmanship: Rushing into a quick fix might save time upfront but often results in costly fixes later. Investing in experienced professionals or detailed DIY planning yields a much more satisfying result.
- Built-ins are an art of integration: They should complement your existing architecture and flow. I learned to design built-ins that subtly blend with the room’s style, avoiding a disjointed look that can detract from the overall harmony.
Tools and Resources That Elevated My Kitchen Storage Game
- An in-depth guide to custom cabinets offered comprehensive plans and ideas, helping me visualize options that maximize space and style.
- Innovative storage solutions installed functionality where I needed it most, like hidden spice racks and pull-out pantry shelves, making everyday tasks more efficient.
- Expert tips on storage selection helped me choose the right mechanisms, ensuring smooth operation and durability.
Your Next Step Towards a Better Kitchen Outlook
Now it’s your turn to innovate and elevate your space. Whether you’re considering built-ins or custom cabinets, remember that thoughtful planning and quality execution are key. Small details, like proper measurements and hardware choices, make all the difference. Don’t hesitate to explore detailed guides and consult experienced professionals to turn your vision into reality. With patience and intentionality, your kitchen can become a masterpiece of storage and style, designed to serve your needs for years to come. What’s one built-in feature you’re excited to incorporate into your remodel? Share your ideas below—your journey might inspire someone else to take the plunge!