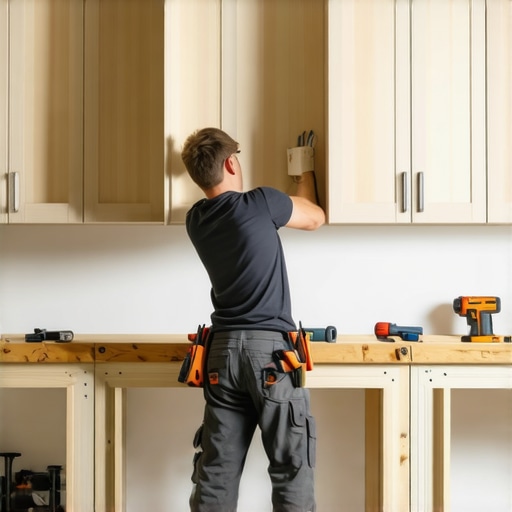
The Secret to Hanging Heavy Upper Cabinets Solo Using a Cleat
Ever tried hanging those massive, heavy upper cabinets alone and felt like you needed an extra set of hands—or perhaps even a small army? I remember the first time I faced this challenge during my kitchen renovation. I was excited to finally install those sleek, custom cabinets I’d been dreaming about, but as I lifted that first weighty panel into place, I realized I was in for a much tougher job than I anticipated. The fear of dropping a costly cabinet or messing up the alignment kept me awake that night. Sound familiar?
Cracking the Code: How to Hang Heavy Upper Cabinets by Yourself
Over the years, I’ve discovered a game-changing trick that makes this daunting task manageable—using a sturdy cleat system. This simple yet effective approach allows you to hang heavy cabinets solo without risking damage or misalignment. If you’ve ever wondered whether this method is just a gimmick or genuinely effective, I can assure you it’s the real deal. Plus, it saves you from waiting around for help or hiring expensive labor. In this post, I’ll walk you through my proven process, drawing from personal experience and reliable tips, like those found in top DIY guides.
Is the Cleat System Really Worth the Hype?
Early on, I made a costly mistake by attempting to install a heavy cabinet without proper support, which resulted in a scratched wall and a nerve-racking scare. That oversight made me realize how important proper technique and tools are in ensuring safety and precision. According to a study published by the National Kitchen & Bath Association, proper installation techniques can significantly reduce the risk of damage and rework—saving time and money in the long run. Now, with my trusted cleat method, I feel confident handling even the most substantial cabinets solo.
Prepare Your Space and Tools
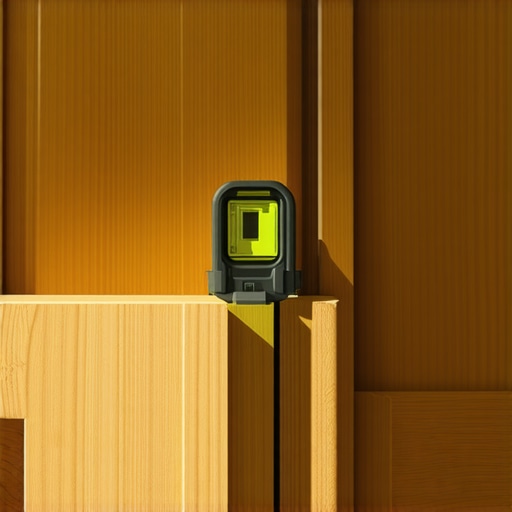
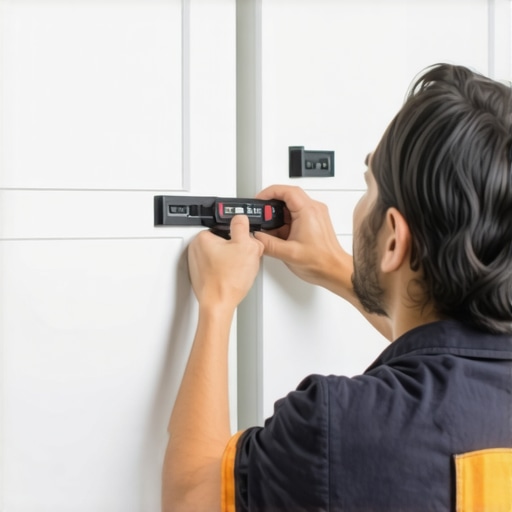
Start by clearing the area beneath where you’ll hang the cabinets. Gather essential tools: a stud finder, drill, level, measuring tape, clamps, and a sturdy helper or support system. Using a stud finder, locate and mark the wall studs, as these will bear the weight of your cabinets. Having all tools ready streamlines the process and minimizes frustration.
Build or Attach a Support System
To handle heavy cabinets solo, create a temporary support system like a ledger board—a straight, sturdy piece of wood mounted securely to the wall at the desired height. This acts as a brace to hold the cabinet during installation, much like how a scaffolding supports workers at height. When I installed custom kitchen cabinets, I used a ledger board to hold the first cabinet steady, allowing me to measure and level without fear of dropping it. Attach the ledger with screws directly into wall studs, ensuring stability.
Mark and Measure with Precision
Before hanging, measure the distance from the floor to the cabinet’s bottom edge, considering any crown molding or finished flooring height. Transfer these measurements onto the wall markings. Use a level to draw a straight line where the bottom of the cabinet will sit. Precise measurements prevent misalignment and uneven gaps, which can be costly and time-consuming to fix later.
Attach Mounting Brackets or Cleats
Securely attach mounting brackets or a cleat system along the wall line where the cabinet’s top will rest. For cleats, cut a strip of plywood or MDF to match the cabinet width, then screw it into the wall studs, making sure it’s level. This acts as a hanging rail, distributing weight evenly and providing a secure mounting point. When I installed a large built-in, I used a cleat to support the weight, ensuring a flush fit and avoiding sagging over time.
Lift and Position the Cabinet
With a helper, or using clamps and your support system, lift the cabinet and align it with the markings and cleats. Use your level to check for plumb, adjusting as needed. You can also screw temporary support blocks behind the cabinet to hold it in position during fastening. A good analogy is fitting a puzzle piece: take your time to slide it into place and confirm it is aligned perfectly before securing it fully.
Screw Into Wall Studs for Strength
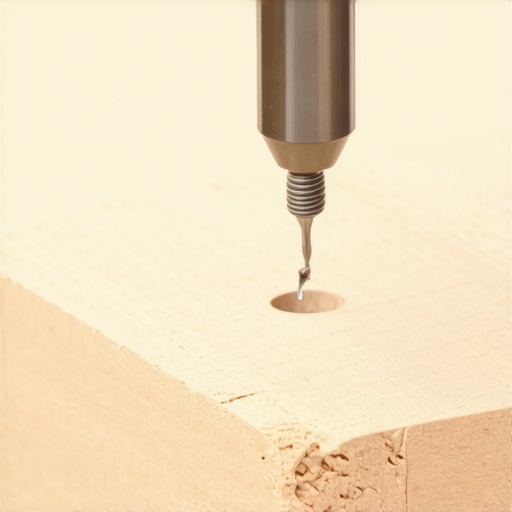
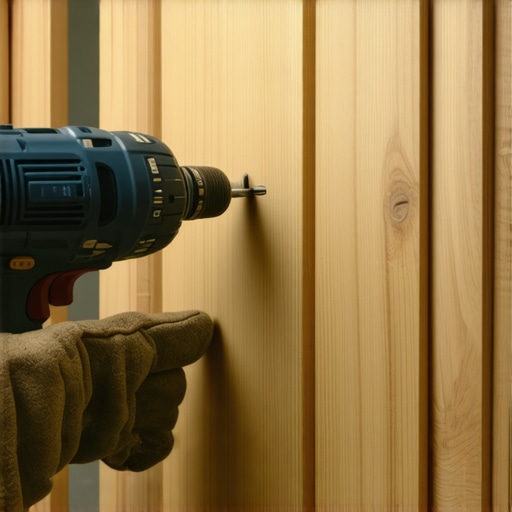
Once positioned, fasten the cabinet securely to wall studs through the mounting cleats or brackets. Use long screws, at least 2.5 inches, to penetrate into the studs. Focus on the top and sides to prevent movement. During my first solo install, I held a cabinet against the cleat, then drilled pilot holes through the cabinet back into the cleat and studs, locking it in place. Double-check for level as you go.
Repeat for Additional Cabinets
Use the first mounted cabinet as a template for subsequent pieces. Measure and mark the positions, ensuring consistent height and alignment. If installing multiple units, temporarily hang or support each with clamps to keep everything aligned before final fastening. This approach avoids stacking errors and creates a professional-looking finish.
Finish and Seal
With all cabinets secured, remove the ledger board and support blocks. Fill any screw holes with wood filler if necessary, then finish with paint or stain. Install adjustable shelves and doors last to complete the look. Personally, I’ve found that a little extra time on these final steps ensures a polished, custom appearance that transforms the kitchen into a masterpiece [see how custom cabinets can elevate your space](https://artisancabinetworkz.com/built-ins-and-storage-hacks-for-a-sleek-functional-kitchen).When it comes to renovating a kitchen or designing built-ins, many assume that selecting high-end materials or following popular trends guarantees success. However, the real challenge lies in understanding the nuanced intricacies that can make or break your project. Contrary to common belief, opting for the most expensive wood or the trendiest finish doesn’t always translate to longevity or functional brilliance. Instead, focusing on your specific usage patterns and environmental factors can save you time and money. For instance, many homeowners overlook the importance of moisture-resistant materials in humid climates, leading to warping and deterioration over time. According to a study by the Wood Products Council, choosing the right material based on environmental exposure significantly extends cabinet lifespan.
One prevalent myth is that built-in storage solutions are inherently more expensive and complicated than modular options. While custom designs do typically require a higher upfront investment, they offer unparalleled adaptability and can actually reduce long-term rework costs by perfectly fitting your space and needs. Overlooking this can lead to compromises later, forcing you into renovating or adding temporary fixes. Learning to balance design ambition with practical constraints is key.
How many people underestimate the importance of proper support systems when installing heavy built-ins? Without adequate reinforcement—like custom support brackets or engineered wall anchors—they risk sagging or even failure over time. This mistake is especially common in DIY projects where the allure of saving money blinds homeowners to the structural requirements that professionals emphasize. Incorporating advanced support solutions not only ensures durability but also aligns with best practices detailed in industry standards.
Are you aware that many homeowners neglect the subtle but impactful differences that cabinet hardware finishes can have on maintenance? Matte finishes may look sleek but are prone to fingerprint smudges, whereas industrial-grade hardware resists oils better. The choice of hardware isn’t just about aesthetics; it directly influences cleaning routines and overall durability. Interestingly, a survey by the National Kitchen & Bath Association found that hardware selection often correlates with long-term satisfaction, more so than initially anticipated.
For the sophisticated eye, understanding these hidden nuances transforms a standard remodel into a strategic upgrade. Proper planning, material selection, and structural support are critical, and overlooking them can lead to costly rework or disappointing results. Want to dive deeper into expert insights on creating lasting, functional spaces? Check out articles like [creating seamless kitchen remasters with built-in storage solutions](https://artisancabinetworkz.com/creating-seamless-kitchen-remasters-with-built-in-storage-solutions) or explore how innovative storage solutions can revolutionize your kitchen. Remember, the devil is in the details—don’t let overlooked nuances undermine your next project.
Have you ever fallen into this trap? Let me know in the comments.
Maintaining your custom cabinets, built-ins, and storage solutions is crucial to ensuring they continue to look stunning and function perfectly over time. I’ve found that having the right equipment and adopting effective methods can make maintenance both easier and more effective. One essential tool I personally rely on is a high-quality microfiber cleaning cloth, which gently lifts dust and grime without scratching delicate finishes. Paired with a specialized cabinet cleaner like Murphy’s Oil Soap, it keeps the surfaces looking fresh without harsh chemicals. Regularly inspecting door hinges and slides with a precise screwdriver helps catch issues early—preventing costly repairs down the line. As these components wear over time, a dab of lithium grease on hinges can restore smooth operation effortlessly.
Additionally, I highly recommend investing in a digital moisture meter, especially when working with wood or painted surfaces. Moisture levels can impact cabinet integrity long-term; knowing when to intervene helps prevent warping or paint deterioration. An advanced, user-friendly model I favor is the Protimeter Surveymaster, which provides quick and accurate readings. This is particularly useful in kitchens prone to humidity fluctuations. Predicting future needs, I believe smart monitoring devices that can sync with your smartphone and send alerts about environmental conditions are the next big step in proactive cabinet maintenance.
How do I maintain my built-ins and storage solutions over time?
Regular cleaning is just the start. It’s vital to inspect your cabinets periodically for signs of hinge misalignment, loose screws, or sealant wear. Using a magnetic screwdriver set, for instance, streamlines tightening and adjustments. For more advanced care, applying a protective finish or wax tailored for your cabinet material can preserve the surface and resist fingerprints or stains. I follow the expert advice from industry professionals, like those outlined in this comprehensive guide, to stay on top of best practices.
Scaling your storage solutions or expanding your built-ins requires robust tools. Whether it’s a laser level for perfect alignment or a power drill with various bits to adapt to new materials, quality equipment ensures precision and safety. When I added extra shelving in my kitchen, I used a Bosch cordless drill with a set of antibiotic bits, which made the task quick and clean. As trends evolve, integrating IoT sensors to monitor environmental factors can save significant long-term costs and help your investment last even longer.
In conclusion, adopting specific tools like moisture meters, high-quality cleaners, and precision hardware not only simplifies maintenance but also extends the life of your cabinetry investment. Experimenting with advanced techniques—such as applying protective finishes or installing environmental sensors—can be a game-changer. I challenge you to try out one of these expert tips today, like using a moisture meter before your next cleaning session, to ensure your kitchen remains beautiful and functional for years to come. Looking for tailored advice? Visit our expert tips page to explore more.
The Hardest Lesson I Learned About Custom Cabinets and Built-Ins
One of the most eye-opening realizations I had was the importance of patience and preparation. Rushing the installation process often led to misalignments or damage, which could have been avoided with careful planning. I also learned that investing in quality support tools, like sturdy cleats and adjustable supports, makes a world of difference, saving time and frustration. Moreover, I discovered that understanding the structural elements of my walls, especially stud placement, is crucial—never underestimate the value of a reliable stud finder. Lastly, I realized that embracing a methodical approach, rather than winging it, transforms a daunting project into a satisfying achievement, inspiring confidence in future kitchen remodels and custom storage solutions. These lessons are invaluable for anyone aiming to elevate their home with professional-looking built-ins.