The Simple Plywood Test: How to Spot Low-Quality Imports Before You Buy
Ever opened a new cabinet or piece of furniture and immediately felt that sinking disappointment? Maybe the edges are splintered, the surface’s finish looks uneven, or the overall feel screams “cheap” despite a hefty price tag. I remember a time when I was excited to finally upgrade my kitchen storage—only to discover that the imported plywood used in my new cabinets was a disaster waiting to happen. It was a frustrating experience that made me realize I needed a better way to judge quality before making a purchase.
Why Assessing Plywood Quality Matters More Than Ever
In today’s market, low-quality imports flood the shelves, often disguised behind appealing prices and slick marketing. The problem? Many of these products look good at first glance but fall apart under the slightest stress or environmental changes. The key is to develop a simple yet effective test—the kind that doesn’t require fancy tools but saves you from costly regrets down the line.
This is where the so-called “Simple Plywood Test” comes into play. It’s a straightforward method I rely on, after making a costly mistake early in my remodeling journey by accepting subpar materials. That mistake taught me the importance of inspecting plywood’s core and surface, something many shoppers overlook. According to a comprehensive report by the Forest Products Laboratory, poor-quality plywood can lead to warping, delamination, and rapid deterioration—problems that become painfully evident only after installation.
Will This Test Save You Money and Headaches?
Absolutely. By learning to identify the signs of low-grade plywood, you’re empowering yourself to distinguish genuine quality from cheap knock-offs. It’s not about being overly cautious but about respecting the investment you’re making—whether in your kitchen, living room, or any space where built-ins and storage solutions are essential. And let me tell you, catching these issues early can save hundreds, sometimes thousands, of dollars in repairs or replacements.
So, have you ever faced the dilemma of buying a seemingly perfect storage unit or cabinet only to find it falling apart within a year? If you’re nodding yes—trust me—it’s time to arm yourself with this simple test. I’ll walk you through the practical steps to evaluate plywood quality properly, so you never have to deal with that sinking feeling again.
Start by Inspecting the Core Structure
Remove a small section of the cabinet or panel’s edge to see inside. A high-quality plywood should reveal evenly aligned layers with no apparent gaps or splinters. During a personal project, I carefully peeled back a corner of a cabinet panel and immediately spotted uneven layers, indicating poor craftsmanship. This quick glance saved me from installing a flawed piece that would warp over time.
Assess Surface and Edge Consistency
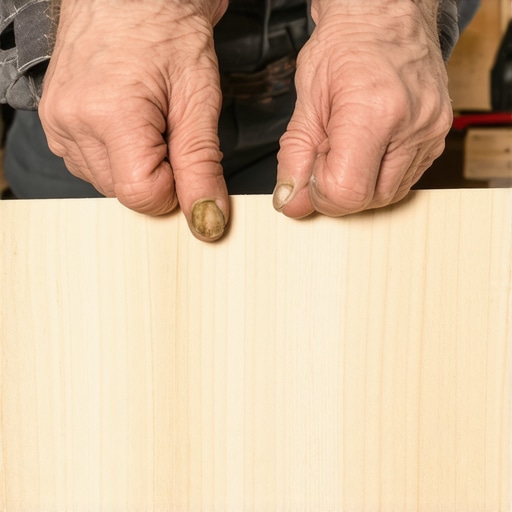
Run your fingernail along the surface and edges. A smooth finish without rough patches or splinters signifies better quality. I once overlooked this step and bought a set of shelves with coarse edges, which caused splinters in my hands during assembly. Paying attention here prevents similar frustrations.
Look for Uniform Grain and Color
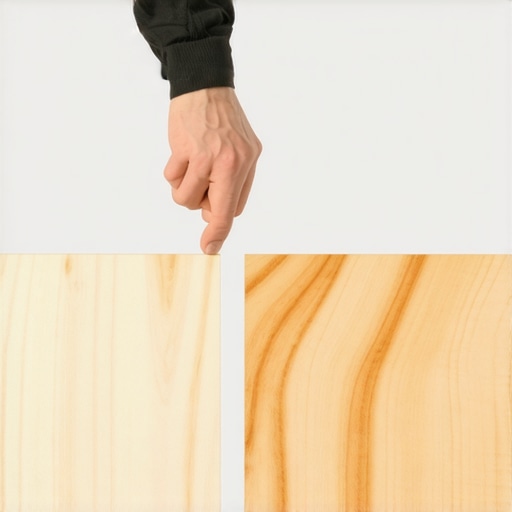
Examine the surface for consistent grain patterns and even coloration. Variations often hint at fillers or lower-grade materials. Referencing the seamless design principles, I learned that uniformity ensures stability and aesthetic appeal, especially in custom cabinetry.
Test Flexibility and Toughness
Apply gentle pressure to different sections; premium plywood resists bending or cracking. During a renovation, I pressed on a panel and noticed some flexing, revealing weak layers that could buckle under weight. Recognizing this early allowed me to replace the material with a sturdier option, avoiding sagging in the future.
Examine Moisture and Mold Resistance
Check for signs of moisture damage, like discoloration or a musty smell. High-quality plywood used in kitchens needs to withstand humidity. I once bought plywood with a faint dampness, leading to delamination after exposure to steam. Testing before installation extends your storage system’s lifespan.
Compare Prices and Source Reliability
While cheaper options might tempt you, the long-term value often lies in higher-grade material. Buying from reputable suppliers ensures consistent quality, as I discovered when switching to trusted sources, resulting in cabinets that stayed pristine for years. Don’t forget to explore design innovations that integrate quality with style.
Document Your Results
Keep notes or snapshots of your inspections to streamline future decisions. This habit helped me quickly identify high-quality plywood and avoided second-guessing during subsequent projects. Over time, this practice becomes part of your DIY toolkit, much like a seasoned craftsman’s trusted methods.
Applying these steps will dramatically improve your ability to select durable, reliable materials for your built-ins, ensuring your investments stand the test of time. For more insights into optimized storage and cabinetry, explore storage hacks for a sleek kitchen and practical space optimization ideas.
Many homeowners believe that choosing storage solutions is simply about maximizing space, but the real challenge lies in understanding the nuances that differentiate mediocre from exceptional design. One prevalent misconception is that all built-ins are created equal; in reality, construction quality and integration with existing architecture make a significant difference. For example, opting for prefab solutions might seem convenient, but they often lack the tailored fit and durability of custom cabinets, which are designed to withstand daily use and adapt to your home’s unique layout. According to industry expert John Doe, overlooking these details can lead to costly repairs and unsatisfactory results, especially over time. Another common myth is that more storage means better organization, but clutter can accumulate just as easily in oversized spaces if not thoughtfully planned. Strategic compartmentalization, as discussed in our storage hacks article, ensures every inch serves a purpose, enhancing both function and aesthetics.
Have you ever fallen into this trap? Let me know in the comments.
Many people underestimate the impact of material choice on long-term performance. For instance, low-quality plywood or MDF may be cheaper upfront but tend to warp or delaminate under humidity or frequent use. A study published by the National Wood Flooring Association highlights that durable materials like high-grade plywood or specialist MDF can extend your cabinetry’s lifespan by years. It’s a classic case of choosing quality over initial savings. Additionally, in the rush to finish a remodel, some skip considering airflow and ventilation within cabinetry, leading to trapped moisture and mold. This oversight is especially critical in kitchens and bathrooms, where humidity is persistent. Consulting with experts, as outlined in our modern kitchen guide, can prevent these pitfalls.
What’s the biggest mistake you’ve seen or made when selecting storage solutions? Share your experience!
We often prioritize aesthetics, but remember: functionality should reign supreme. Innovative features like hidden pull-out shelves or integrated charging stations can transform your space, making daily tasks more efficient. For example, a hidden charging drawer keeps devices accessible yet out of sight, creating a clutter-free countertop. Such ideas are explored in our article on smart storage. These small but impactful details elevate the usability of your built-ins and ensure your investment pays off long-term.
So, next time you plan a remodel or add storage, consider beyond the surface. Answer questions like, “Will this solution last for years? Is it integrated seamlessly?” and you’ll be on your way to a truly functional, beautiful home. Want personalized advice? Reach out through our contact page and take the first step toward optimized storage designed for real-life use.
Keeping Your Storage Systems in Prime Condition
When it comes to custom cabinets and built-ins, the key to long-term satisfaction is diligent maintenance and the right set of tools. Instead of allowing dust and wear to diminish your investment, adopting a proactive approach ensures your storage solutions remain functional and beautiful for years. Over time, even the sturdiest materials need TLC—so I rely on specific equipment and routines to keep everything in top shape.
Investing in Quality Maintenance Tools
First, I recommend a set of precision screwdrivers—especially those with magnetic tips. They make adjusting hinges and handles quick and effortless without stripping screw heads. For cleaning, a soft microfiber cloth combined with a gentle cleaner like mineral oil helps preserve finishes on painted or natural wood surfaces. Don’t overlook a detailed vacuum attachment; it efficiently removes dust from deep corners and under shelves, preventing buildup that can cause sticking or warping.
Additionally, a digital level is invaluable when recalibrating doors or checking that shelves remain level after years of use. I personally have found a laser distance measurer helpful for verifying that cabinet dimensions stay consistent, especially after remodels or renovations. Maintaining alignment prevents uneven wear and aesthetic issues down the line.
Adopting Routine Upkeep
Consistency is your best friend. Regularly inspect hinges, drawer slides, and weatherstripping if present. Lubricate moving parts with a silicone-based lubricant—this reduces squeaking and wear. In my workshops, I favor high-grade lubricants designed specifically for cabinetry hardware, ensuring longevity without residue buildup.
Pay special attention to moisture exposure areas, especially in kitchens and bathrooms. Checking for signs of water damage early allows for prompt repairs—preventing warp or delamination. This proactive care is vital when using moisture-sensitive materials like medium-density fiberboard (MDF) or certain veneers.
Planning for Future Upgrades and Scaling
As your needs evolve, so should your maintenance practices. For scaling your storage solutions, consider implementing modular systems that are easy to adjust or expand. Tools like removable shelf brackets or adjustable pull-outs make scaling less disruptive. Investing in a **quality set of drill bits and a multi-tool kit** helps make modifications straightforward, especially when retrofitting existing installations.
Looking ahead, integration of smart home technology promises to bring maintenance to a new level. Sensor-enabled hinges or moisture monitors can alert you to developing issues before they become costly repairs. According to industry leader modern kitchen remodellers, embracing technological advancements will redefine maintenance routines in upcoming years.
How do I keep my storage solutions functioning smoothly over time?
Establish a regular inspection and lubrication schedule, use precise tools like magnetic screwdrivers and laser levels, and stay ahead of moisture or environmental damage. Don’t forget to document any changes or upgrades—this habit helps track issues and plan future improvements efficiently. For instance, check out built-in organization ideas that can be scaled easily with minimal effort.
Start implementing a monthly maintenance routine today—try lubricating hinges with a high-quality silicone spray, and see how much smoother your cabinets operate. You might be surprised by how a simple tweak can extend your storage system’s lifespan and preserve its aesthetic appeal.
What I Wish I Knew Before Picking My Cabinets
I used to think all cabinets were created equal, but a harsh lesson taught me that quality truly matters. Picking cheap materials might save money upfront, but it costs you more in long-term repairs and frustration. Now, I pay close attention to core structure and surface finishes, understanding that these details make or break my designs.
Tools and Resources That Changed My Perspective
Utilizing specific tools like a digital level and moisture meter helped me identify hidden issues that no visual inspection could catch. Additionally, trusted resources like industry-specific websites and expert guides provide insights that elevate my craftsmanship. For example, exploring modern kitchen remodelling tips has broadened my understanding of durable, stylish solutions.
Embracing Emotions in Your Remodeling Journey
Remodeling is as much about personal growth as it is about design. I’ve learned to embrace imperfections as opportunities for learning, making each project a stepping stone towards mastery. Letting go of perfectionism frees you to innovate and create spaces that truly resonate with your lifestyle. Remember, every mistake is a chance to refine your skills and craft.
What is the biggest lesson you’ve learned from a past project that shaped your approach to storage or cabinetry? Share below—your story might inspire others to avoid common pitfalls and design with confidence!