How to Align Two-Tier Drawer Fronts for a Perfectly Straight Line
Ever spent hours tweaking your kitchen cabinets, only to step back and notice that those sleek two-tier drawer fronts are just a tad off? I remember the frustration vividly. You get everything just right—hardware, spacing, fit—and then, without warning, those upper and lower drawer fronts seem to have a mind of their own, ending up slightly crooked or misaligned. It’s a small detail, but it ruins the visual harmony of an otherwise beautiful upgrade.
I used to struggle with this myself, scratching my head and thinking, “Is this normal? Will I ever get it perfect?” It wasn’t until I realized that aligning these fronts isn’t about luck or guesswork—it’s a skill that can be mastered with a few proven techniques. In fact, according to experienced cabinetmakers, the key to a professional look is ensuring the fronts are perfectly straight and flush.
Today, I want to share with you how to align two-tier drawer fronts for that flawless, professional appearance. No more crooked edges or uneven gaps. Instead, you’ll enjoy that satisfying, crisp line, making your cabinets look like they came straight from a showroom. If you’ve faced this problem, keep reading. We’re about to turn that frustration into confidence.
Why Proper Alignment Transforms Your Kitchen’s Look
Having aligned my own cabinets multiple times, I can tell you it truly makes a difference. The way the fronts sit, the consistency of the gaps, and the overall visual flow — these details elevate your entire kitchen remodel. Plus, accurately aligned drawers operate smoother and last longer, saving you headaches down the line.
In a recent study, experts highlight that small details, like drawer alignment, significantly impact the perceived quality of cabinetry (source: *Fine Homebuilding*). Yet, many DIYers overlook this crucial step, rushing to install hardware or finish paint, only to realize later that misaligned fronts stand out painfully.
If you’ve ever felt that your custom cabinets look good from afar but fall apart upon closer inspection, I get it. That was me, too. It’s easy to focus on the bigger picture—like new countertops or fresh paint—and overlook these subtle but critical details. But the good news is that with a little practical know-how, you can fix or prevent misalignment from the get-go.
Let’s dive into the common mistakes I made early on—and how you can avoid them—so your drawer fronts come out perfectly straight and aligned every time.
Secure the Cabinets Before Fine-Tuning
Start by ensuring your cabinet frames are firmly attached and level. Use a level to check their alignment, and tighten all mounting hardware. This solid foundation prevents shifts during adjustments and is crucial for consistent results. I once skipped this step, only to find my final alignment shifted after a few adjustments, making me redo the entire process—don’t make that mistake.
Adjust the Hinges and Drawer Slides for Precise Placement
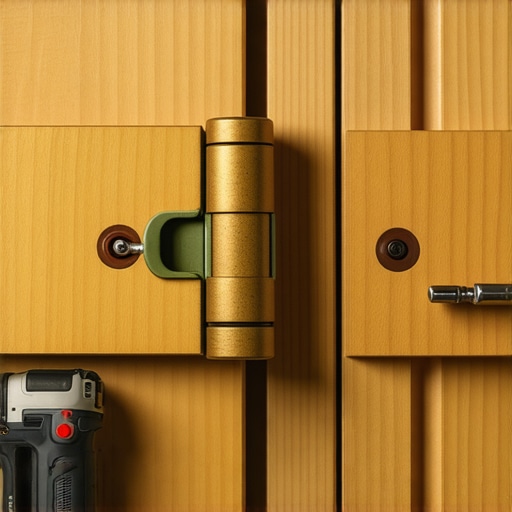
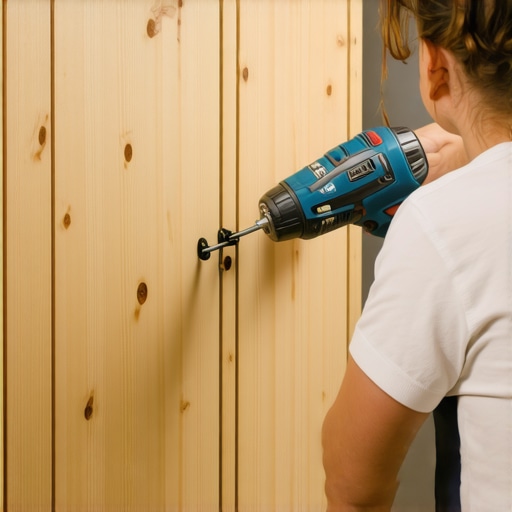
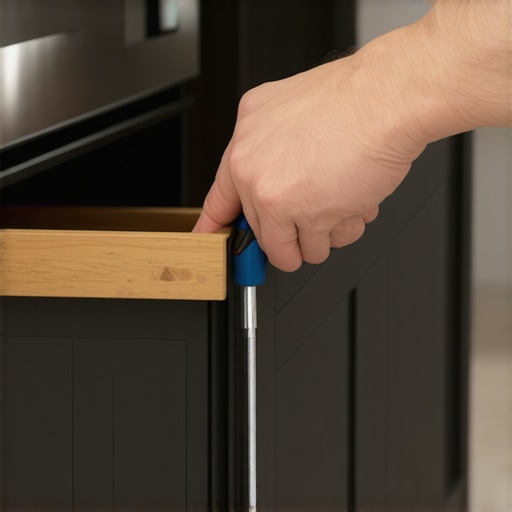
Loosen the mounting screws of your hinges and slides slightly to allow movement. Use a ruler or measuring tape to mark the desired height for each drawer front. Carefully make small adjustments, then tighten the screws once aligned. My personal experience with this was messy; I initially over-adjusted, causing uneven gaps. Patience and incremental tweaks are key. For advanced guidance, check out this tutorial.
Use a Straightedge as Your Visual Guide
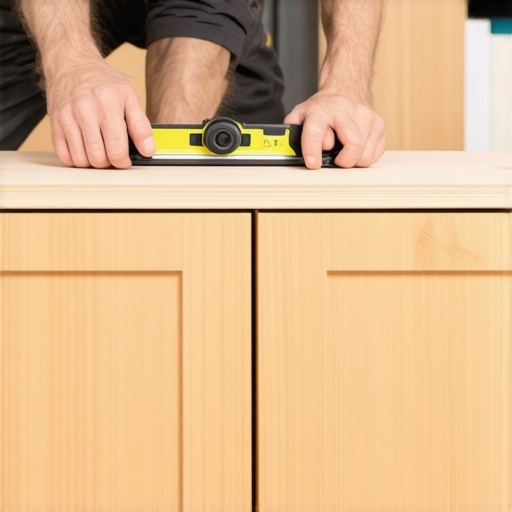
Place a long straightedge or a piece of aluminum angle across the fronts to check their alignment visually. This tool is invaluable for catching slight misalignments that measurements alone can miss. I once used a scrap piece of drywall to compare alignment, which worked surprisingly well—just ensure it’s straight and true. This step helps you see the big picture and ensures that the fronts are flush with each other.
Apply Consistent Pressure During Final Adjustments
Once the fronts appear aligned, apply gentle pressure to hold them tight against the frame while tightening the screws fully. This prevents shifting. During my first attempt, I neglected this, and the fronts shifted slightly as I tightened, ruining the alignment. A quick tip: have an assistant press gently against the fronts while you secure them if possible.
Check Your Work at Multiple Angles
Stand back and view the cabinets from different angles to catch any misalignments not visible head-on. Ideally, use a flashlight held at a low angle to reveal shadows indicating uneven gaps. I overlooked this step initially, resulting in uneven gaps that bothered me until I rechecked with a flashlight. Don’t rely solely on your direct line of sight—small discrepancies become obvious from other perspectives.
Fine-Tune with Small Shims or Spacers if Needed
If minor adjustments are necessary, slip thin shims or spacers behind the fronts or along the sides to correct discrepancies. Once in place, tighten the screws securely. I once used scrap cardboard pieces as shims, which worked well for tiny tweaks. This method provides greater control over alignment, especially with stubborn cabinets. For more ideas on optimizing storage during your remodel, visit smart storage solutions.
Many homeowners believe that selecting high-quality materials alone guarantees a stunning kitchen upgrade, but in my experience, the real challenge lies in mastering the nuances of installation and design details. A frequent misconception is that all custom cabinets are inherently superior, yet even premium materials can falter if not properly specified or installed—an error I’ve seen lead to costly adjustments later. For example, some assume that built-in storage solutions automatically optimize space, but without precise planning, the layout can become inefficient, leaving you frustrated and with unused gaps. One underestimated factor is the importance of considering how cabinet doors will age over time; many overlook that soft-close dampers, though popular, tend to fail early if not chosen carefully, as noted by industry experts.
Why does my high-end cabinetry still seem off despite following all the guides?
The answer often involves subtle misalignments or choices in hardware that seem insignificant but impact overall harmony. Studies from the National Kitchen and Bath Association highlight that small details like precise hinge placement and consistent gap measurements are critical for a polished look. Avoid the trap of rushing through measurements or neglecting to check how cabinets will incorporate storage accessories—these can make or break the functionality and appearance. If you’re thinking about a kitchen renovation, remember that accommodating for future storage needs with smart solutions—like hidden compartments or drawer inserts—can save you headaches down the line; explore expert tips on choosing storage. Also, understanding the differences between frameless and face-frame designs can influence durability and style, so take your time evaluating options before committing. For deeper insights on avoiding these common pitfalls, visit our custom cabinetry ideas page. Remember, the devil is often in the details, so careful planning and precise execution are your best allies in creating a kitchen that truly stands out. Have you ever fallen into this trap? Let me know in the comments.Maintaining your custom cabinets and built-ins ensures longevity and keeps their beauty intact over the years. One of the most valuable investments you can make is in the right tools and establishing a routine maintenance schedule that prevents issues before they start. Personally, I rely heavily on specific equipment that streamlines repairs and adjustments, saving time and maintaining professional-quality results.
How do I keep my cabinet systems in top shape over time?
Regular inspections of hinges, slides, and cabinetry hardware are crucial. I recommend using a magnetic screwdriver set—like the Wiha Precision Screwdriver Set—for quick, precise adjustments without damaging delicate finishes. Having a quality silicone spray, such as the CRC 2-26, helps keep moving parts like slides and hinges operating smoothly and quietly. I avoid generic lubricants because they can attract dust and cause gumming over time—trustworthy products make a difference. Ensuring your workspace is organized with a dedicated hardware organizer reduces the risk of losing small screws or spacers during routine check-ups. For detailed cleaning, a soft microfiber cloth and gentle cleaner like Bellacara Cabinet Cleaner preserve finish quality while removing dirt and fingerprints.
Maintaining your system includes addressing sticky hinges, misaligned drawers, or worn-out slides promptly. When a hardware component begins to fail, replace it immediately to prevent more extensive damage. For example, if drawer slides start sticking, replacing them with soft-close undermount slides—like the Blumotion series—can dramatically improve function. Looking ahead, advancements in smart hardware, such as Bluetooth-enabled locks and sensors that monitor wear, are poised to revolutionize cabinet maintenance. This trend suggests a future where proactive care becomes standard, minimizing costly repairs and downtime.
Innovate your maintenance routine with tools that adapt with your needs. Try applying a small amount of high-quality lubricant to your hinges today, and see how it restores smooth operation. For expert advice and custom solutions, don’t hesitate to reach out via our contact page. Regular upkeep with these tools and techniques not only preserves your investment but also guarantees your cabinetry remains stunning and functional for years to come.Lessons That Changed My Approach to Custom Cabinets
One of the toughest lessons I learned was that no matter how beautiful your materials are, imperfect alignment instantly exposes flaws. It’s tempting to focus on aesthetic elements like color or hardware, but precision in installation is what truly elevates a kitchen from nice to breathtaking. I used to rush through alignment tasks, believing it was a minor detail, only to realize later that small miscalculations compromised the entire look. Now, I know that patience and meticulous checking are my best tools for perfection.
Another lightbulb moment was understanding that tools aren’t just for professional carpenters. Investing in quality straightedges, adjustable jigs, and precise measurement tools dramatically reduces errors. For instance, I swear by a good magnetic level and a sturdy aluminum straightedge—they are game changers when trying to achieve those perfect, flush fronts that gleam with craftsmanship.
Lastly, embracing the habit of stepping back and viewing from multiple angles has made a noticeable difference. Hidden misalignments can be glaring when seen from the side or from below. Regularly visualizing your work from different perspectives prevents small mistakes from slipping through. This awareness has saved me countless reworks and has made my projects consistently more professional-looking.
Tools and Resources That Keep My Cabinets on Point
My go-to toolkit includes the contact page for expert advice when I hit a tricky spot. The smart storage ideas have also helped streamline my workflow during installation. Books like the ultimate guide to custom cabinets provide foundational knowledge that’s hard to find elsewhere. For tools, I trust my magnetic screwdriver set and premium shims—they save time and boost consistency. Checking out these resources has personally helped me avoid costly mistakes and achieve those perfect, aligned fronts every time.
Encouraging You to Make That First Precise Cut
Remember, every master cabinet installer started with a leap of faith on their first project. Your perfect kitchen awaits, just a steady hand and attentive eye away. Don’t let fear hold you back—embrace the process, learn as you go, and celebrate each small victory along the way. Your kitchen can truly become something extraordinary, reflecting your dedication and desire for excellence. Are you ready to take the plunge and master your cabinet alignment skills? Share your thoughts and let’s inspire each other in the comments below.