How to Secure a Heavy Kitchen Island to a Radiant Heat Floor Safely
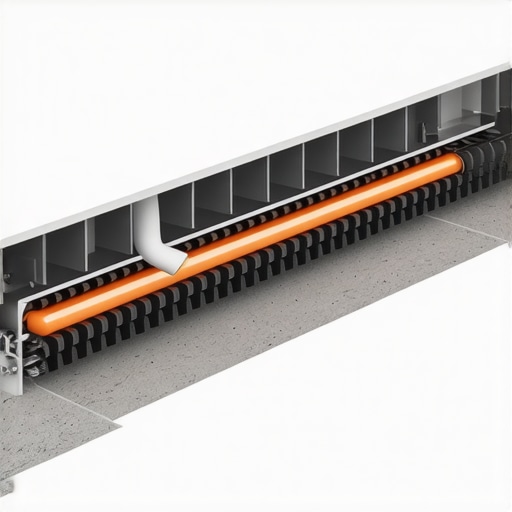
I’ll never forget the cold sweat I broke into during my first major kitchen remodel. I was standing in a beautiful, open-concept space, holding a masonry bit, staring at a floor that cost more than my first car. Beneath those gorgeous tiles was a network of hydronic heating tubes. My task? Secure a massive, custom-built island without turning the kitchen into an indoor pool. It’s one of those moments where you realize that a single inch of error could result in a nightmare repair job. We often talk about revolutionizing your kitchen remodel with smart layouts, but rarely do we discuss the sheer terror of mounting heavy furniture over a ‘live’ floor. Today, I’m going to show you exactly how to anchor that centerpiece safely, so you can enjoy your morning coffee on a warm floor without a nagging fear of leaks. [IMAGE_PLACEHOLDER]
The High Stakes of Drilling Into Your Subfloor
When you’re dealing with modern kitchen remodels, radiant heat is the ultimate luxury. But it turns the subfloor into a minefield. Many DIYers and even some pros think they can just ‘eyeball’ the tube layout based on some grainy photos taken during construction. I made that exact mistake years ago on a small vanity project, and let me tell you, a thermal camera is your best friend, not a luxury. If you don’t have one, you’re just gambling with your homeowners’ insurance. Beyond the plumbing risk, there’s the structural necessity. You might be tempted to just let gravity do the work, especially if you’ve followed the 12-inch island overhang rule and have a solid stone top, but a heavy island that isn’t anchored can shift over time, stressing the flooring or even snapping electrical connections.
Is securing an island even necessary if it’s already heavy?
This is the question I get most often from skeptical homeowners. They see a 400-pound cabinet and think, ‘That thing isn’t going anywhere.’ However, the Radiant Professionals Alliance notes that hydronic systems are sensitive to any shifting weight that isn’t properly distributed, and unintended movement can cause friction against the tubing. Plus, if you have a heavy mixer lift or children leaning against the side, that ‘immovable’ island starts to creep. We want a rock-solid foundation that respects the heat below. Have you ever been told you couldn’t have the island you wanted because of your floors? I’d love to hear your thoughts in the comments. Let’s look at why choosing legs over a solid base might change your anchoring strategy entirely.
Map the Heat with a Thermal Camera First
You cannot guess where hydronic lines are based on where they enter the room. I once worked on a project in a high-end condo where the heating lines did a random loop-de-loop right in the center of the kitchen—exactly where the custom cabinets for the island were destined to sit. If I hadn’t rented a thermal imaging camera, I would have sent a three-inch lag bolt straight into a 120-degree water line. Start by turning the heat up to its maximum setting about an hour before you arrive. This makes the lines glow like neon signs on the camera screen.
Trace the Coils with Painters Tape
Once the lines are visible, use blue painters tape to mark every single run on the floor. This provides a physical map that won’t rub off as you move the island into place. When planning your perfect kitchen upgrade, this map dictates where your fasteners can safely go. I always mark a ‘no-fly zone’ at least two inches wide on either side of the actual tube to account for the heat signature’s spread. 
Use Interior Cleats to Distribute the Weight
Instead of trying to screw through the bottom of the cabinet and hoping for the best, you need to build an internal cleat system. Think of this like a skeleton that sits inside the toe kick area. I prefer using 2×4 or 2×2 pressure-treated lumber. You secure these cleats to the subfloor in the ‘dead zones’ between the heating tubes. By using plywood box construction for the island itself, you create a rigid structure that can be screwed into these cleats horizontally through the toe kick or the cabinet floor.
Choose Adhesives Over Long Fasteners
On that messy job I mentioned earlier, the ‘safe’ spots for drilling were few and far between. This is where a high-quality construction adhesive becomes your best friend. In many kitchen remodel journeys, we find that a combination of short, 1-inch screws (which won’t reach the tubes in a standard 3/4-inch subfloor) and a bead of PL Premium adhesive provides more than enough lateral stability. This keeps the island from shifting when someone leans on it, without the risk of a catastrophic leak. If you are adding features like extra storage in your kitchen island, the weight of the contents actually helps keep the unit seated on the adhesive.
Level the Base Before You Lock It Down
Before that adhesive sets, check your levels. Concrete or wood subfloors are rarely perfect, and every base cabinet needs adjustable feet or plastic shims to prevent the stone countertop from cracking later. I remember a project where we rushed the leveling and had to pull the whole island up the next day because the dishwasher wouldn’t slide in. Take the extra ten minutes to shim the cleats perfectly flat before the final fastening. This ensures your heavy stone top stays level and your radiant heat remains undisturbed beneath a rock-solid installation.
Whether you choose legs or a solid base, the most dangerous mistake I see is an obsession with using solid wood for the entire internal structure. It’s a common misconception that ‘solid’ always equals ‘better’ in high-end projects. In reality, when you are building modern kitchen remodels over radiant heat, solid wood can be your biggest liability. Planks of oak or maple are far more prone to seasonal expansion and contraction compared to engineered cores. This is why plywood box construction still beats particle board and solid lumber for the cabinet carcass; the alternating grain layers provide the dimensional stability needed to survive the 120-degree cycles of your floor. 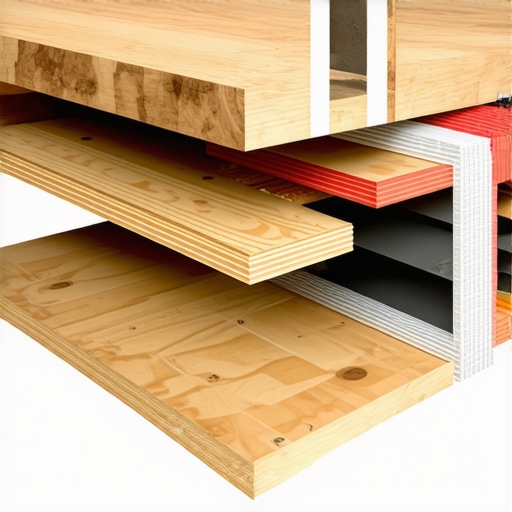
The Solid Wood Myth That Warps Your Design
Many homeowners insist on solid wood for everything, but that’s a trap that ignores the physics of humidity. According to the Forest Products Laboratory, wood is a hygroscopic material that changes size based on the moisture in the air. Beneath an island, the radiant heat creates a localized dry zone. If your island isn’t built with stable materials, the bottom of the cabinet will shrink faster than the top, leading to structural ‘cupping.’ This is also a primary reason we recommend plywood shelves over solid wood for long spans where heavy pots are stored.
How much floor movement can your custom cabinets actually handle?
Advanced installers know that the floor and the cabinet need to ‘dance’ together. If you anchor your island too rigidly, you risk splitting the base when the floor expands. This is especially true for those wanting the warmth of wood tops. The butcher block mistake—bolting a wood top directly to a base without using oversized holes or expansion clips—is a classic ‘oops’ that leads to massive cracks within the first year. Instead of fighting the floor’s movement, many high-end installers are now opting for a ‘floating’ cleat system. By allowing the island base to have a fraction of an inch of ‘play’ or using flexible silicone-based adhesives rather than brittle construction glue, you prevent the flooring from buckling.
Don’t Let Stiff Fasteners Ruin Your Floor
There is also the hidden danger of ‘fastener creep.’ Over years of vibration from dishwashers and heavy foot traffic, a screw that was once ‘safe’ can slowly back out or rub against a vibrating copper pipe. A study by the Radiant Professionals Alliance suggests that even minor friction can eventually compromise PEX tubing over a 15-year horizon. When you are deep into your custom cabinets as a game-changer project, success isn’t just about the finish; it’s about the engineering. We have to select the right storage solutions that account for these thermal realities. Have you ever fallen into the ‘solid wood is always better’ trap? Let me know in the comments.After years of being in the weeds of modern kitchen remodels, I’ve realized that the ‘set it and forget it’ mentality is a myth. To keep that island or those built-ins and storage hacks working like new, you need a maintenance kit that goes beyond a screwdriver. I swear by a dry PTFE lubricant spray. Unlike WD-40, which attracts dust like a magnet, a dry lubricant keeps cabinet drawer slides from grinding without creating a sticky mess.
Professional Tools for a Flawless Finish
For any perfect kitchen upgrade, I never show up without my FastCap 2P-10 adhesive and activator. It’s a game-changer for those tiny pieces of trim or concealing the seam where the cabinet end panel meets the wall. It bonds in seconds, allowing you to move fast. Another indispensable tool is the Starrett 505A-12 ProSite Miter Protractor. Most walls are not 90 degrees; they’re 89.2 or 91.5. If you want to scribe a pantry end panel to a stone backsplash without a gap, you need that precision. 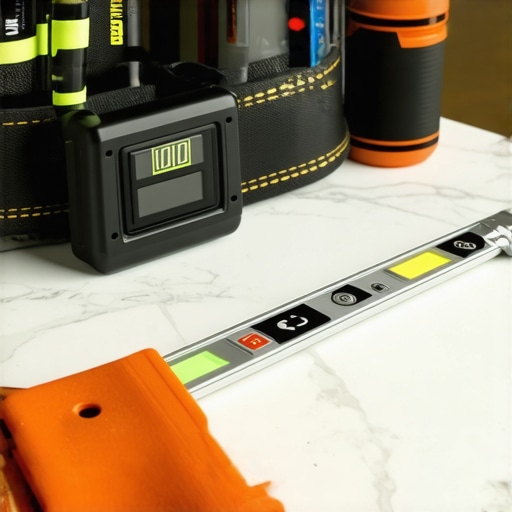
Keep Your Cabinet Doors Perfectly Aligned
How do I maintain my custom cabinets over time?
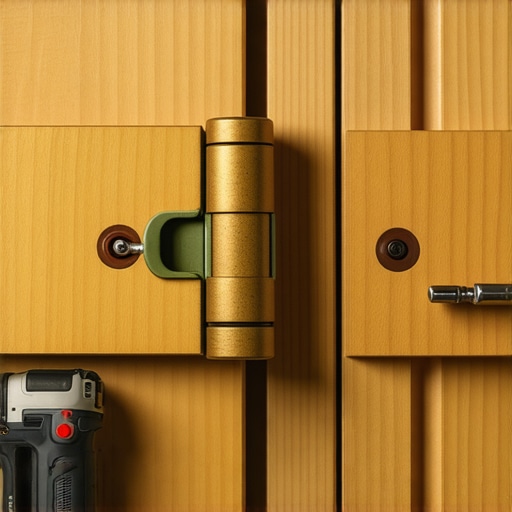
The biggest culprit is seasonal humidity. Your house breathes. In the winter, the air dries out and gaps appear; in the summer, things swell. You need to know how to adjust European hinges. According to the Blum Technical Manual, these hinges allow for three-way adjustment—height, depth, and side-to-side—often with just a turn of a #2 PoziDriv bit. Don’t use a standard Phillips; it will strip the screw. If your slow close hinges are suddenly sluggish, it’s usually just debris in the piston. A quick wipe with a damp microfiber cloth and a tiny drop of mineral oil usually restores the ‘soft’ in soft-close.
Why Modular Mobility Wins the Future
I predict we are moving toward ‘modular mobility.’ In the next few years, innovative storage solutions won’t just be fixed. We’re already seeing more built-in storage solutions that are magnetic or clip-based, allowing you to swap out a spice rack for a knife block as your cooking habits change. This flexibility ensures your custom cabinets remain a game-changer for decades, not just until the next trend hits. If you’re feeling brave, grab a PoziDriv screwdriver this weekend and try leveling just one ‘wonky’ cabinet door; you’ll be amazed at how much better the whole kitchen looks when the lines are straight.
The Lessons Only a Near-Flood Could Teach Me
After decades of sawdust and sweat, I’ve realized that the most expensive mistakes aren’t usually the ones you see on the surface; they’re the ones hidden two inches below the tile. One major lightbulb moment was discovering that plywood box construction still wins over furniture board in wet areas and heated zones because it resists the constant ‘baking’ effect of the floor. I also learned that you should never trust a ‘safe zone’ marked by a previous contractor without verifying it yourself with a thermal camera. Lastly, remember that the island’s weight is an asset, not a liability—use it to your advantage with high-friction gaskets rather than aggressive drilling into the subfloor.
My Go-To Kit for Building Islands That Last
If you want to achieve professional results, you need to look beyond the basic hardware store aisle. I always recommend checking out the ultimate guide to custom cabinets for a stylish kitchen overhaul to understand the structural requirements before you start. For the actual installation, I never leave home without a quality thermal imager to spot those hydronic lines and a set of PoziDriv bits to ensure I don’t strip the screws on high-end hinges. To keep things organized as you build, look into smart storage ideas to maximize your kitchen space this year so your new island is as functional as it is stable.
Your Vision Deserves a Foundation That Won’t Move
A kitchen remodel is a massive investment in your home’s future and your daily happiness. By taking these extra precautions with your radiant heat and island anchoring, you’re ensuring that your custom cabinets remain a source of pride rather than a source of stress. Don’t be afraid to take the slow road during the installation phase; the peace of mind you’ll have while standing on that warm floor is worth every extra minute of mapping and shimming. If you’re feeling overwhelmed by the technical details, feel free to contact us to discuss your specific layout. Have you ever discovered something unexpected hiding beneath your kitchen floor during a project? Let me know in the comments below!