3 Ways to Reinforce a Kitchen Island for Heavy Quartz Overhangs
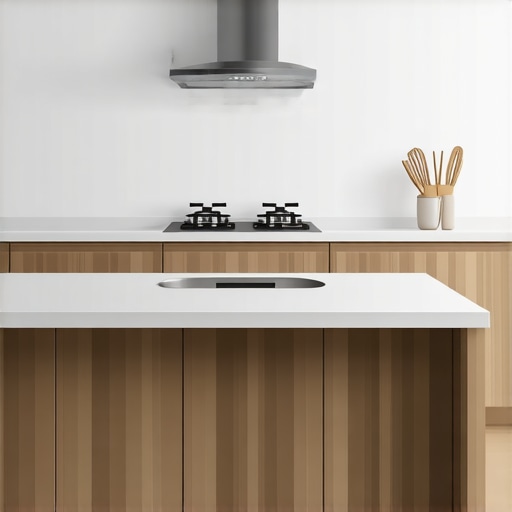
I remember the first time I installed a beautiful quartz countertop on my kitchen island. Everything looked perfect—until I accidentally leaned on the overhang during a busy weekend gathering. To my dismay, the entire countertop shifted slightly, revealing a common oversight that many homeowners and DIY enthusiasts overlook. That lightbulb moment made me realize: reinforcement is key for heavy quartz overhangs.
Why Reinforcement Matters for Quartz Overhangs
Quartz is stunning and incredibly durable, but it’s also heavy—sometimes weighing up to 20 pounds per square foot. Without proper reinforcement, those extended overhangs can sag or even crack over time, especially if they’re used for seating or display purposes. The National Kitchen and Bath Association reports that improperly supported countertops are one of the leading causes of costly kitchen repairs, with reinforcement being a critical factor in longevity.
If you’re planning a remodel or have recently installed a quartz island, you probably wonder, “Do I need reinforcement, and how do I do it correctly?” Well, you’re in luck—those questions are exactly what I’m going to help answer today. With a few simple strategies, you can ensure your gorgeous island remains sturdy and functional for years to come.
Is All Reinforcement Created Equal?
Here’s a mistake I made early on: I thought that simply adding brackets or supports underneath was enough. Nope! Over time, I realized that the type and placement of reinforcement make all the difference. For a reliable solution, combining structural supports with a solid understanding of your island’s frame can prevent sagging and damage, saving you time and money down the line.
Ready to dive into proven methods for reinforcing your kitchen island? Let’s explore three effective strategies that will give you peace of mind and a stunning, durable countertop.
Assess Your Overhang and Frame
Begin by measuring the length and weight of your quartz overhang. Use a tape measure to determine how far it extends beyond your cabinets and verify the weight per square foot. During my own project, I found that an 18-inch overhang required additional support because of its length and the weight when accommodating seating. Check the cabinet framing—if it’s a standard cabinet box, reinforcement becomes even more critical, especially in older homes with softer framing.
Choose the Right Support Materials
Opt for steel brackets or custom support cleats made of metal or hardwood. I prefer steel because it offers a clean look and immense strength. Avoid visible supports that clash with your aesthetic; instead, plan for hidden reinforcements. For my island, I selected L-shaped steel brackets anchored into the cabinet frame and wall studs, which provided nearly invisible support that I later painted to match the cabinetry.
Install Support Brackets Correctly
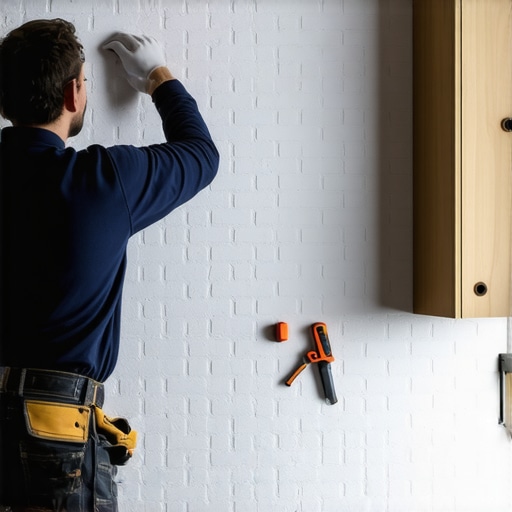
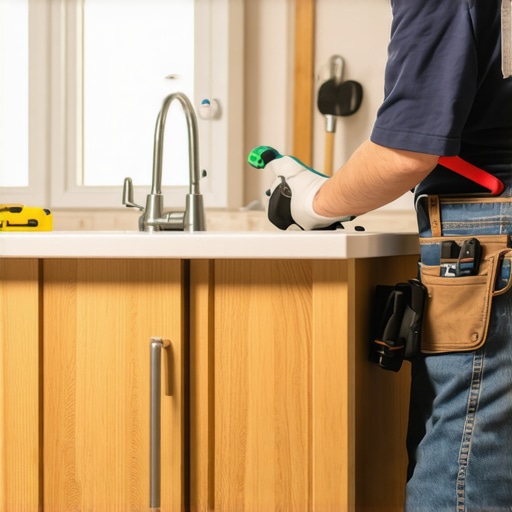
Mark the placement of brackets at intervals no more than 24 inches apart along the overhang edge. Use a level to ensure perfect horizontal alignment. During my install, I drilled into the cabinet wall, not just the underside, for maximum stability. Anchors must penetrate wall studs; using a stud finder simplifies this process. Secure brackets with corrosion-resistant screws – I’ve had issues with rust in humid kitchens that compromise support over time.
Reinforce with a Support Cleat or Frame
If your cabinets lack sufficient framing, add a support cleat underneath the overhang. Attach a 2×4 or 2×6 strip along the bottom edge, screwing it securely into the cabinet sides and wall. When I rebuilt the support structure for my island, I used a pressure-treated lumber strip—this eliminated any sag after heavy use and complemented the existing cabinetry seamlessly. For more ideas on customizing cabinet support strategies, visit this guide.
Seal and Finish Support Elements
Paint or stain supports to match your cabinetry, ensuring they blend in. Seal all drilled holes with a wood filler or epoxy to prevent moisture ingress and potential wobbling. During my project, I painted supports to match the cabinets and sprayed a clear sealant on the brackets for added protection. Proper finishing safeguards against corrosion and extends the support’s lifespan, especially in humid environments.
Test Your Reinforcement and Make Adjustments
Once installed, gently apply pressure to ensure stability without movement or squeaks. Have a friend sit on the overhang to verify support strength—this real-world test was eye-opening in my case, revealing a weak point I needed to reinforce. Adjust support placement as necessary, adding more brackets or stronger supports if there’s any noticeable sag.
Doing my own reinforcement taught me the importance of precise support placement and using quality materials. Remember, reinforcement isn’t just about holding up weight—it preserves your investment and maintains a beautiful, functional space. For more insight into custom solutions that enhance your kitchen’s durability and style, check this article.
Many homeowners believe that selecting high-quality materials and a reputable cabinetmaker guarantees a perfect kitchen. However, this oversimplification ignores crucial nuances that can make or break your renovation’s success. One widespread myth is that all custom cabinets are inherently durable; in reality, craftsmanship details and installation techniques significantly affect longevity. For example, improper door alignment or weak drawer supports can lead to premature wear, regardless of the material quality. An often-overlooked aspect is the importance of precise measurements—tiny errors can result in gaps or misalignments that disrupt both aesthetics and function. Advanced remodelers understand that seamless integration of built-ins, such as niche shelves or hidden storage, enhances both style and usability; neglecting these details can render your space inefficient despite beautiful design. A common trap is underestimating the complexity of storage solutions; for instance, inadequate internal organization can turn a spacious cabinet into a cluttered nightmare, defeating its purpose. Expert guidance emphasizes that effective storage design considers not only what to store but how to access it comfortably, which requires thoughtful planning and experience. Additionally, sophisticated homeowners often overlook the impact of environmental factors like humidity and temperature fluctuations on cabinetry—materials that perform well in controlled conditions may warp or swell otherwise, leading to costly repairs. According to a study by the National Kitchen and Bath Association, overlooking proper framing and reinforcement during installation can compromise entire structures over time. It’s tempting to focus solely on aesthetics, but the secret to a truly functional kitchen lies in mastering these fine details. Integrating well-planned built-ins and smart storage solutions ensures your renovation maintains style and longevity. For deeper insights into designing custom cabinets that stand the test of time, see our comprehensive guide on [the ultimate custom cabinet strategies](https://artisancabinetworkz.com/the-ultimate-guide-to-custom-cabinets-for-a-stylish-kitchen-overhaul). Have you ever fallen into this trap of oversimplification? Let me know in the comments.
Maintaining your custom cabinets and storage solutions requires more than just occasional cleaning; it demands the right tools and a strategic approach to ensure longevity and optimal functionality. Over the years, I’ve honed my toolkit with specific instruments that streamline upkeep and help me quickly address issues before they escalate. Investing in quality equipment can save you time and help preserve the craftsmanship that makes your space stand out.
Prioritize Precision with a Laser Level
Gone are the days of relying solely on bubble levels, which can be inaccurate over long runs. I rely heavily on a laser level—specifically the DeWalt DW085K. Its accuracy within 1/8 inch over 100 feet allows me to check the alignment of cabinet doors and pulls, ensuring everything stays perfectly square over time. Regular checks prevent misalignments that can lead to uneven gaps or hardware wear.
Use Soft Cloths and Microfiber Tools for Gentle Cleaning
The surfaces of custom cabinetry are delicate—especially finishes like matte or high-gloss. I always keep a set of microfiber cloths and Griot’s Garage microfiber pads handy. They remove dust and smudges without scratching, preserving the finish. I recommend a gentle routine once a week, using mild soap and water, to keep the surface pristine while avoiding chemical buildup that could degrade adhesives or veneers.
Maintain Hardware with a Specialized Lubricant
Hardware components—like hinges and slides—are critical for smooth operation. I keep a small container of white lithium grease (such as Lucas White Lithium Grease) on hand. Regularly applying it to moving parts prevents squeaks and reduces wear. A few drops every few months can extend the lifespan of your hardware, maintaining the seamless operation you expect from your custom finishes.
Implement Cleaning Robots for Long-Term Results
For ongoing cleanliness, I’ve incorporated the Roomba s9+ robot vacuum into my routine. It handles dust and debris beneath and around cabinets, especially in hard-to-reach corners. Allocating a few minutes weekly for automated clean-up keeps surfaces looking fresh without manual effort, reducing dust buildup that can stain or degrade delicate finishes over time.
Predicting Trends: Smarter Maintenance with IoT Devices
Looking ahead, the integration of IoT (Internet of Things) devices promises even smarter maintenance solutions. Imagine sensors embedded in cabinetry that alert you to humidity changes or hinge wear before it becomes noticeable. Staying ahead with these innovations can help prolong your investment and maintain the aesthetic appeal of your custom interior.
What’s the Best Way to Keep Your Cabinets in Shape?
For long-term results, establish a maintenance schedule that combines routine inspections with the right tools. Regularly check hardware lubrication, use laser levels to monitor alignment, and don’t neglect advanced tools like microfiber cleaning cloths. Trying out one of these strategies today can make a significant difference in preserving your cabinetry’s beauty and functionality. If you want to explore more comprehensive tips on storage maintenance, visit this resource.
The Hidden Lessons That Transformed My Kitchen Projects
- Never underestimate the importance of proper framing—skimping on reinforcement can lead to costly mistakes down the line, as I learned firsthand when a beautiful quartz overhang sagged unexpectedly.
- Using high-quality, hidden support materials like steel brackets and support cleats not only adds durability but also maintains sleek aesthetics, a lesson I wish I had prioritized earlier.
- Meticulous measurements and strategic placement of supports are crucial; small miscalculations can compromise both safety and style, emphasizing the need for precise planning in every step.
- Incorporating thoughtful storage solutions and built-ins can elevate your space beyond visual appeal to everyday functionality, transforming kitchens into hubs of efficiency and comfort.
- Embracing regular maintenance with the right tools helps preserve the integrity of your cabinetry and supports over time, ensuring your investment lasts for years of enjoyment.
Tools and Resources That Made a Difference for Me
- Laser Level: The DeWalt DW085K became my go-to for ensuring perfect alignments, preventing uneven supports and gaps that can develop over time.
- Microfiber Cloths: Gentle cleaning with premium microfiber tools preserves the finish of my custom cabinets and avoids scratches, keeping them looking brand new.
- White Lithium Grease: Regular application extends hardware lifespan and ensures smooth operation—an often overlooked detail that pays off in long-term durability.
- Comprehensive Guides: Resources like this article helped me plan smarter storage layouts and avoid common pitfalls, making my remodel more successful.
Your Next Step Toward a Stronger, Smarter Kitchen
Taking action now can set your kitchen apart—whether through reinforcing heavy quartz overhangs or designing clever built-ins that offer hidden storage and visual harmony. Remember, the details make all the difference in creating a space that’s both beautiful and enduring. Dive into the resources provided, and don’t hesitate to start your own transformation today. What’s your favorite custom cabinet feature that elevates your kitchen’s style and functionality? Share your ideas below and let’s inspire each other to craft dream spaces that last!
,