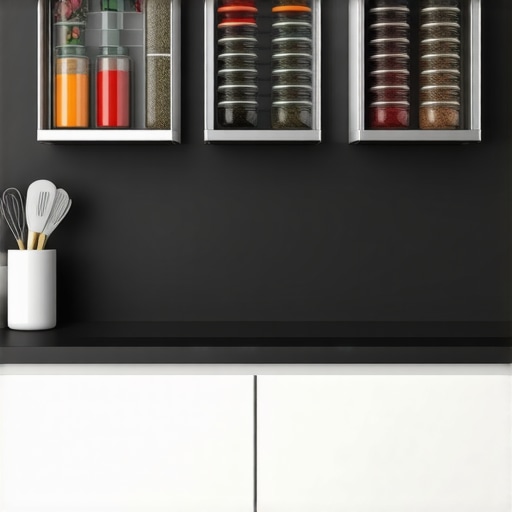
5 Vertical Spice Racks That Save Your Countertop From Clutter
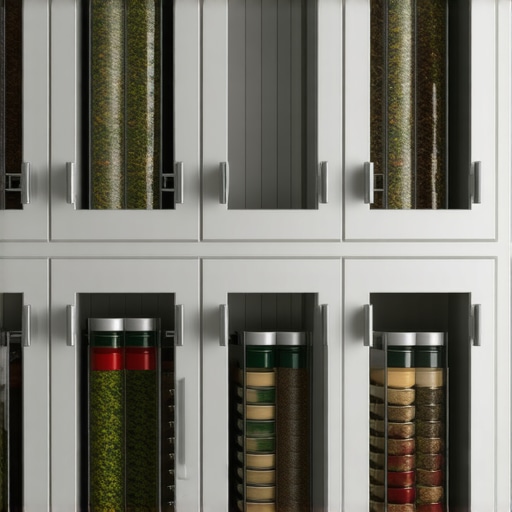
Picture this: after a long day, I finally step into my kitchen with every intention of making a quick dinner. But as I open my countertop cabinets, I’m met with a jumble of spice jars teetering on shaky shelves, some even threatening to topple over. It hits me—my spices are chaos incarnate, and my countertop isn’t any better. That lightbulb moment made me realize I needed a better solution, and fast. We’ve all been there, battling the mess and searching for that elusive jar amidst the clutter. But what if I told you that the answer lies in smart vertical storage, specifically designed for spices? Today, I’m going to share how five carefully chosen vertical spice racks can revolutionize your kitchen, turning chaos into order and freeing up precious counter space.
Why cluttered countertops sap your kitchen’s charm—and how vertical racks can help
The kitchen is often the heart of the home, but cluttered surfaces can quickly turn it into a sources of frustration rather than comfort. When spices spill over and jars cascade down, cooking becomes a stressful chore rather than an enjoyable activity. According to a study published in the Journal of Environmental Psychology, cluttered kitchens can significantly increase stress levels and hinder meal preparation. Keep in mind, one of the biggest culprits is poor storage design. If your spices are stored haphazardly in drawers or overstuffed cabinets, finding what you need can feel like a treasure hunt. By optimizing vertical space with specific racks, you not only create a more organized look but also streamline your cooking process, reducing that daily hassle. If you’ve faced this problem, you’re not alone—you’re about to discover some practical solutions that I’ve tested personally.
Is a spice rack really worth the hype?
Early on, I made the mistake of relying on generic, not-so-sturdy spice holders. They looked cute but were a nightmare in practice—jars kept falling, and I wasted more time hunting for ingredients than actually cooking. It might seem like a small issue, but the right vertical storage can truly make a difference. Not only does it prevent jar chaos, but it also frees up valuable counter and cabinet space. When choosing a spice rack, consider the size, accessibility, and ease of installation. For more tips on maximizing your storage potential, check out this expert guide on selecting the best storage solutions for your kitchen remodel. Now, let’s look at how these five vertical spice racks can change your cooking game.
Measure and Plan Your Space
Start by assessing the available vertical wall or cabinet space in your kitchen. Use a tape measure to determine the height and width where you want to install your spice rack. For example, during my last remodel, I measured an empty wall near my prep area, which was 24 inches high and 12 inches wide. Mark these dimensions on a piece of paper or digital planner. Accurate measurements ensure your chosen rack fits perfectly and makes installation smoother. Consider the reachability and ergonomic comfort — you want the jars to be accessible without stretching or bending excessively.
Choose the Right Type of Vertical Rack
Select a rack that fits your space and style preferences. Options include adjustable wall-mounted racks, pull-out built-ins, or tiered shelves that stack vertically inside cabinets. During a recent overhaul, I opted for a magnetic strip mounted on the wall, which I found easy to install and ideal for quick access. Look for racks made of durable materials like steel or high-grade wood. For more ideas, check out modern storage solutions that maximize vertical space effectively.
Gather Necessary Tools and Materials
Prepare a level, screwdriver, drill, wall anchors (if mounting on drywall), screws, and any mounting hardware that comes with your spice rack. If installing a built-in or custom cabinet solution, you might need a jigsaw, measuring tape, and wood screws. I remember the first time I installed a pull-out spice rack; I needed to carefully drill pilot holes to prevent wood splintering — rushing that step led to a crooked install. Precise prep ensures stability and safety of your storage solution.
Mark and Drill Mounting Points
Use your level to draw horizontal guide lines where the rack will sit. Mark screw points aligned with the mounting brackets or slots. Double-check measurements before drilling to prevent misalignments. For instance, I initially measured twice and drilled once, avoiding the frustration of redoing an uneven mount. Well-placed mounting points guarantee your rack will hold weight securely without wobbling or falling.
Mount the Rack Securely
Attach the rack to the wall or inside the cabinet by drilling the screws into the marked points. For drywall, install wall anchors to prevent wobbling. Ensure that each screw is tight and the rack feels firmly in place. During my last installation, I used a stud finder to locate wall studs, which provided extra support for heavier jars. Proper anchoring is crucial, especially if you plan to store larger spice containers or glass jars.
Organize and Label Your Spices
Once installed, sort your spice jars by frequency of use or type — herbs, spices, blends. Use labels to identify contents clearly. During my overhaul, I arranged spices alphabetically, which made locating ingredients a breeze. Consider using uniform jars and label makers for a clean look. This organization speeds up your cooking process and keeps your spice area visually appealing.
Maintain Your Vertical Storage
Regularly check that screws remain tight and clean your rack to prevent dust buildup. Reorganize jars as needed to accommodate new spices or replacements. During my routine maintenance, I noticed a couple of screws loosening after several months; tightening them restored stability. Consistent upkeep prolongs the lifespan of your installation and keeps your kitchen looking organized.
When embarking on a kitchen remodel or investing in built-ins, many assume that selecting high-quality materials and popular styles guarantees a flawless outcome. However, experts warn that overlooking certain nuanced details can lead to costly mistakes and less functional spaces. One common myth is that more customization always equals better results. In reality, over-customizing without considering future needs or existing infrastructure can create clutter rather than clarity. For instance, designing cabinets with too many specialized compartments might seem ideal initially but can hinder access over time, especially if your storage needs evolve. To avoid this, balance bespoke features with versatility, and consult seasoned designers who understand evolving workflows, such as those who emphasize versatile storage options.
A critical oversight often occurs during the planning phase: neglecting the importance of seamless integration with your home’s electrical and plumbing systems. For example, installing built-in wine coolers or hidden charging stations without precise coordination can result in awkward wiring or unsightly holes. This mistake is particularly common among DIY enthusiasts who underestimate the complexity of integrating these utilities—leading to rework and delays. Engaging professionals early or studying detailed guides, like expert tips on storage planning, can mitigate these risks.
Have you ever fallen into this trap? Let me know in the comments.
### Why Do Many Get Custom Cabinets Wrong Despite the Trends?
The nuance often missed is understanding the long-term implications of design choices. A popular trend may appear attractive but might not suit your specific lifestyle. For example, embracing an overly open shelving concept without considering dust and maintenance can backfire, making your kitchen look cluttered and requiring frequent cleaning. Conversely, avoiding deeper insights into material durability can lead to premature wear, especially in high-moisture environments. Research by industry experts emphasizes that selecting properly rated materials and tailored configurations results in physical and aesthetic longevity. To explore how to marry style with function, check out custom cabinet ideas that harmonize with your home’s unique demands.
This is why collaborating with experienced designers or learning about innovative storage strategies can transform your project from a fleeting trend into a lasting investment.
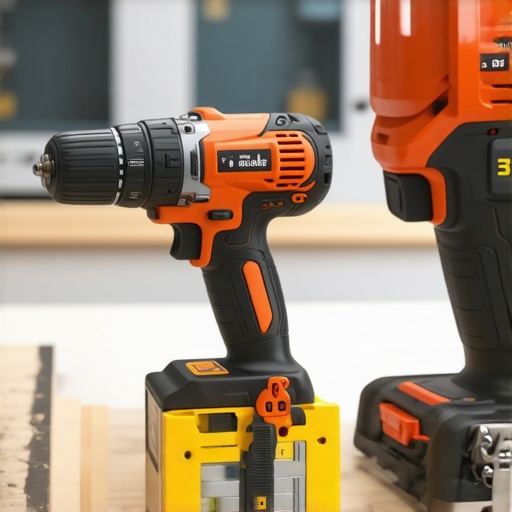
To ensure your custom cabinets, built-ins, and storage solutions continue to function flawlessly over time, investing in the right tools and adopting effective maintenance routines is crucial. One of my personal favorites is a high-quality cordless drill with an adjustable clutch and a set of precision screwdriver bits. I rely on this tool daily for tightening loose hinges, installing new shelves, or making minor adjustments without the hassle of cords and cumbersome cords. Its portability allows me to work efficiently whether I’m in the cabinet or on the wall, and the adjustable clutch prevents overtightening, which can strip screws or damage wood. For precision leveling and alignment, I use a digital laser level—an indispensable device when installing wall-mounted cabinets or aligning multiple built-ins. Unlike bubble levels, laser levels project a perfectly straight line across a room, making it easier to ensure everything stays in sync, especially in spaces prone to sloped floors or uneven ceilings.
Another tool I recommend is a set of soft-tip paint markers for labeling and color-coding storage zones. Clear, consistent labels on jars, drawers, or shelves help maintain organization, especially when your system evolves over time. I personally find that pre-made labels peel or fade quickly, but using paint markers allows for durable, legible markings that withstand cleaning and handling.
How do I maintain built-ins and storage over time?
Consistent inspection is key. Every few months, check the tightness of screws and hinges—this simple step prevents sagging and prolongs the life of your cabinets. Wipe down surfaces with a microfiber cloth and mild cleaner suited for your cabinet finish to prevent dust buildup and maintain a polished look. If you have wooden shelves or drawers, applying a light coat of furniture oil or wax biannually will keep the wood hydrated and looking new.
In the future, I see trends leaning towards smart storage systems integrated with home automation. Imagine cabinets with built-in sensors that track usage or notify you when supplies run low, making maintenance effortless. Companies are already exploring IoT-compatible shelving, which could revolutionize how we care for our storage solutions.
To truly maximize your investment, try installing a magnetic strip inside your cabinet doors for metal tools or spice jar lids. This quick upgrade keeps essential items within reach and prevents clutter from accumulating on countertops. For a comprehensive guide on integrating such features, check out this expert advice.
Remember, the key to lasting functionality is regular maintenance coupled with quality tools. A trusted drill and laser level are my go-to essentials that save me countless hours and headaches. Whether you’re adjusting a hinge or aligning a new built-in, having the right equipment makes all the difference. Don’t hesitate to invest in these tools—your future self will thank you.
Finally, if you’re contemplating a remodel or upgrading your storage, consider exploring creative built-in solutions that blend aesthetics with function. Regular upkeep will keep your customized space looking stunning and performing at its best for years to come.
As I reflect on my journey with custom cabinets, built-ins, and innovative storage solutions, one truth stands out: the most impactful changes often come from small, intentional upgrades. Embracing vertical storage not only transformed my kitchen’s functionality but also deepened my appreciation for thoughtful design. The lessons learned went beyond tools or materials—they reshaped my entire approach to remodeling. If I could distill it into one insight, it’s this: always think three-dimensional. Before installing any built-in or shelving, visualize how it complements your space, lifestyle, and future needs. That mindset has saved me countless headaches and endless rework, allowing me to create spaces that are both stylish and supremely practical. Remember, the key isn’t just choosing the right storage but understanding where and how to integrate it seamlessly into your home’s unique flow. Turn your chaos into clarity by trusting in the power of vertical solutions—your future self will thank you.