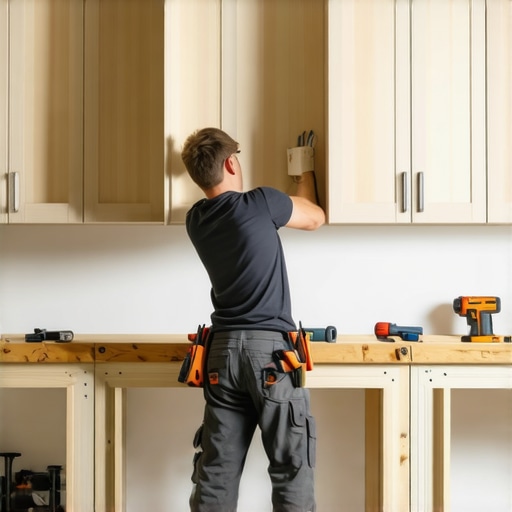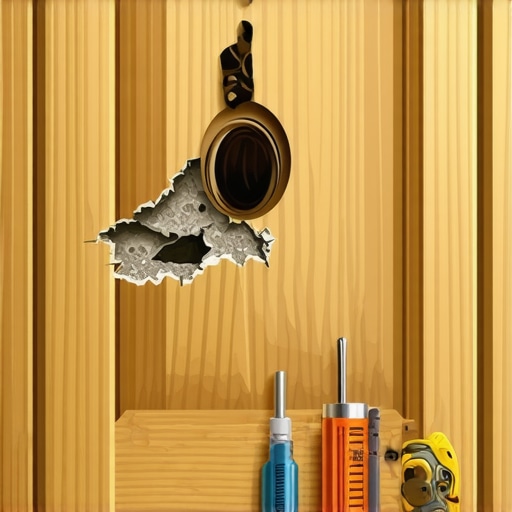
How to Repair a Stripped Screw Hole in a Cabinet Door
It happened when I least expected it—one of my cabinet doors wouldn’t close properly, and upon closer inspection, I discovered the screw hole was stripped. That sinking feeling of a loose, wobbly door is all too familiar for homeowners tackling DIY repairs. I remember trying to tighten the screw only to watch it spin freely, leaving me frustrated and wondering, “Now what?” If you’ve faced this problem, you’re not alone. Stripped screw holes can turn a simple fix into a major headache, especially when you’re eager to restore your kitchen’s functionality and appearance.
The Frustration of Lost Grip in Your Cabinets
Are You Wasting Time on Temporary Fixes? Don’t Believe the Hype
Many folks, myself included early on, try to tighten loose screws repeatedly or insert larger screws as a quick fix. But these bandaid solutions often make things worse, enlarging the hole and making the problem more permanent. Early mistakes included drilling new holes without proper support or using the wrong type of filler, which only compounded the issue. Through experience, I learned that addressing the root cause with proper repair techniques makes all the difference, and that’s exactly what I want to share with you. Plus, a well-repaired cabinet isn’t just about aesthetics—it’s about safety, functionality, and the satisfaction of a job well done. If you’re ready to move beyond temporary fixes, keep reading.
Have you encountered this exact problem in your home? If so, you’re in the right place. I’ll guide you through proven methods to restore your cabinet doors’ stability without costly replacements or dramatic rebuilds. Before diving into the solutions, let’s clear up a common misconception.
Remember, proper repairs not only save you money but also extend the life of your cabinets, ensuring they serve you well for years to come. According to the National Kitchen and Bath Association, correct installation and maintenance are vital for long-lasting cabinetry. So, if that loose screw has been bugging you, rest assured—there’s a reliable fix waiting, and I’ll walk you through every step.
Prepare Your Materials and Assess the Damage
First, gather all necessary tools: a drill, wood filler, sandpaper, a screwdriver, and matching screws. Inspect the stripped hole to determine if the surrounding wood is damaged or loose. If the damage is minor, proceeding with filler is effective; for extensive damage, consider reinforcing with a dowel or screw insert.
Remove and Repair the Damaged Area
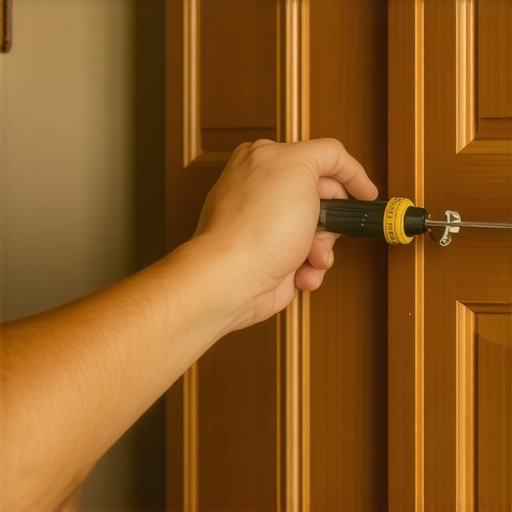
Carefully unscrew the cabinet door or drawer to access the damaged hole. Use a small chisel or utility knife to clear out any loose or broken wood around the hole. Apply a high-quality wood filler or epoxy resin, pressing it into the hole with a putty knife. For larger voids, insert a wooden dowel coated with glue, then cut it flush once set. This method is like building a mini scaffold within the original hole, providing a sturdy base for the screw.
Ensure Proper Filler Placement and Drying
Insert the filler or dowel, ensuring it’s slightly overfilled to allow for sanding down to flush. Let it cure fully as per manufacturer’s instructions, usually 24 hours. During this time, avoid disturbing the repair to ensure maximum strength. Think of it as laying a foundation—it needs to be solid before proceeding.
Sand, Drill, and Reinforce
Once dry, gently sand the repaired area until flush with the surrounding surface. Use a fine-grit sandpaper for a smooth finish. Now, drill a small pilot hole into the center of the repaired area, ensuring it’s slightly smaller than your screw to prevent future stripping. When drilling, apply steady pressure and keep the drill perpendicular to the surface; imagine carving a path for the screw—precision matters.
Reinstall and Secure the Cabinet Door
Insert the screw into the pilot hole and tighten it firmly but not excessively, to avoid damaging the repair. If the hole seems loose again after tightening, use a larger screw or a screw and anchor combination, similar to expanding a bolt in masonry. For ongoing issues, consider upgrading to long-thread or self-tapping screws designed for thicker or damaged wood. This process restores the grip and stability of your cabinet, much like giving it a new lease on life.
Standardize Your Approach for Future Repairs
To avoid repeated stripping, always use the correct screw length and diameter for your cabinet material. Regularly check the tightness of cabinet hardware during routine cleaning or maintenance. Remember, proactive care extends the longevity of your cabinetry, transforming a temporary fix into a durable solution. For expert insights and customized cabinetry solutions, explore custom cabinets ideas and build a resilient, stylish kitchen.
When embarking on a kitchen remodel or designing built-in storage solutions, many homeowners fall prey to common misconceptions that can undermine the final result. While the basics like choosing quality materials and precise measurements are well-understood, the real issues lie in the nuanced details that differentiate a professional finish from a rushed job. Let’s dig deeper into these overlooked aspects to help you make smarter decisions for your home.
One widespread myth is that custom cabinets are always cost-prohibitive and complicated to execute. In reality, many underestimate the importance of *design flexibility* and *integration with existing architecture*. For instance, incorporating 3D rendering tools during planning ensures seamless alignment with your space, reducing costly adjustments later. This is especially true for complex layouts or irregular wall spaces where standard solutions simply won’t suffice.
Another common trap is oversimplifying the storage needs, leading to suboptimal functionality. It’s tempting to opt for a one-size-fits-all approach, but in my experience, tailored storage solutions—like deep drawers for pots or pull-out spice racks—are game-changers in maximizing space and accessibility. For example, a study by the National Kitchen and Bath Association highlights that customized storage increases user satisfaction and efficiency.
Now, what about the pitfalls related to material choices? Many believe that particleboard and melamine are just budget options without considering long-term durability or aesthetic appeal. However, with advances in finishing techniques—such as high-pressure laminates—these materials can offer both cost-effectiveness and style. If you’re interested in modern aesthetics, exploring modern kitchen remodels with seamlessly integrated built-ins can inspire your project.
The most significant oversight I’ve seen involves *hype-driven trends* versus *functional longevity*. For instance, while high-gloss lacquer finishes look stunning in photos, they often require meticulous maintenance and can show fingerprints easily. Conversely, matte finishes hide wear better and create a warmer ambiance—an often overlooked consideration that impacts your daily life.
Advanced homeowners also ask: How do I ensure that built-ins will age well with my home? The answer is in thoughtful detailing, like proper ventilation, adequate clearance, and reinforcement against common issues such as warping or misalignment over time. Consulting with experts—like those at professional cabinetry specialists—can make a crucial difference.
Finally, the *oops* factor: neglecting to account for hardware installation angles or the balance of weight distribution, especially in corner units. These seemingly minor details can cause doors to misalign or hardware to loosen prematurely. Remember, investing in high-quality hinges, soft-close mechanisms, and precise mounting is essential for lasting durability.
Have you ever fallen into this trap? Let me know in the comments. Recognizing these nuanced pitfalls early turns a standard upgrade into a lasting investment, elevating your home’s style and function over the years.Maintaining your built-in and custom cabinets requires more than just occasional cleaning; it demands the right tools and a strategic approach to ensure durability and functionality over years. One of my go-to tools is a high-quality cordless drill with adjustable torque settings. I personally prefer the Makita XFD11Z for its lightweight design and precise control, which helps avoid over-tightening and damaging delicate hardware. Using a drill with a clutch feature allows me to tighten screws just enough to hold components securely without risking strip-outs, especially in older or softer wood. For aligning hinges and handles, I swear by a digital spirit level like the Bosch Digital Level. It provides real-time readings, ensuring everything is perfectly straight — a simple step that prolongs the lifespan of your hardware and maintains the sleek look of your cabinetry. When working on repairs or installations, I always rely on a set of quality miniature screwdrivers with magnetic tips. These are invaluable for precise adjustments and small hardware, especially in tight spaces. To keep track of all components, I organize my screws, hinges, and fittings by using clear plastic containers labeled with their purpose, making future maintenance more efficient. Enthusiasts like myself are increasingly embracing software solutions for design and maintenance planning. For example, I use SketchUp to model future projects, helping me anticipate spacing and hardware needs before starting any repair or upgrade. This predictive planning minimizes mistakes and saves time. Looking ahead, the trend is moving toward smart cabinetry systems integrated with sensors that monitor usage and alert homeowners to potential issues before they escalate. As these technologies become more affordable, expect a shift from manual upkeep to proactive, automated maintenance.
How do I maintain my built-ins and custom cabinetry over time?
Regular inspections are key. I suggest setting a monthly reminder to check for loose screws, misaligned hardware, or signs of wear. Applying a protective finish, like a few coats of furniture-grade wax or oil, can also shield wood surfaces from humidity and temperature changes, which are common culprits of warping or degradation. For quick fixes, I recommend carry a small tube of wood glue and some fine-grit sandpaper in your toolbox—they’re essentials for repairing minor scratches or securing loose joints. Start by cleaning the surface thoroughly, applying generous amounts of wood glue to any joints, and clamping them until fully cured. Then, lightly sand the area to blend repairs seamlessly. This hands-on approach not only restores appearance but also reinforces structural integrity. For more complex issues, consulting professionals through resources like expert cabinetry services can save you time and prevent long-term damage. Incorporating these tools and methods into your routine transforms maintenance from a chore into a manageable, even satisfying, part of homeownership. Don’t hesitate to experiment with advanced tips like installing moisture barriers or upgrading to soft-close hinges—these small upgrades can significantly extend your cabinets’ lifespan. Whether you’re handling routine upkeep or planning a full-scale remodel, being equipped with the right tools and knowledge makes all the difference. Want more ideas for smart storage and long-term care? Check out innovative storage solutions designed to keep your cabinetry in top shape for years to come.
What I Wish I Had Known When I Started Crafting Built-In Magic
One of my deepest realizations is that every detail counts—skipping small steps like precise scribing or hardware reinforcement can turn a sleek design into a nightmare. I once overlooked the importance of proper weight distribution, which led to sagging shelves—an avoidable mishap that taught me to plan for durability from the beginning.
Another lesson is that spending time on mock-ups using design software like SketchUp helped me see potential issues before they became costly mistakes. It’s a game-changer for aligning everything seamlessly, especially in tricky spaces where custom fit is essential.
I’ve also learned that integrating smart features—like concealed charging stations or built-in organizers—not only elevates the functionality but also delights users. It’s those thoughtful touches that differentiate a standard remodel from a truly tailored cabinetry experience.
Tools and Resources I Can’t Live Without
For me, a high-quality cordless drill with adjustable torque settings, such as the Makita XFD11Z, has become indispensable. It prevents over-tightening and preserves delicate materials. A digital level from Bosch ensures perfect alignment—a small detail that keeps everything looking professional.
When it comes to inspiring ideas and technical tips, I turn to trusted publications like custom cabinets ideas. They offer innovative solutions and real-world examples that spark creativity. Additionally, visiting professional sites like experts’ contacts helps me stay updated on new techniques and materials.
To plan ahead, I utilize software tools such as SketchUp to model my projects, which minimizes surprises during installation. And as technology advances, I’m excited about integrating smart cabinetry systems with sensors—an area that’s opening new doors for proactive maintenance and convenience.
Step Into Your Dream Space Today
Mastering built-ins and custom cabinets isn’t just about aesthetics—it’s about creating a space that feels ‘just right’ for your life. With patience, proper tools, and attention to detail, you can elevate your home to a new level of comfort and style. Remember, every successful upgrade starts with a single thoughtful step—so why not today?
What’s the next custom cabinet or built-in feature you’re excited to try? Share your plans below—I’d love to hear about your projects!