The Inset Cabinet Gap: Re-Aligning Doors After Seasonal Humidity Changes
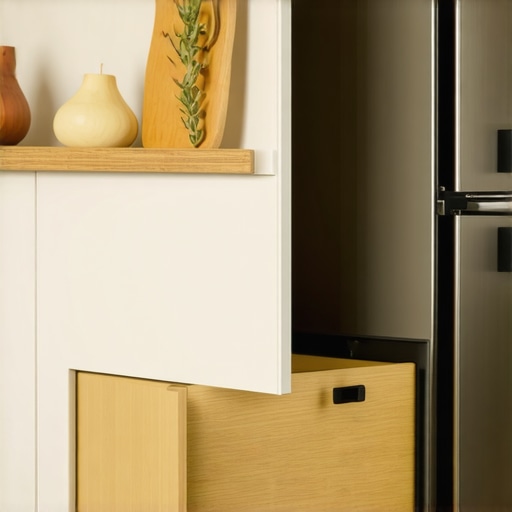
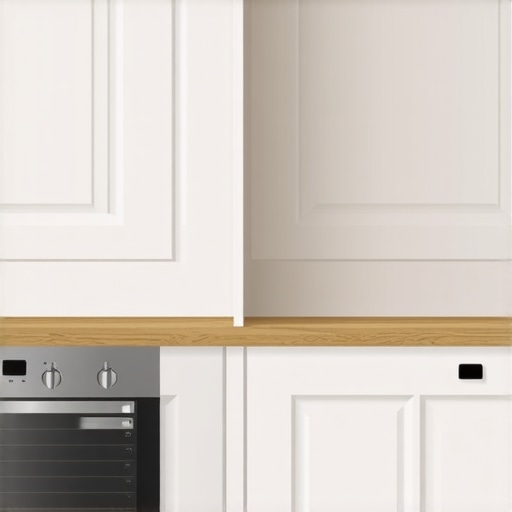
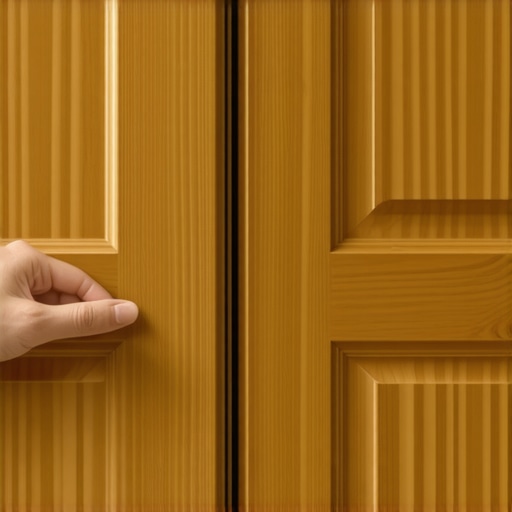
It was one of those crisp October mornings when the air finally turns sharp, and I realized my kitchen was fighting me. I reached for the coffee mugs, and the door to my beautiful inset cabinet just… stuck. It didn’t glide open with that satisfying ‘snick’ I’d paid so much for; it groaned against the frame and required a firm tug. If you’ve invested in custom cabinets, you know the instant panic that sets in. You start wondering if the house is settling or if the floor is sagging. But usually, it’s just the wood doing what wood has done for millions of years: breathing. We’re going to talk about that dreaded ‘inset gap’ and how to get those doors back to a perfect 3/32nd of an inch without losing your mind. [image-placeholder]
Stop Panicking When Your Doors Start to Stick
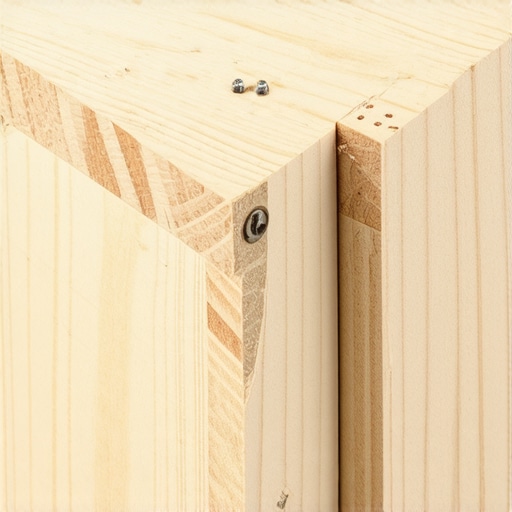
The first time this happened to me, I panicked. I grabbed a block plane and thought I’d just ‘shave a little off the edge’ to make it fit. Worst mistake of my life. By July, when the humidity dropped, I had a gap so wide you could park a bicycle in it. This is why why solid wood cabinet doors are prone to cracking in winter and expanding in summer is such a constant headache for homeowners. Wood is essentially a giant sponge. According to the USDA Forest Products Laboratory, wood can change dimensions by as much as 10% across the grain depending on moisture content in the air. That’s a massive shift when you’re dealing with the tight tolerances of modern kitchen remodels featuring custom cabinets and built-ins. Today, I’m showing you the non-destructive way to bring back that flush look using simple hinge adjustments.
Do I really have to adjust these every season?
It feels like a flaw, doesn’t it? You spend a fortune on your kitchen remodel journey, and suddenly the doors look crooked. You might even worry that why your white cabinets look yellow is a minor issue compared to a door that won’t close. But here’s the truth: inset cabinets are the ‘Formula 1’ of cabinetry. They require precision tuning because there is no ‘overlay’ to hide the movement. If they didn’t move at all, they’d likely be made of cheap, stable particle board—and we both know the hidden cost of choosing particle board for your sink base isn’t worth the lack of character. Have you ever walked into your kitchen and felt like every door was suddenly ‘off’ by a fraction? It drives me crazy, too. Tell me, is it just one door for you, or is the whole bank acting up? To get things back in order, you first need to understand how to align inset cabinet doors that won’t close flush using the three-way adjustment screws hidden inside your hinges.Before you touch a single screwdriver, you need to identify the mechanics at play. Most high-end custom cabinets use concealed, adjustable hinges that allow for movement in three directions. It is helpful to think of these hinges as the steering system for your door; even a quarter-turn can radically change how the door sits within its frame. If you are aiming for that high-end look, you should understand why European hinges are the only way to get a zero-gap look. Most of these hinges have three distinct screws: one for height, one for side-to-side alignment, and one for depth. 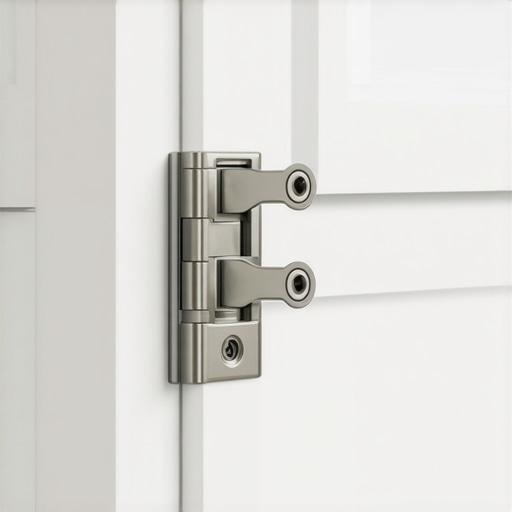
Find Your Adjustment Screws Before You Start
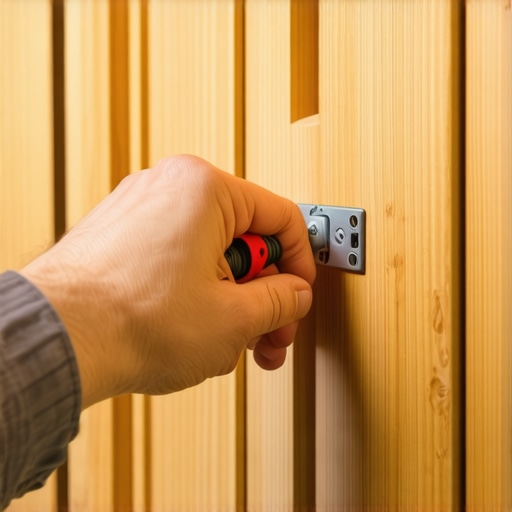
Grab a #2 Phillips or, better yet, a Pozi-drive screwdriver. Using the wrong bit is the fastest way to strip the screw and turn a ten-minute job into a weekend nightmare. The screw closest to the door is usually your side-to-side adjustment. The one furthest back controls the depth, or how ‘flush’ the door is with the face frame. I learned this the hard way during a ‘Christmas Eve Panic’ at a client’s house. She was convinced her entire pantry was warping, but after five minutes of turning the side-to-side screws, the doors stopped overlapping and clicked shut perfectly. It wasn’t a structural failure; it was just a heavy spice rack pulling the hinges slightly out of alignment. If your doors are dragging, you might also want to investigate why soft-close hinges fail and the simple tension adjustment that can often revive them.
Stop the Doors from Rubbing in the Center
If your double doors are fighting for the same space in the middle, you need to work on the horizontal adjustment screw. Turning this screw clockwise typically moves the door closer to the hinge side of the frame, widening the gap in the center. I like to think of this like a seesaw; as you pull one side in, the other side gains breathing room. Small increments are key here. I usually give it a half-turn, close the door, and check the ‘reveal’—the space between the door and the frame. If you still see uneven gaps, you should consult a full guide on how to adjust European hinges when your doors are crooked to ensure you aren’t over-tightening one side.
Get the Door Flush with the Cabinet Face
The most frustrating part of inset cabinetry is when the bottom of the door stays tucked in, but the top sticks out. This is the depth adjustment. By loosening or tightening the screw at the very back of the hinge arm, you can pull the door toward you or push it further into the cabinet. You want the wood of the door to be exactly level with the wood of the frame. Because why solid wood cabinet doors are prone to cracking in winter involves the wood shrinking, you might find that a door that sat flush in August is now sitting too deep in January. If the door refuses to stay closed despite your best efforts at alignment, you might need to install the hidden magnetic catch-how to keep cabinet doors shut perfectly to compensate for minor wood warping.
Balance the Gaps for That Perfect Reveal
The final step is height. There are usually two screws holding the hinge plate to the cabinet box. Loosening these slightly allows you to slide the entire door up or down. This is the most tedious part because you are fighting gravity. I find it easiest to use a small plastic shim or even a stack of post-it notes at the bottom of the door to hold it at the correct height while I tighten the screws. Achieving a consistent 3/32nd-inch gap all the way around is what separates a DIY job from a professional install. If you find the door is still fighting you, it might be an issue of how to align inset cabinet doors that won’t close flush due to the box itself being slightly out of square, which requires a more delicate touch.But even once your hinges are dialed in, there is a much deeper trap that homeowners—and even some designers—fall into: prioritizing the quantity of boxes over the quality of the volume. Most people think that more cabinets automatically equal a more organized home, but in my years of handling modern kitchen remodels featuring custom cabinets and built-ins, I’ve found the opposite is often true. If you fill every wall with standard-sized boxes, you end up with a cluttered, dark room that doesn’t actually fit your lifestyle. Establishing true expertise in kitchen design means looking past the catalogs and understanding the physics of the space you inhabit.
The Storage Myth That Ruins High-End Remodels
There is a common belief that the ‘standard’ 12-inch deep upper cabinet is sufficient for any kitchen. That is a mistake that will haunt you the moment you try to put away your favorite oversized dinner plates or a modern blender. This is why 15 inch deep upper cabinets are replacing the standard 12 inch in high-performance kitchens. Those extra three inches don’t sound like much, but they represent a 25% increase in usable volume. Furthermore, if you are chasing a sleek look, you need to understand why frameless cabinets offer more storage than traditional face frame options. Without that bulky wooden frame around the opening, you gain an extra inch of drawer width and significantly more clearance for large pots. When you move to these deeper, frameless designs, the leverage exerted on your hardware increases, which is why why European hinges are the only way to get a zero-gap look that remains stable over years of use. #IMAGE_PLACE_HOLDER_C#
Why does the room still feel cramped even with expensive cabinets?
The answer usually lies in the floor plan and the ‘clearance zones,’ not the cabinetry itself. According to the architectural guidelines from the National Kitchen & Bath Association (NKBA), a kitchen should have at least a 36-inch walkway for safety. However, for a kitchen that doesn’t feel like a bottleneck when two people are cooking, I always push for 42 to 48 inches. This is exactly why you need a 36 inch clearance between your island and countertop as an absolute bare minimum. If you ignore this, no amount of the ultimate guide to custom cabinets for a stylish kitchen overhaul will save you from a kitchen that feels like a crowded subway car at dinner time.
Avoid the Butcher Block Movement Trap
Here is the ‘oops’ factor that breaks my heart every time I see it in the field. If you’ve opted for a gorgeous wood island top, you must respect the wood’s need to move. One of the biggest professional errors is the butcher block mistake why you should never bolt it directly to cabinets using standard screws. Wood expands and contracts significantly more than the stone or laminate counterparts. If you lock that wood down tight, it will eventually crack or bow as the humidity changes—the same way those inset doors we adjusted earlier will swell. You need to use oversized holes and fender washers to allow the top to ‘slide’ over the cabinet base. Have you ever fallen into this trap or noticed your cabinets feeling just a little too shallow? Let me know in the comments. If you’re planning a project and want to avoid these technical pitfalls, feel free to contact us to discuss your layout.
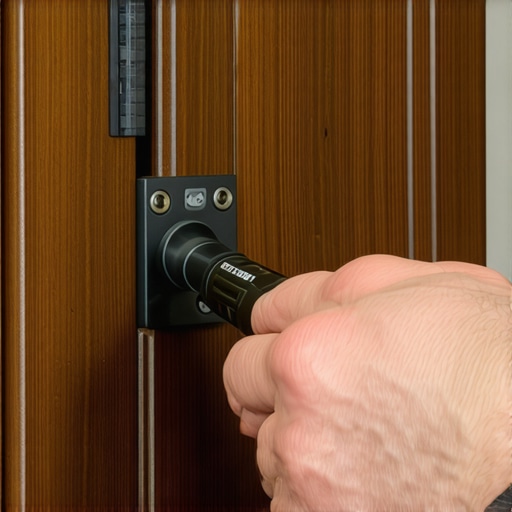
Once you have conquered the alignment of those inset doors, the real challenge begins: keeping them that way for the next twenty years. A high-end kitchen is not a static installation; it is a high-performance machine with hundreds of moving parts that experience heat, moisture, and mechanical stress every single day. I have seen beautiful modern kitchen remodels featuring custom cabinets and built-ins lose their luster in just a few seasons simply because the homeowner did not have a ‘tuning’ kit ready. To keep things moving smoothly, I recommend a very specific tool that most DIYers overlook: a torque-limiting screwdriver. Most people inadvertently overtighten hinge screws, which crushes the wood fibers and leads to the dreaded ‘loose hinge’ syndrome. This is exactly how to repair a stripped screw hole in a cabinet door becomes a necessary skill. By using a tool set to exactly 2.0 Newton-meters—a specification often cited in Blum’s technical documentation for maximum hold without fiber failure—you ensure your hardware stays seated through thousands of opening cycles.
Keep Your Hardware Moving Without the Squeaks
Maintenance is more than just tightening screws; it is about managing the environment around the hardware. If you find your heavy pot drawers are starting to feel sluggish or ‘gritty,’ do not just force them closed. This is the primary reason the 3-step fix for drawer slides that wont stay closed is such a common search term. I personally use a dry-film PTFE lubricant on the tracks once a year. Unlike standard oils, dry-film lubricants do not attract kitchen grease or dust, which can eventually turn into a grinding paste that destroys ball bearings. Keeping these tracks clean is just as vital as understanding why soft-close hinges fail and the simple tension adjustment that can revive a sagging door in seconds.
How do I maintain my custom storage over time?
The secret to longevity is a quarterly ‘look and feel’ audit. Walk through your kitchen and touch every handle; if there is a wiggle, tighten it immediately before the hardware wears a hole through the finish. I also suggest checking the seals around your sink base. We often see homeowners needing the sink base drainage repair every homeowner needs to prevent cabinet rot because a tiny drip went unnoticed for months. In the future, I predict we will see more ‘smart’ cabinetry with built-in sensors to alert you to these micro-leaks, but for now, a manual check is your best defense. We are already seeing a trend toward high-tech additions like the toekick vacuum why we add suction points to every base cabinet to keep the floor debris away from your sensitive drawer glides. To keep your interiors organized as your needs change, I highly suggest moving toward modular systems; this is why we recommend drawer organizers over standard silverware trays that offer zero flexibility. Take ten minutes today to tighten the mounting screws on your most-used pull-out trash bin; it is the hardest-working piece of hardware in your home. If you are ready to plan a kitchen built to last a lifetime, contact us to get started.
Why Your Cabinetry is Actually a Living Breathing Thing
Over the years, the most significant shift in my perspective was realizing that custom cabinets are never truly ‘finished.’ They are organic installations. I spent a long time fighting the wood, trying to force it to be static, but true expertise comes from working with the seasonal shifts rather than against them. For instance, if you notice the doors rubbing only in February, it is often a humidity issue rather than a hardware failure. High-end modern kitchen remodels featuring custom cabinets and built-ins perform best when the home maintains a consistent relative humidity between 35% and 50%. Ignoring this is why solid wood doors warp in ways that no simple hinge adjustment can fully fix. Respect the wood, and it will respect your design for decades.
The Few Tools That Actually Save My Sanity
If you want to move beyond basic DIY and achieve a professional result, you need a specialized maintenance kit. I never step into a kitchen without my Wera Torque Screwdriver; it prevents the tragedy of crushed wood fibers and ensures every hinge sits flush without stripping the frame. I also highly recommend keeping the Blum Technical Manuals bookmarked on your phone; they are the gold standard for understanding mechanical tolerances. For those already struggling with loose hardware, knowing how to repair a stripped screw hole in a cabinet door using a simple toothpick and wood glue trick is a literal lifesaver. Finally, keep a bottle of Dry-Film PTFE spray on hand—it is the only way to keep your built-ins and storage hacks sliding like silk without turning into a sticky grease magnet over time.
Take Control of Your Kitchen’s Long Term Health
Building a beautiful space is only half the battle; the real magic happens in the years of care that follow. Don’t be intimidated by the clicks, groans, or shifting gaps of your cabinetry. Treat these adjustments as a rhythmic part of homeownership, much like tuning a piano to keep it in key. When you master the alignment of your custom cabinets, you aren’t just fixing a door; you are preserving the precision and soul of your home. #IMAGE_PLACEHOLDER_E# It is about creating a functional sanctuary that works for you, not against you. If you ever feel like the movement is more than just a seasonal shift, don’t hesitate to contact us for a professional evaluation. Have you ever noticed your cabinet doors ‘growing’ or ‘shrinking’ when the first cold snap of winter hits, or is it just my house?