The Kitchen Layout Fix That Finally Moves the Microwave Off the Counter
I will never forget the morning I almost knocked a full pot of boiling water onto the floor because I was trying to pivot around a bulky microwave. My counter space was a joke. Every time I wanted to bake or prep a big family meal, I felt like I was playing a high-stakes game of Tetris. That clunky box wasn’t just heating up my morning coffee; it was a physical barrier to me actually enjoying my home. I was desperate for a change, and that is when I realized that the standard countertop placement is actually a massive design flaw for anyone who actually likes to spend time in their kitchen. Today, I am going to show you how to finally win that territory back.
Stop Letting Your Microwave Bully Your Countertop
The truth is, most of us just accept the microwave as a permanent resident of our prime real estate because we think there is no other choice. But in the world of modern kitchen remodels featuring custom cabinets and built-ins, we have much better options. We are going to look at the specific layout fixes that tuck this essential appliance away once and for all. I want to show you how to regain several square feet of prep space without making your kitchen less functional. I made a huge mistake during my first DIY attempt at this: I tried to mount a heavy unit under a standard cabinet without checking the structure first. It sagged within a month, and I was lucky the whole thing didn’t come crashing down on my toaster. If you are going this route, you absolutely have to learn how to reinforce an upper cabinet for a heavy microwave properly so you do not end up with a structural disaster. According to the National Kitchen & Bath Association (NKBA), having a 15-inch landing area near the microwave is a critical safety standard that many countertop setups completely ignore because the appliance itself is in the way. By integrating your appliance, you are not just cleaning up the look; you are actually following professional safety protocols.
Is an eye-level microwave actually worth the extra cabinet cost?
I get this question all the time from neighbors and friends. People worry that hiding the microwave makes it harder to use or that investing in custom cabinets as a game changer in your kitchen remodel journey is just an added expense they do not really need. But have you ever tried to prep a Thanksgiving turkey with a microwave taking up half your island? The freedom of a clear counter is worth every penny. We also need to talk about safety and longevity. When you move it, you have to ensure you know how to hide a microwave without creating a fire risk by allowing for proper ventilation and heat dissipation. Today, I will walk you through the three best ways to make this happen. Have you ever found yourself prepping dinner on a tiny sliver of counter because your appliances have taken over?
Drop it Into a Dedicated Microwave Drawer
If you are planning a full-scale custom cabinets as a game changer in your kitchen remodel journey, the microwave drawer is the gold standard for freeing up space. Instead of reaching up or clearing a hole in your upper cabinets, you build it into the base units. It is like having a high-tech filing cabinet for your leftovers. I installed one for a client last year who was tired of lifting heavy, boiling-hot soup bowls over her head—a major safety hazard. The drawer opens with a button, you drop the food in from the top, and it stays completely out of sight when closed. To make this work, you must respect the the 12-inch island overhang rule for comfortable kitchen seating if you are placing it in an island, ensuring there is enough clearance for people to sit without knocking into the appliance. 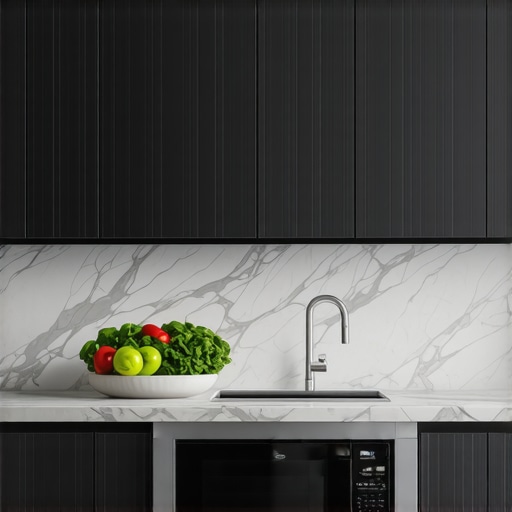
Hide the Mess with a Coffee Station Move
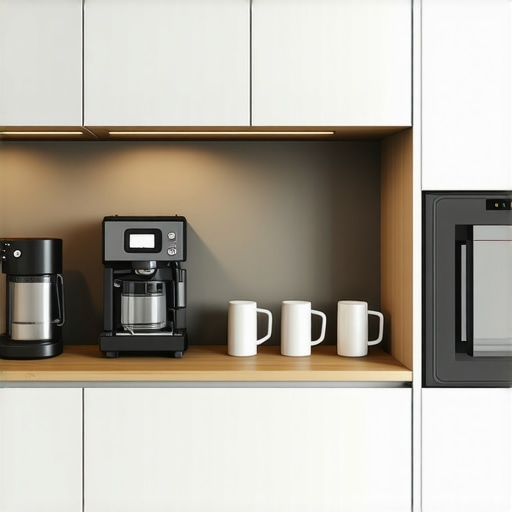
Another brilliant strategy is the ‘appliance garage.’ I remember my first attempt at this; it was a disaster because I forgot about the cord management and heat. Now, I always suggest using the coffee station move where pocket doors hide the mess. This allows you to tuck the microwave behind a door that slides into the cabinet body. But wait—do not just shove it in there. You must know how to hide a microwave without creating a fire risk. These units generate significant steam and heat. If you do not leave at least two inches of clearance on the sides and back, you are basically building a slow-cooker for your own cabinetry. I once saw a pantry shelf turn black because the owner kept the door shut while popping popcorn. Don’t be that person.
Use the 15-Inch Depth Hack for Large Plates
Most standard upper cabinets are only 12 inches deep, which is why your microwave often sticks out like a sore thumb. A simple fix during innovative storage solutions for modern kitchen remodels is to specify deeper uppers. There is a specific reason why 15-inch deep upper cabinets are replacing the standard 12-inch ones: they actually fit the footprint of a modern appliance. It is the difference between a custom, flush look and something that looks like an afterthought. When you use plywood box construction, these deeper cabinets are sturdy enough to handle the extra leverage of a heavy unit without pulling away from the wall.
Move the Heavy Lifting to a Base Cabinet
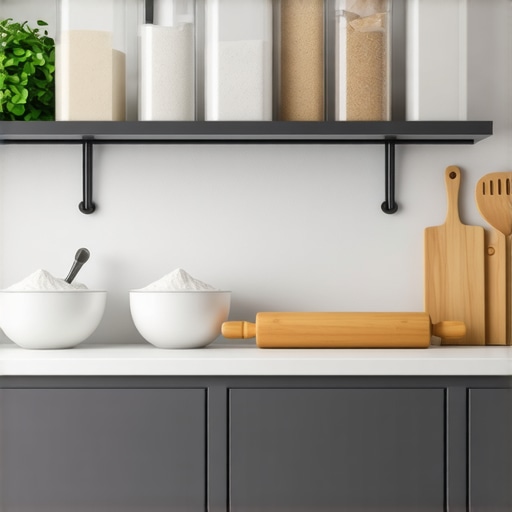
If you aren’t doing a full reno, you can still swap a standard base cabinet for an open shelf. I call this the ‘Baking Center’ approach. By storing everything below the counter, you free up the entire upper workspace for rolling dough or prepping meats. I did this in my own kitchen when I realized my kids couldn’t reach the microwave safely. By moving it down, it became a part of a smart storage idea to maximize your kitchen space. Just make sure you understand how to reinforce an upper cabinet if you choose to mount it high, as standard screws will fail under the constant vibration of the machine.While many homeowners believe a built-in is simply a hole cut into a cabinet, seasoned designers recognize it as a complex engineering challenge. Everyone says you can just shove a microwave into an open shelf and call it a day, but in my experience, that is a recipe for warped doors and failed electronics. If you do not account for specific airflow requirements, you are essentially trapping steam against your expensive finish. This is where modern kitchen remodels featuring custom cabinets and built-ins really show their worth. You must consider that microwaves vent differently depending on the model—some out the back, some out the front, and some from the sides. If you block those vents, you are not just risking the appliance; you are creating a legitimate fire hazard. I always tell my clients to study how to hide a microwave without creating a fire risk before they ever pick up a drill or order their boxes.
Don’t Turn Your Custom Cabinets Into a Pressure Cooker
I have also noticed a recurring mistake regarding door styles. Most people default to a standard side-swing door because it is cheaper, but that can be a logistical nightmare in tight quarters. If you are integrating this into your custom cabinets as a game changer in your kitchen remodel journey, look specifically at drop-down doors or dedicated microwave drawers. These allow you to land a hot plate directly in front of the unit rather than having to dance around a swinging door in a high-traffic aisle. Manufacturers often specify that side-swing models need at least 90 degrees of clearance to vent and function properly; if you trap that door against a refrigerator panel, you will burn out the magnetron in half the time. This is a nuance most big-box retailers simply will not mention.
Can you safely hide a microwave inside a closed pantry?
The short answer is yes, but only if you use a ‘dead-man’ switch or a specific ventilation kit. The National Fire Protection Association (NFPA) notes that heat-producing appliances in enclosed spaces are a leading cause of localized cabinet fires. I have seen beautiful innovative storage solutions for modern kitchen remodels ruined because the owner did not realize that the steam from a simple bag of popcorn can delaminate a cabinet door in just a few weeks. This is exactly why plywood box construction still beats particle board for kitchens; plywood handles those occasional humidity spikes significantly better than compressed sawdust. Another ‘oops’ factor I see constantly is the power situation. You cannot just run an extension cord through a hole in the cabinet back. Modern codes require a dedicated 20-amp circuit for microwaves to prevent tripping breakers when you are also running the toaster. When planning your expert tips on selecting storage solutions for a perfect kitchen upgrade, always consult an electrician before the drywall goes up. 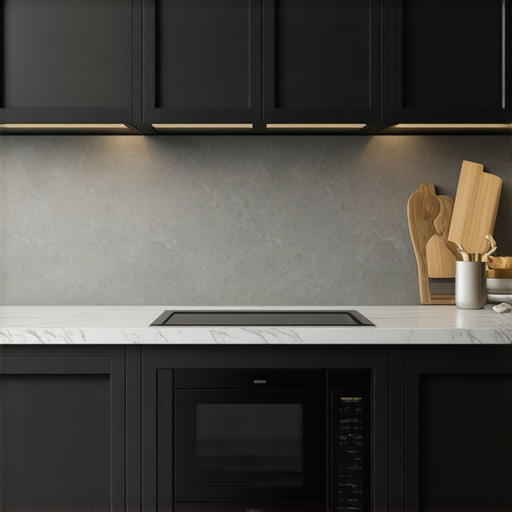 Beyond the safety risks, consider the ergonomics of the ‘reach.’ People think putting it high up saves space, but they forget about the soup spill factor. If you are reaching above shoulder height for a hot liquid, you are asking for a trip to the ER. Have you ever fallen into the trap of prioritizing looks over safety and ended up with a scorched cabinet or a blown circuit? Let me know in the comments below, I would love to help you troubleshoot your layout.Once the sawdust settles and your microwave is finally off the counter, the real work of homeownership begins: keeping everything running like the day it was installed. I have seen too many people spend thousands on transforming their kitchen with custom cabinets only to let the hardware gum up within two years. If your drawers start to resist or feel ‘gritty,’ it is usually not a broken slide—it is just dust and kitchen grease. You need to understand why your soft-close slides are failing and the quick cleaning fix that involves a simple wipe-down and a dry silicone spray. Never use WD-40; it attracts dust like a magnet and will eventually ruin the ball bearings, leading to an expensive replacement you do not need.
How do I keep my custom cabinetry looking new for a decade?
Longevity is all about the little adjustments. Wood is a living material, and it will expand or contract with the seasons. I keep a PoziDriv screwdriver in my ‘junk drawer’ specifically for my hinges. Standard Phillips heads can strip the adjustment screws on high-end European hardware. Learning how to adjust European hinges when your doors are crooked is a ten-minute skill that saves you from the visual clutter of misaligned lines. According to the technical documentation from Blum, their premium hinges are tested for 200,000 opening and closing cycles, but that rating assumes the door is perfectly balanced. If it is hanging low, you are putting uneven torque on the mounting plate, which eventually pulls the screws right out of the cabinet carcass. 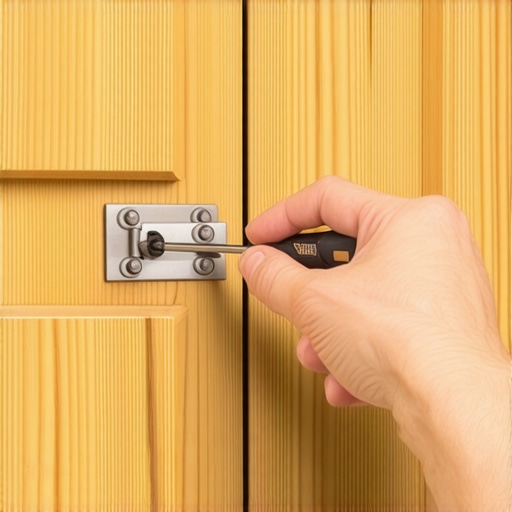
Professional Tools That Guarantee a Flawless Finish
Beyond the hardware, the tools you use during the maintenance or install phase dictate the long-term results. I swear by a 360-degree green beam laser level. It is the only way to ensure your modern kitchen remodels featuring custom cabinets and built-ins stay level across a twenty-foot run. If your base cabinets aren’t perfectly level, your microwave drawer will bind, and your stone countertops could even crack. I also recommend a dedicated scribe tool for any built-in work. Do not rely on a standard school compass; a professional scribe allows you to trace the exact profile of your wonky walls for a zero-gap finish that looks like the wood grew right out of the plaster. Looking ahead, I predict we will soon see cabinets that monitor their own health. We are already seeing ‘smart’ hinges in European markets that can alert your phone if a door is sagging or if humidity levels inside a pantry are reaching the danger zone for wood rot. It sounds futuristic, but so did a built-in charging station ten years ago. For now, focus on the basics. I challenge you to grab a screwdriver this weekend and realign just one cabinet door that has been bugging you. It is the easiest way to prevent the hardware mistake that makes expensive cabinets look cheap and ensures your investment lasts as long as your mortgage.
The Hardest Lesson I Learned About Microwave Vents
If there is one thing I could go back and tell my younger self, it is this: measure the door swing twice and the vent clearance three times. I once installed a beautiful custom unit only to realize that the steam from a bag of popcorn was venting directly against the underside of an expensive mahogany cabinet. Over time, that moisture will destroy even the best finishes. When you are looking into modern kitchen remodels featuring custom cabinets and built-ins, always assume the microwave needs more air than the manual says. I also learned that placing the unit too high is a recipe for a shoulder burn; ergonomics should always trump aesthetics when hot liquids are involved.
The Tools I Keep in My Kitchen Junk Drawer
Maintaining a high-end kitchen does not require a full workshop, but a few specific items are non-negotiable for me. I always keep a PoziDriv screwdriver handy for those European hinges—using a standard Phillips is the number one hardware mistake that makes expensive cabinets look cheap because it strips the heads. I also recommend following the Blum technical blog for hardware specs and checking out guides on how to scribe a bookshelf to a wonky plaster wall to understand how professional installers get those tight, seamless fits against uneven drywall. These expert tips on selecting storage solutions for a perfect kitchen upgrade are what separate a ‘good’ remodel from a ‘forever’ kitchen.
Reclaim Your Space One Cabinet at a Time
You do not have to live in a kitchen that feels cluttered and frustrating. Moving your microwave is the first step toward a home that actually supports your lifestyle rather than hindering it. Every square inch of countertop you win back is more room for baking, family dinners, and peace of mind. Your dream kitchen is not just about the looks; it is about the freedom to move without bumping into bulky appliances. Have you ever tried a kitchen layout that looked great on paper but failed in real life? Tell me about your experience in the comments below!