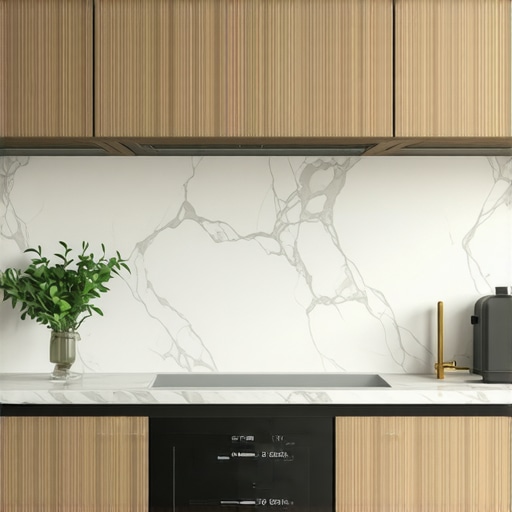
The Toekick Vacuum Move: Why Integrated Suction is a Kitchen Essential
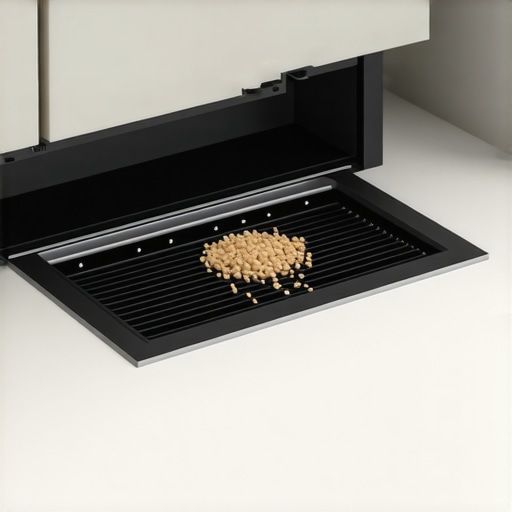
I’ll never forget the Tuesday evening I nearly lost my mind over a single cup of spilled panko breadcrumbs. I had just finished installing my gorgeous new custom cabinets ideas that transform your homes style, and the kitchen looked like a magazine spread. Then, the bag ripped. Breadcrumbs went everywhere—under the fridge, into the grout, and deep into the recesses of the baseboards. I spent twenty minutes lugging the upright vacuum out of the hall closet, fighting the cord, and bumping into my fresh paint. It was a lightbulb moment, but the painful kind. I realized I had built a beautiful kitchen that was a total nightmare to actually keep clean. This is exactly why the toekick vacuum—a tiny, integrated suction point at the base of your cabinetry—is the one upgrade I now tell every single neighbor to prioritize.
Stop Chasing Dust Bunnies Around Your Island
When we talk about innovative storage solutions for modern kitchen remodels, we usually focus on where the pots go or how to hide the spice rack. But after that panko disaster, I became obsessed with the Sweep-Vac. You just sweep the mess toward it, tap the switch with your foot, and whoosh, the dirt vanishes into your central vac or a canister hidden inside the cabinetry. It is the ultimate secret to built-ins and storage hacks for a sleek functional kitchen. Today, I want to show you why this isn’t just a luxury add-on for people with too much money. It is a fundamental tool for anyone who actually cooks and lives in their home. We will look at how it integrates into your layout and how to avoid the massive installation blunder I made in my second remodel.
Is a vacuum in the floor actually worth the hype?
I know what you’re thinking because I thought it too: I have a broom and a dustpan; I am not that lazy. But here is the reality of a busy home. Dustpans always leave that annoying little line of dirt that refuses to be swept up, and bending down to reach under cabinet overhangs is a recipe for a sore back. According to research from the National Kitchen & Bath Association (NKBA), ergonomic features that minimize bending and reaching are the fastest-growing request among homeowners over 40. My big mistake? Early on, I tried to retro-fit a suction point into an existing island without checking the clearance for the motor. I ended up having to butcher the base cabinets and it never looked right. If you are planning a remodel, you need to think about this before the electric is finalized. Have you ever finished a beautiful renovation only to realize you forgot a quality-of-life feature like this? Reach out and let me know if you are currently stuck in the planning phase.
Pick the spot where your mess actually happens
The biggest mistake people make with a toekick vacuum is treating it like a secondary thought, tucked away in a corner where nobody actually stands. Think of it like a goalie in soccer; you want it exactly where the ball—or in this case, the crumbs—is most likely to go. Usually, this means the main prep area or the side of the island facing the most foot traffic. Since why your kitchen remodel should start with the floor plan, you need to mark this location on your blueprints early. During my own second renovation, I put the suction point near the pantry, thinking I’d sweep there most. I was wrong. I spent all my time at the island, and I ended up sweeping crumbs across six feet of flooring just to reach the vacuum. Place it where you chop, peel, and spill.
Run your power before the drywall is a finished memory
You cannot simply plug these units into a standard wall outlet once the cabinets are in. Most automatic dustpans require a dedicated 120V circuit or a connection to your existing central vacuum system. If you’re going with a self-contained unit that uses a bag, you need to ensure there is a recessed outlet behind the baseboard level. This is why I always emphasize that custom cabinets as a game-changer in your kitchen remodel journey involves more than just aesthetics; it’s about the infrastructure hiding behind the wood. I once had a client who forgot the electrical rough-in for their Sweep-Vac. We had to fish wires through a finished crawlspace, which added $400 to the bill—money that should have stayed in the backsplash budget. Always verify your voltage requirements against the manufacturer’s spec sheet before the electrician leaves the site.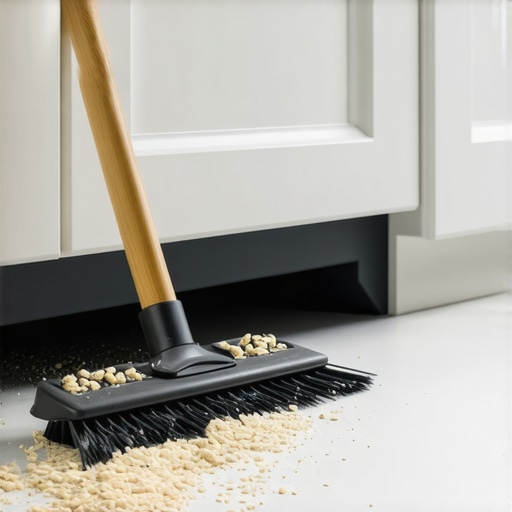
Size matters when cutting your cabinet base
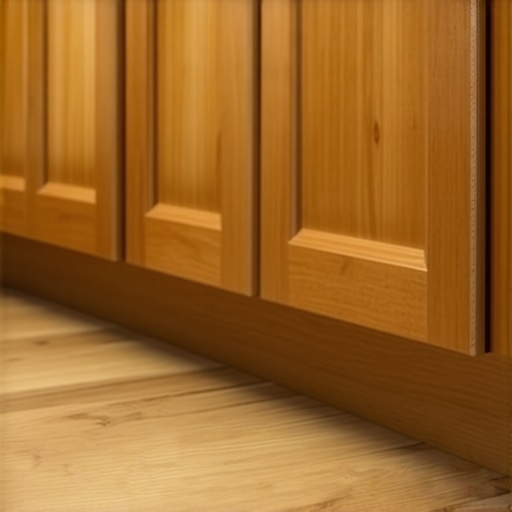
The installation of the actual port is a surgical procedure for your cabinetry. You aren’t just cutting a hole; you are creating a seal. Most toekick vacuums require a cutout that is roughly 6 inches wide and 2 inches high, but this varies. If you cut too large, the trim plate won’t cover the gap, and you’ll see the rough edges of the wood every time you look down. I use a multi-tool for this because a jigsaw tends to vibrate too much and can chip the finish on your base cabinets. When I was working on a tight galley kitchen, I realized that the 10×10 kitchen remodel math why your layout costs more than the square footage suggests often comes down to these tiny, time-consuming customizations. If you’re off by even a quarter inch, the foot-switch won’t engage properly, and you’ll find yourself kicking the cabinet in frustration rather than sweeping away dust.
Install your flooring first to avoid the height trap
This is the golden rule that saves your back and your sanity: why you should install your base cabinets before your flooring actually depends on the specific appliance heights, but for toekick vacuums, you need the finished floor height to be set. If you install the vacuum while you’re still looking at subfloor, the moment you add 3/4-inch hardwood or tile, your vacuum port will be partially buried. It will still suck air, but it will also trap hair and larger debris against the edge of the floor. In my experience, using expert tips on selecting storage solutions for a perfect kitchen upgrade means measuring three times. When I installed a unit in a home with thick slate tile, I had to use a custom shim just to get the vacuum mouth flush with the grout line. Don’t skip the shimming process; a flush fit is the difference between a high-end integrated feature and a DIY project that looks like an afterthought. It’s these small details that explain why your kitchen remodel budget needs a contingency fund for the unexpected adjustments that happen during the final trim-out.Everyone tells you to maximize every square inch of your base cabinets. The common wisdom is that more storage always equals a better kitchen. But in my experience, over-packing a space with deep, cavernous cabinets actually creates more physical work. It is the great paradox of innovative storage solutions for modern kitchen remodels: the more you hide, the less you actually use because of the ‘digging’ factor. If you have to move four heavy appliances to reach your toekick vacuum’s motor or its collection bag, the system will eventually fail due to neglect. I advocate for what I call ‘accessible integration’—where every smart feature has a clear path for maintenance. One major trap I see is the ‘Permanent Vault’ mistake. Homeowners get so excited about how to revolutionize your kitchen remodel using built-ins and creative storage that they seal their mechanical units behind finished, glued millwork. Have you ever fallen into this trap? Let me know in the comments. If that motor burns out or a stray object jams the impeller, you should not need a crowbar to fix it. According to the Research Institute for Cooking & Kitchen Intelligence (RICKI), nearly 40% of high-end remodels face ‘serviceability friction’ within the first five years, meaning a simple repair becomes a major construction project. To avoid this, I always suggest the one cabinet modification that makes vancouver drainage repairs significantly easier, which is utilizing magnetic or friction-fit access panels instead of permanent nails. 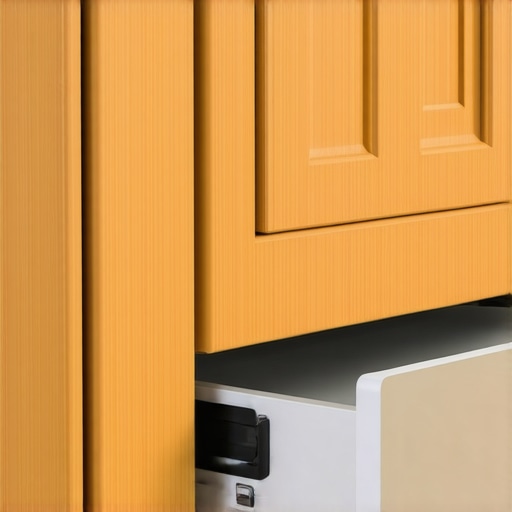
Can your integrated features handle a major plumbing leak?
This is the ultimate nightmare scenario for custom cabinetry. You have invested in modern kitchen remodels featuring custom cabinets and built-ins, but you have not considered the fluid dynamics of a disaster. If your toekick vacuum is installed directly adjacent to the sink or dishwasher, you are playing a risky game. This is exactly why your sink cabinet needs a drip tray right now. If a supply line cracks, the water follows the path of least resistance, which is usually right into the electrical housing of your integrated vacuum. The nuance that many pros skip is the ‘raised platform’ method. Do not sit your vacuum unit directly on the subfloor. Instead, build a small, one-inch waterproof riser inside the cabinet base. It sounds like overkill until the day your dishwasher hose fails. These are the technical details that separate a ‘pretty’ kitchen from a professional-grade workspace that lasts decades. This level of foresight is a core part of expert tips on selecting storage solutions for a perfect kitchen upgrade. Remember, you are not just designing for the day the photos are taken; you are designing for the reality of a working home where things occasionally break or leak. Even small issues, like the real reason your soft close drawers are sluggish in winter, can be mitigated by choosing the right infrastructure before the first cabinet is ever set in place.
Maintaining the sleek look of your custom cabinets ideas that transform your homes style requires more than just a quick wipe-down; it requires the right arsenal of tools. I’ve found that the biggest enemy of a high-end kitchen isn’t actually dirt—it’s using the wrong equipment to remove it. For my own home, I swear by the Miele Parquet Twister floor brush. Unlike standard vacuum heads that can scuff the finish on your baseboards, this tool has soft natural bristles that gently glide around the sensitive edges of your toekick vacuum port. If you’ve invested in modern kitchen remodels featuring custom cabinets and built-ins, you need to treat the wood with the same respect as a fine piece of furniture. This means ditching the steam mop immediately. High-pressure steam is the fastest way to delaminate wood veneer and ruin the precision fit of your integrated storage.
How do I maintain my integrated vacuum system over time?
The secret to keeping a toekick vacuum running like the day it was installed is a strict filter schedule. According to the technical service documentation from InterVac, a leading manufacturer of built-in vacuum systems, a clogged filter causes the motor to run up to 30% hotter, significantly shortening its lifespan. I set a recurring calendar alert for every six months to swap the bags. While you’re down there, use a can of compressed air—the same kind you use for a computer keyboard—to blow out any fine dust trapped in the foot-switch mechanism. This prevents the switch from sticking, which is the number one service call I see for these units. If you are dealing with other mechanical parts, such as hardware, knowing how to fix a cabinet hinge that squeaks every time will save you the cost of a professional visit. I also recommend checking the suction seal twice a year; a simple bead of clear silicone around the exterior trim of the vacuum port can prevent air leaks that reduce its cleaning power. This level of detail is exactly what makes transform your kitchen with custom cabinets expert guide for 2025 so essential for homeowners who want their investment to last.
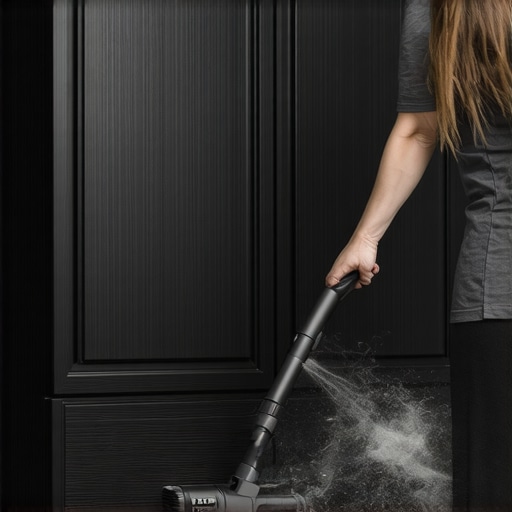
Beyond the vacuum, you must care for the surfaces that house these features. When I work on built-ins and storage hacks for a sleek functional kitchen, I always leave my clients with a specific ‘care kit.’ This includes a high-quality microfiber cloth and a pH-neutral cleaner. If you have matte finishes, you must be even more careful; learn how to clean matte black cabinet hardware without scratches to avoid permanent buff marks that ruin the aesthetic. Looking ahead, I predict we will see even more automation in this space, with ‘smart toekicks’ that detect debris using infrared sensors and activate without even a foot-tap. We are moving toward a ‘zero-friction’ kitchen where the house itself manages the mess. For now, the best thing you can do is ensure you have a solid foundation. If you’re just starting your journey, contact us to discuss how to integrate these advanced features without compromising your cabinetry’s integrity. I challenge you to pull out your vacuum’s manual this weekend and actually check that filter—it’s the simplest way to protect your remodel’s future.
Hard-Won Lessons from My Kitchen Floor Battles
After years of designing spaces and living through my own renovations, I’ve realized that the perfect kitchen doesn’t exist in a catalog—it is found in the small details that solve daily frustrations. One major lightbulb moment was the Cereal Test. Before you finalize the installation of your toekick vacuum, try sweeping up something slightly larger than dust, like a stray Cheerio. If the suction falters, your pipe run might be too long or restricted. Another insight involves the ultimate guide to custom cabinets for a stylish kitchen overhaul: always place the vacuum on a different circuit than your heavy-duty appliances like the refrigerator to avoid a tripped breaker during a deep clean. Finally, remember that smart storage ideas to maximize your kitchen space this year should always include a dedicated spot for spare vacuum bags right inside the cabinet where the unit lives.
The Toolkit That Keeps My Cabinetry Looking Showroom Ready
I am often asked what I keep in my own cleaning arsenal to protect my investment. First, I never use a standard shop vac on my custom cabinets ideas that transform your homes style; the plastic nozzles are too aggressive and leave scuffs. Instead, I rely on a soft-bristle parquet brush for floor-to-toekick transitions. For the technical side, I highly recommend downloading the specific installation PDF from manufacturers like InterVac or Sweep-Vac and keeping it in a digital folder on your phone. This is far more reliable than a generic tutorial when you are in the middle of a build. Lastly, for maintaining the wood finish around your vacuum port, a high-quality pH-neutral cleaner is your best friend to prevent the finish from dulling over time.
Build a Kitchen That Actually Works for You
At the end of the day, your home should serve you, not the other way around. Adding a toekick vacuum is a small but powerful way to reduce the friction of daily life, allowing you to focus on the joy of cooking rather than the dread of the cleanup. As you plan your next move with innovative storage solutions for modern kitchen remodels, do not be afraid to prioritize these high-utility features. If you are ready to stop chasing dust bunnies and start enjoying a truly functional space, contact us to see how we can integrate these features into your dream layout. Have you ever used a built-in vacuum system, or do you think a robot vacuum is a better investment for a modern kitchen? Let me know in the comments below!