Why You Should Avoid Glue-Only Joinery for Bathroom Vanities
I still remember the sinking feeling in my gut when I heard that sharp, wooden ‘pop’ coming from my master bathroom at three in the morning. I’d spent weeks crafting what I thought was a masterpiece of a vanity, but I’d made a rookie mistake: I trusted wood glue to do a job it wasn’t designed for in a swampy environment. When I walked in the next morning, I saw a hairline gap between the face frame and the carcass that wasn’t there the day before. The humidity from the shower had done exactly what science said it would do—it made the wood move, and the glue-only joints simply snapped.
Glue Is a Great Partner but a Terrible Boss
Wood glue is incredibly strong, often stronger than the wood fibers themselves, but it is also brittle once cured. In a kitchen, you might get away with more, especially when you are focused on custom cabinets as a game-changer in your kitchen remodel journey. But bathrooms are a different beast entirely. Between the steam from the shower and the inevitable splashes from the sink, your vanity is living in a tropical rainforest. If you don’t use mechanical fasteners or traditional joinery like tenons or dovetails, you are basically building a ticking time bomb. This is why why plywood box construction still wins over furniture board in wet areas; it handles that stress much better than particle board, but the joints still need help.
Will your vanity survive the humidity test?
You might be thinking that modern waterproof glues are the magic bullet, but they can’t stop the physics of wood expansion. According to research from the USDA Forest Products Laboratory, wood can change dimensions significantly based on relative humidity, and even the best glue can’t hold back the force of a swelling board. I learned the hard way that you need to combine your adhesives with screws, dowels, or pocket holes to ensure the cabinet stays square and safe. This is especially true when you are trying to figure out how to anchor a heavy bathroom vanity to metal studs securely. Have you ever noticed a mysterious gap opening up in your cabinetry after a particularly humid summer? Today, I’m going to break down exactly why you need to stop relying on glue alone and which mechanical fasteners will actually save your project from the scrap heap.
Stop Treating Glue Like a Structural Anchor
When I first started out, I thought wood glue was magic. I’d seen the tests where the wood breaks before the glue line. But here’s the thing: those tests happen in a dry lab, not a bathroom that feels like a sauna after a fifteen-minute shower. You have to treat your vanity like a chassis, not just a box. I remember a specific project for a client’s beach house where I insisted on using pocket-hole joinery for every single face frame connection. Six months later, the house had a small plumbing leak that soaked the cabinet base. Because I had mechanical fasteners holding it together, the box stayed square even while the wood was temporarily swollen. If I’d relied on glue, that frame would have popped off like a bottle cap.
Grab the Pocket Hole Jig Before the Glue Bottle
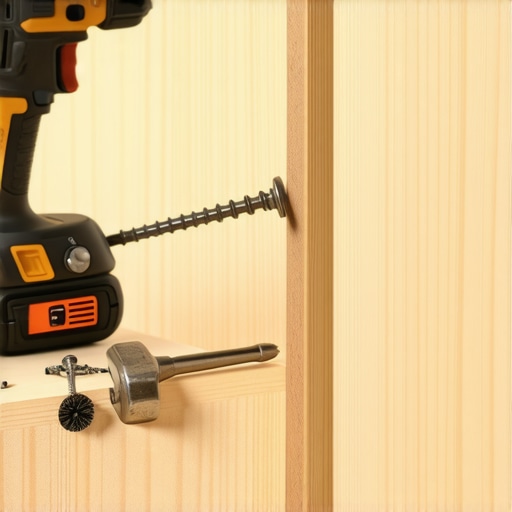
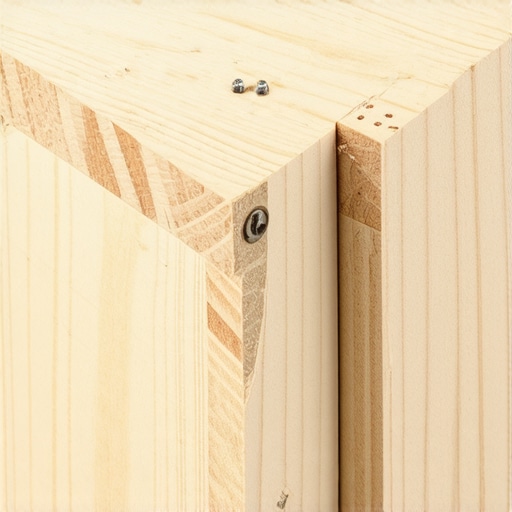
For the main carcass and face frames, a pocket hole jig is your best friend. It creates a mechanical bridge that pulls the two pieces of wood together with incredible force. This is critical because it keeps the joint tight while the glue cures and provides a backup when the humidity tries to tear them apart. It’s the same logic we use when figuring out how to anchor a heavy bathroom vanity to metal studs securely; the screw provides the tension that glue simply cannot maintain under stress.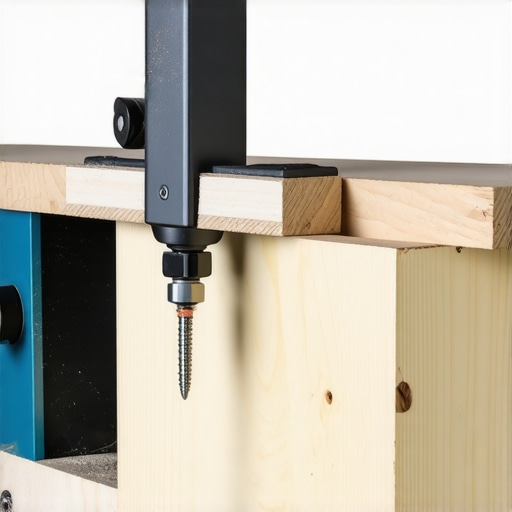
Reinforce the Sink Base Like It’s Carrying an Engine
Bathroom sinks aren’t getting lighter, especially with the trend toward stone or cast iron. A standard bead of glue along the top rail won’t cut it. You need to know how to reinforce a sink base cabinet for a 100-pound cast iron sink by adding structural cleats. These are extra strips of 3/4-inch plywood screwed directly into the side panels. Think of them as the ribs of your cabinet. They distribute the load downward through the side panels rather than letting the weight hang on a single glue joint.
Don’t Make the Common Cabinet Screw Mistake
I’ve seen guys use drywall screws for cabinets because they’re cheap and sharp. Don’t do it. Drywall screws are brittle and will snap under the lateral pressure of a heavy vanity. You need dedicated cabinet screws with a washer head. Using the wrong hardware is the cabinet screw mistake that causes heavy drawers to fail and ruins perfectly good craftsmanship. These screws have a larger surface area on the head, ensuring they don’t pull through the plywood when things get heavy.
Account for Seasonal Wood Breathing
Even with screws, you can’t ignore wood movement. If you’re using solid wood for the face frames or doors, you have to remember that why solid wood door panels still need room to breathe in summer is a matter of survival for your finish. If you pin the wood too tightly without allowing for expansion, something is going to crack—usually the wood right next to your screw. Using floating panels or elongated screw holes for the vanity top allows the wood to expand and contract without blowing out your joints. This is a key reason why plywood box construction still beats particle board for kitchens and bathrooms; plywood is dimensionally stable, but your solid wood trim is an organic material that will always move.
Everyone tells you that a high-gloss finish is the ultimate shield against moisture. In my experience, that’s exactly how you end up with a peeling mess. Most people think of paint as a plastic wrap, but in reality, wood is a living material that needs to ‘breathe’ in a controlled way. If you seal a cabinet too tightly with a non-breathable film, any moisture that finds its way into the wood fibers through a microscopic scratch or a hinge hole gets trapped. When the temperature rises, that trapped vapor expands, which is exactly why your cabinet paint bubbles near the stove and how to prevent it from happening in your own home.
Stop trusting your paint to act like a raincoat
In the world of high-end cabinetry, the finish isn’t just about color; it’s about chemistry. The Architectural Woodwork Institute (AWI) notes that maintaining a stable moisture content—typically between 6% and 11% for most of North America—is more important than the thickness of the topcoat itself. If the wood is too wet when the finish is applied, or if the finish is too rigid to move with the wood, the bond will fail. This is a common trap during a custom cabinets as a game-changer in your kitchen remodel journey where homeowners prioritize aesthetics over the long-term science of the substrate. For instance, many people choose oak for its grain, but they don’t realize that the deep pores in oak can make achieving a perfectly sealed moisture barrier nearly impossible compared to tighter-grained woods. This is why many pros argue that why painted maple beats oak for a smooth cabinet finish that actually lasts in a humid environment.
#IMAGE_PLACE_HOLDER_C#
Does a thicker finish actually prolong the life of your cabinet doors?
The short answer is no. In fact, a finish that is too thick is more prone to cracking at the joints. When a door panel expands in the summer, a thick, brittle finish can’t flex, resulting in ‘bridging’ cracks along the rail and stile. This isn’t just an eyesore; it’s an invitation for steam to enter the wood. Instead of piling on the poly, focus on expert tips on selecting storage solutions for a perfect kitchen upgrade that account for environmental factors. Have you ever fallen into the trap of choosing a finish based only on a small sample board? Let me know in the comments.
The open shelving trap that ruins your organization
Another nuance most designers won’t tell you involves the ‘Pinterest-perfect’ trend of open shelving. While it looks airy and modern, it’s often a practical disaster in a working kitchen. Without the protection of a cabinet box, your ‘storage’ becomes a magnet for aerosolized cooking grease and dust. The problem with open shelving why we prefer glass-front cabinets is a hill I’m willing to die on. Glass-fronts give you that visual openness without the weekly chore of scrubbing every single plate. It’s about finding the balance between a ‘look’ and a livable space. When you are planning your next project, remember that the best storage isn’t just about where things go, but how they are protected while they are there.
Maintenance is the unspoken hero of a successful renovation. I’ve seen incredible craftsmanship ruined in months simply because the owner didn’t know how to care for the hardware. One tool I absolutely rely on for every install and follow-up is the Starrett 12-inch combination square. It allows for microscopic adjustments that keep your doors perfectly aligned. If you’re seeing uneven gaps, it’s often because of floor settling, and you need to know the inset cabinet gap re-aligning doors after seasonal humidity changes method to fix it properly without stripping the wood.
Ditch the Generic Tools for Precision Hardware Care
When I’m working on modern kitchen remodels featuring custom cabinets and built-ins, I never use standard hardware screws that come in the bag. They are often made of soft zinc and snap if you apply real torque. Instead, I source hardened steel screws with a deep Torx drive. This ensures that when you’re trying to maximize space with innovative storage solutions for every room, the weight of a fully loaded pantry doesn’t pull the cabinet off the wall. The National Kitchen & Bath Association (NKBA) technical manual specifically notes that the load-bearing capacity of a cabinet is only as strong as its weakest fastener, which is why I never skip the mechanical reinforcement. 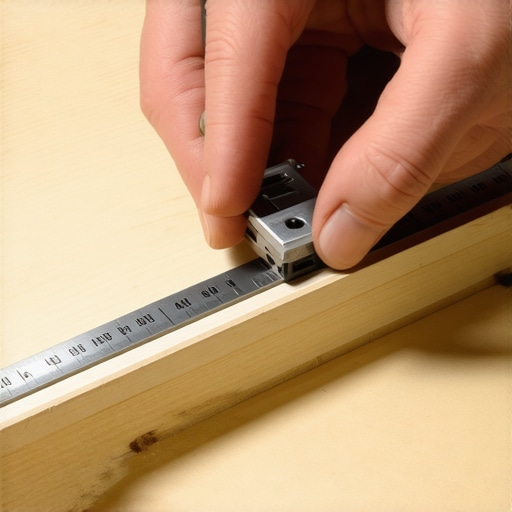
How do I maintain my custom cabinets for the long haul?
Most homeowners assume a damp rag is enough, but you actually need to check your hinge tension every six months. I’ve found that why your soft-close hinges fail and the simple tension adjustment is the most common call-back I get. A quick turn of the adjustment screw can prevent the door from slamming and damaging the face frame. I also predict that the next five years will bring us ‘smart cabinets’ with integrated moisture sensors—built-ins that literally text your phone the moment a pipe starts weeping. Until then, you have to be the sensor. Stop looking at your kitchen as a static furniture piece and start treating it like a high-performance machine. Expert tips on selecting storage solutions for a perfect kitchen upgrade always include a plan for access; that’s why we design with the future in mind. If you want to really level up, try installing the hidden magnetic catch how to keep cabinet doors shut perfectly on that one stubborn door that always hangs open. It’s a small, ten-minute fix that makes the whole room feel more expensive.
Lessons from a Decade of Fighting Wood Movement
Over the years, I’ve realized that the most expensive mistakes aren’t made with a saw, but with a lack of respect for physics. First, wood is a hydraulic engine; it will expand with enough force to lift a house, so don’t expect a thin film of glue to stop it. Second, the ‘dry fit’ is where the battle is actually won. If your joints don’t lock together perfectly before the glue is applied, you’re just using adhesive to hide a gap that will eventually reveal itself. Third, always over-engineer your sink bases. I’ve never seen a cabinet fail because it was too strong, but I’ve seen dozens crumble under the weight of a farmhouse sink. Finally, avoid the heartbreak of delamination by knowing how to tell if your cabinet maker is using low-grade plywood that simply can’t hold a screw under stress.
The Gear That Makes My Workshop Projects Bulletproof
You don’t need a factory full of machines, but you do need a few non-negotiable tools to ensure your vanity or kitchen island survives the test of time. I personally trust the Kreg K5 Pocket-Hole Jig for all my face frame assemblies because it provides that essential mechanical ‘squeeze’ that glue lacks. For fasteners, I only use GRK Cabinet Screws; their built-in washer head and self-tapping tips prevent the splitting that ruins expensive panels. If you are serious about your craft, I also recommend reading Understanding Wood by R. Bruce Hoadley. It is the bible of wood science and will explain exactly why certain joints fail while others last for centuries. Learning how to spot quality dovetail joinery before you buy or build will also help you set a higher standard for every project you touch.
Build a Legacy One Joint at a Time
True craftsmanship isn’t about what people see when the doors are closed; it’s about the hidden strength that keeps those doors square twenty years from now. When you view custom cabinets as a game-changer in your kitchen remodel journey, you aren’t just buying storage—you are investing in the infrastructure of your home. Don’t be intimidated by the technical side of joinery. Every screw you drive and every cleat you reinforce is a step toward a kitchen that doesn’t just look great, but performs flawlessly every single day. Check out my expert tips on selecting storage solutions for a perfect kitchen upgrade to ensure your internals match the durability of your frames. Have you ever had a cabinet joint fail on you after a particularly humid summer? Let me know in the comments below.