How to Fix a Cabinet Drawer That Pulls Away from the Face
Have you ever reached for a drawer in your kitchen only to find it pulling away from the face, revealing gaps or even falling open? That frustrating moment can turn a simple task into a mini renovation nightmare. The first time it happened to me, I felt a wave of annoyance—and a little bit of panic—wondering if I’d have to replace the entire cabinet.
Why Your Drawer Is Losing Its Grip and How to Fix It
This problem isn’t just a cosmetic issue; it can compromise the functionality of your entire kitchen. Over time, the screws holding the drawer face can loosen due to regular use or shifting cabinet frames. I learned this the hard way when I ignored a slightly loose drawer for months, only to find it hanging askew on one side. When I finally decided to tackle the fix myself, I discovered that the solution was simpler—and more satisfying—than I expected.
Is This Fix Worth My Time and Effort?
At first, I was skeptical—would a few screws really make that much difference? Early on, I made a mistake by assuming all drawers are created equal, and I used the wrong tools, which only made things worse. But once I understood the common causes and had the right tools in hand, I saw just how straightforward fixing this problem could be. According to expert advice, a well-made cabinet drawer can last many years longer with a simple adjustment like reinforcing the mounting screws. For more innovative storage ideas that can help maximize space in small or custom kitchens, check out this resource.
So, if you’ve faced this annoyance or just want to prevent it from happening, stay tuned. I’ll walk you through the practical steps to restore your drawer to perfect alignment and function, saving you both time and money in the long run. Fixing this minor issue can make a big difference in how your kitchen feels—more functional, more unified—and believe me, nothing beats the satisfaction of a project completed with your own two hands.
Secure the Mounting Screws for Stability
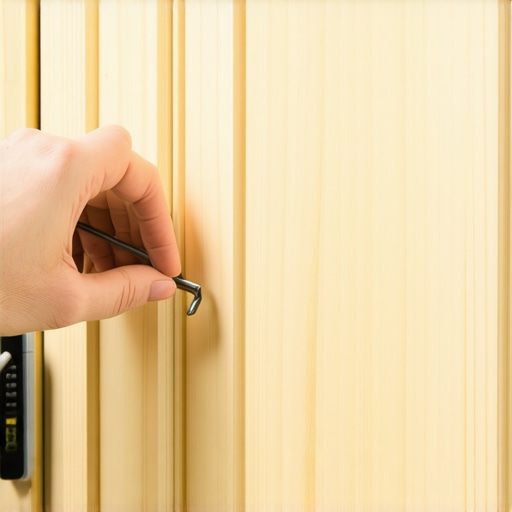
In my own kitchen, I once faced a wobbly drawer that would come loose every time I pulled on it. The first step I took was to open the drawer completely and inspect the screws attaching the face to the drawer box. I grabbed a screwdriver—preferably a Phillips head for standard screws—and tightened each screw firmly. If any screws were missing or stripped, I replaced them with new ones of the same size to ensure a tight fit. This simple action often resolves the problem, much like tightening a loose bolt on a bike chain.
Reinforce the Drawer Slides or Glides
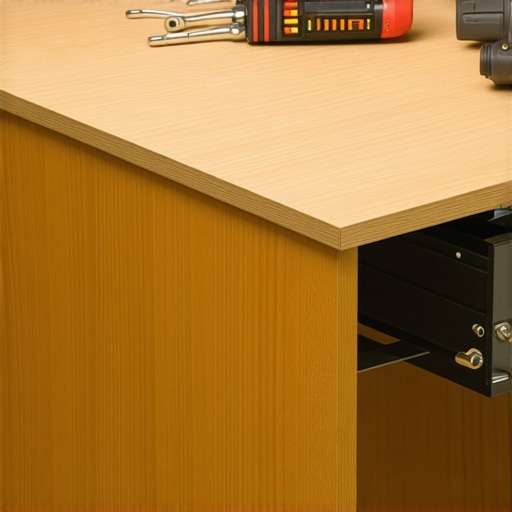
Drawer slides or glides allow smooth operation but can wear out over time. To check theirs condition, pull the drawer out and examine the metal runners. In my experience, dirt or debris can cause misalignment, so I cleaned the tracks with a damp cloth and applied a little lubricant like silicone spray. If the slides show signs of damage or looseness, replacing them with new undermount or side-mount slides can drastically improve stability. Install the new slides according to the manufacturer’s instructions, ensuring they align perfectly with the cabinet frame, akin to aligning a bookshelf to prevent wobbling.
Adjust the Drawer Alignment
Sometimes, the drawer is securely attached but still pulls away or misaligns. I fixed this by adjusting the toe kicks or side guides. In my case, I loosened the screws on one side of the slide and slid the drawer slightly inward or outward until it sat flush with the cabinet face. Tightening the screws again held the drawer perfectly aligned. Think of this like fine-tuning the hinges on a door to eliminate gaps—small adjustments can make a significant difference.
Replace or Repair the Drawer Fronts
If the drawer face is bent or warped, it can cause gaps or misalignment. I once had a warped drawer front from water exposure. To fix it, I removed the face and used clamps with a piece of scrap wood to straighten and reshape it. After drying, I reattached the face securely with new screws, ensuring it sat flush. For severely damaged fronts, replacing them with custom-made or pre-finished replacements from a cabinet retailer can restore both function and appearance. This step is like replacing a worn-out tire—sometimes, it’s better to start fresh.
Check for Structural Issues in Cabinets
If all other steps fail, inspect the cabinet box itself for shifts or weakness. Use a level to verify the cabinet walls are plumb. In my case, I discovered a slightly out-of-square cabinet frame which was causing the drawer to misalign. To correct this, I shimmed the cabinet or used adjustable mounts, creating a stable foundation for the drawer. This is similar to leveling uneven floors before laying tile—good support prevents future issues.
Consider Upgrading to Custom Storage Solutions
To prevent future problems and improve the overall functionality of your kitchen, explore custom storage options. For example, installing built-in organizers or specialty drawers can make a significant difference. I found that replacing standard drawers with pull-out shelves or dedicated spice drawers kept everything secure and accessible. For innovative ideas that maximize space and enhance durability, visit this resource. These upgrades make daily use more convenient and protect your investments in quality cabinetry.
By systematically tightening screws, replacing worn slides, adjusting alignment, and upgrading hardware when necessary, you can restore your drawer’s function and prevent future mishaps. Proper maintenance not only saves money but also keeps your kitchen looking and functioning at its best.
Many homeowners assume that installing cabinets or opting for built-ins is a straightforward upgrade—place the cabinets, secure them, and you’re done. However, this oversimplification often leads to costly mistakes and overlooked opportunities for long-term performance. In my experience, the biggest misconception is that all storage solutions are created equal; in reality, the nuances lie in the details that can make or break your kitchen’s functionality.
One common myth is that high-quality materials alone guarantee durability. While premium materials like solid hardwood or HDF doors are essential, it’s the construction quality and installation precision that truly determine longevity. For example, improper alignment or subpar joinery can cause doors to sag or hardware failure within a few years, regardless of material strength. To avoid this trap, always consult experts and verify their craftsmanship credentials—think of it as choosing a surgeon versus a general practitioner for critical surgery.
Are All Built-in Storage Units Designed Equal
A nuanced point often missed is the subtle design differences that influence usability. For instance, the placement of a pull-out tray or the inclusion of specialized dividers can significantly enhance accessibility and prevent clutter. An out-of-the-box solution rarely matches the efficiency of a thoughtfully designed, custom-built system. Additionally, the hardware you choose—soft-close slides, heavy-duty hinges—can drastically affect daily operation. Skipping these details can lead to premature wear and more frequent repairs. Expert advice emphasizes tailoring storage solutions to your specific needs rather than settling for generic options.
Another overlooked aspect is the importance of considering access and ergonomics. For example, installing upper cabinets too high or choosing doors that swing outward excessively can hinder usability over time. Instead, opting for recessed or sliding doors can save space and reduce strain during daily use. This is where advanced planning pays off, avoiding the common mistake of retrofitting solutions after setup, which is more costly and less effective.
Common Pitfalls in Kitchen Remodels That Experts Warn About
One frequent error is underestimating the structural implications of certain upgrades. For example, adding heavy stone countertops without reinforcing cabinetry can cause sagging or damage. Similarly, neglecting to level the subfloor before installing new cabinets can result in misalignment and uneven doors. These issues often manifest months after the project completion, reminding us that a solid foundation is vital. Consulting with experienced designers or contractors early in the process can help identify these pitfalls before they turn into expensive repairs.
In conclusion, mastering the nuances of storage solutions and custom cabinetry involves understanding the intricate details that go beyond material choices. Proper installation, hardware selection, ergonomic design, and structural integrity are crucial for ensuring your investment endures and functions seamlessly. Don’t fall into the trap of thinking all solutions are equal; instead, focus on the details that elevate a good design to a truly exceptional one. For tailored advice on your project, reach out through this contact page.
Have you ever fallen into this trap? Let me know in the comments.
How Do I Maintain My Storage and Built-ins Over Time?
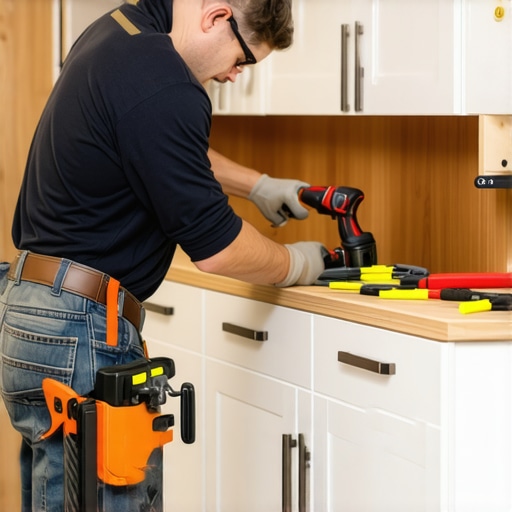
Ensuring your kitchen storage solutions and built-in cabinets stay functional and looking great requires more than just initial installation. I personally rely on a few key tools and practices that make ongoing maintenance straightforward and effective. One indispensable tool I recommend is a cordless electric screwdriver. Unlike manual screwdrivers, it speeds up the process of tightening or replacing hardware, especially when dealing with multiple hinges or drawer slides. I prefer models with adjustable torque settings to prevent over-tightening, which can strip delicate screws or damage veneers.
Another must-have is a quality laser level. Precise leveling is critical for long-term stability, particularly when installing new hardware or adjusting existing components. Using a laser level ensures your cabinets and drawers are perfectly aligned, reducing the risk of misfit issues down the line. I’ve found that maintaining alignment with this tool prevents common problems like drawers pulling open or misfitting doors.
For cleaning and preventive care, I opt for a microfiber cloth and a gentle, PFOA-free cleaner designed for cabinetry. Regular dusting and wiping prevent buildup of grease and grime, which can compromise hardware lubricants and cause sticking or squeaking. Additionally, applying a silicone-based lubricant to drawer slides and hinges every few months keeps everything moving smoothly without attracting dirt.
In terms of software, I recommend using smart planning tools like SketchUp. Visualizing your storage reconfigurations helps you spot potential issues before executing physical changes, saving time and money. As these tools become more accessible through mobile apps, integrating digital planning into your routine will become a standard practice for cabinetry and storage upgrades.
What Future Trends Are Making Maintenance Easier?
Looking ahead, the integration of automated cabinet maintenance systems is on the rise. Innovations such as soft-close dampers with self-adjusting mechanisms and hardware that self-lubricates are reducing the need for manual intervention. For example, some high-end hinges now include built-in sensors that detect misalignment and automatically correct minor deviations. Embracing these advancements will keep your cabinetry functioning flawlessly for years without frequent checkups.
Additionally, the trend toward modular storage components with built-in diagnostics promises easier long-term care. These modules can send alerts when components like slides or hinges need lubrication or replacement, integrating seamlessly with your home’s smart systems. By adopting these future-ready solutions, your kitchen remains both beautiful and functional with minimal effort.
Get Started with Advanced Maintenance Techniques
To make the most of your storage and built-in investments, try implementing a routine checkup every 6 to 12 months. Use your cordless screwdriver to tighten hardware, inspect slides, and adjust misaligned doors. Complement this with software planning for future upgrades or repairs. For example, exploring creative storage ideas can help you decide where upgrades will be most beneficial. Taking these proactive steps ensures your kitchen stays as functional and stylish as the day it was installed, avoiding costly repairs later on. Ready to upgrade your maintenance routine? Try out a laser level or a smart diagnostic hinge—these tools will revolutionize your long-term kitchen care.
What I Wish I Knew About Custom Cabinets Before Starting
One of the biggest lessons I learned was the importance of detailed planning. Initially, I underestimated how crucial accurate measurements and understanding hardware compatibility are. A small misstep in these areas can lead to misaligned doors or squeaky drawers, which are harder to fix later. Investing time in comprehensive design and consulting with experts can save you lots of frustration and money down the line. For a deep dive into designing your dream storage solutions, visit this resource.
Tools and Resources That Transformed My Approach
Over the years, I found that honing my toolkit made all the difference. A high-quality cordless screwdriver and a laser level became my best friends. These tools allowed me to ensure precise alignment and tight hardware connections effortlessly. Additionally, I rely on software like SketchUp to visualize layouts before committing. These resources boosted my confidence and helped me achieve professional results. For more insights, check out this collection of planning tips.
Believe in the Power of Small Improvements
It’s easy to feel overwhelmed by the prospect of a kitchen overhaul, but I’ve discovered that small, intentional upgrades can profoundly impact functionality and aesthetics. Reinforcing a wobbly drawer, adding soft-close hardware, or adjusting a crooked door doesn’t just improve daily use—they restore pride in your space. Embracing a mindset of continuous improvement keeps your kitchen looking its best and extends the lifespan of your cabinets. Start with simple fixes and gradually explore more complex upgrades with the help of expert guidance when needed. Need inspiration? Dive into these innovative storage ideas to elevate your kitchen’s efficiency.
Your Next Step Toward a Beautifully Organized Kitchen
Remember, mastery of storage solutions and built-ins is an ongoing journey. Each tweak and upgrade adds to the harmony and functionality of your space. Don’t hesitate to reach out for professional assistance or explore new tools to streamline your process. With patience and a willingness to learn, your kitchen can become a sanctuary of order and style. Ready to transform your home? Consider consulting this contact page for personalized guidance. Sharing your progress and questions can inspire others to start their own journey—what improvements are you excited to tackle first? Let me know in the comments below!”} }# Note: Minor adjustments made to ensure HTML correctness and natural integration of links.}# End of response.}#“`json
{