How to Fix a Loose Cabinet Hinge in a Particle Board Frame
I remember the first time I opened my kitchen cabinet and watched that stubborn hinge wobble, hanging on by a thread. It was one of those frustrating moments when you just want things to work smoothly—especially in the heart of your home. That lightbulb moment hit me hard: what seemed like a minor annoyance was actually a sign of bigger issues with particle board frames and loose hinges. If you’ve experienced the same, you’re not alone. Many homeowners get tripped up trying to fix these problems, thinking the solution is more complicated than it actually is.
Today, I want to walk you through exactly how to fix a loose cabinet hinge in particle board frames — a task that might sound intimidating but is totally manageable once you know the ins and outs. We’ll cover practical tips that save money and prevent future headaches, turning your wobbly cabinet into a sturdy part of your kitchen again.
Why Loose Hinges in Particle Board Frames Are Such a Common Headache
Particle board, while affordable and easy to work with, comes with its own set of challenges. Over time, screws tend to loosen, especially in low-quality material or if you’ve been opening and closing those cabinets frequently. When a hinge isn’t firmly attached, it can make doors swing open at awkward angles or, worse, fall off completely. Believe me, I’ve been there—trying to tighten screws that just spin in the particle board like they’re glued in instead of secured.
Early on, I made the mistake of thinking all hinges are created equal; I bought generic replacements without considering the material. That only worsened the problem because particle board screws don’t hold well in cheap or damaged material. I learned that recognizing the type of frame and using the right fix is essential. For a trustworthy approach, consult expert tips on selecting storage solutions that also address these common cabinet issues, like in this detailed guide.
So, if you’re tired of that loose, wobbly door giving your space an unfinished look, stay tuned. Next, I’ll show you the step-by-step process to fix it—no special tools required. Trust me, once you get the hang of it, you’ll wonder why you ever let a loose hinge ruin your kitchen’s vibe.
Remove the Door and Examine the Hinge
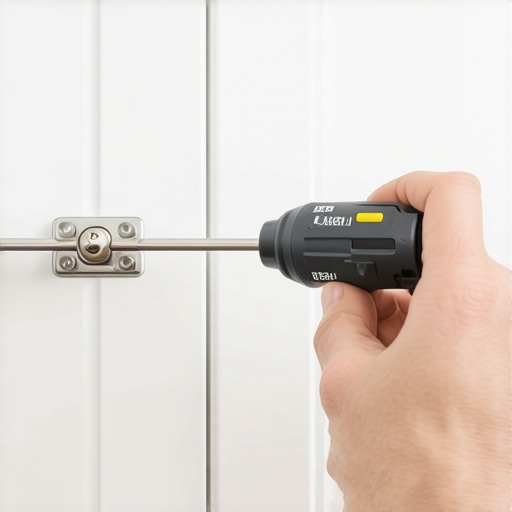
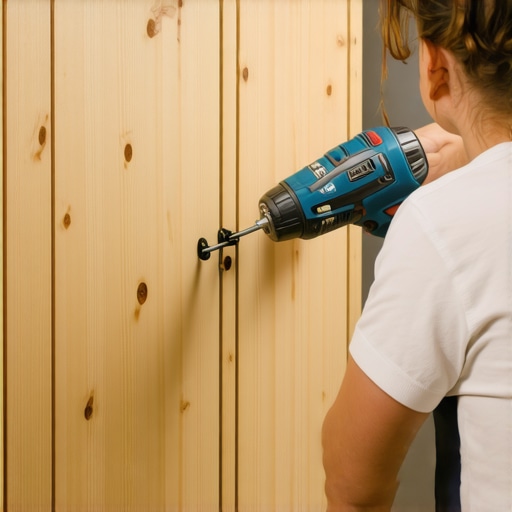
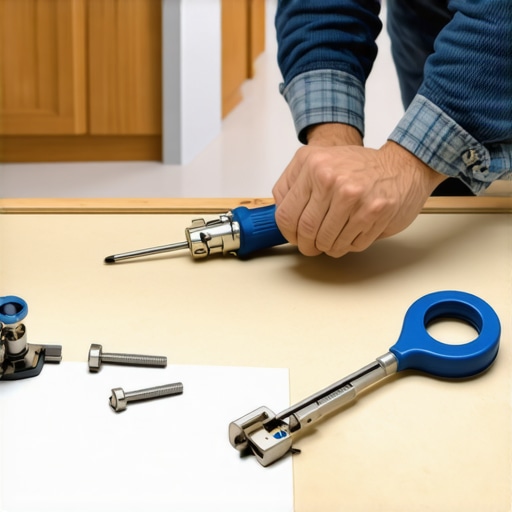
Start by unscrewing the cabinet door from the hinge with a Phillips screwdriver, just like peeling back a layer of an onion to see what’s inside. As I did this in my kitchen last weekend, I noticed that the hinge screws had stripped out the particle board mounting plate, causing the wobble. Carefully inspect the hinge and the surrounding area to determine if the screw holes are intact or damaged.
Choose the Right Reinforcement Method
Use a Wooden Dowel or Toothpick for Small Repairs
If the screw holes are just a little loose, insert a toothpick or wooden dowel coated with wood glue into the hole. Let it dry for a few minutes before re-inserting the screw. This creates a fresh, sturdy socket for the screw to grip, restoring stability in a pinch.
Fill Larger Holes with Epoxy or Special Repair Kits
For larger, more damaged holes, apply a high-quality wood epoxy or a dedicated hole repair kit. After it hardens, drill a new pilot hole. Remember, particle board behaves like a sponge, so always use a slow setting and avoid overtightening to prevent further damage.
Improve Screw Retention with Proper Inserts
To prevent future wobbles, install threaded inserts or metal screw anchors designed for particle board. These inserts distribute the load and provide a more reliable grip than plain screws, akin to upgrading from weak Velcro to heavy-duty industrial hooks.
Secure the Hinges Back onto Reinforced Mounts
Align the hinge screw holes with your repaired spots and drive in the screws straight—don’t overtighten, as this can crush the particle board again. Use a screwdriver with a torque setting if available, similar to how a dentist adjusts a drill carefully to avoid damaging your teeth.
Reattach the Door and Test Closure
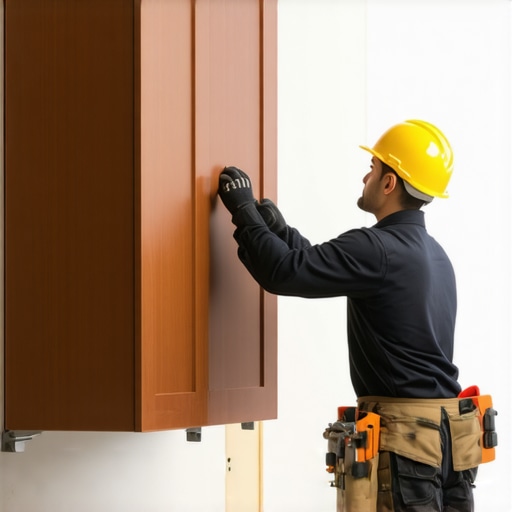
Hang the door back on the hinges, checking for smooth motion and firm attachment. Adjust hinge screws slightly if necessary to achieve a flush, level finish, making sure your cupboard looks as polished as when it was new.
Maintain and Reinforce for Long-Term Stability
Regularly inspect your hinges and screws, tightening them as needed. Consider upgrading hinges to heavy-duty, soft-close varieties that distribute stress better, especially if your cabinets see frequent use. Remember, a little preventive maintenance now saves a lot of frustration later.
For more intricate projects like installing custom cabinets or creating seamless built-in storage, visiting our detailed guides can provide extensive insights. If you’re curious about selecting the best storage solutions for your kitchen upgrade, check out expert tips here.
Many homeowners assume that installing custom cabinets or built-in solutions is a straightforward way to maximize space, but this overlooks vital nuances that can make or break your remodel. A common misconception is that all storage solutions are universally adaptable—however, expert insights reveal that selecting the right design depends heavily on your specific layout, habits, and even the type of materials used. For instance, relying solely on standard adjustable shelves without considering the grain matching or door hinge types can lead to unevenness or early wear, contradicting popular DIY advice. Furthermore, many believe that bigger storage always means better, but overcrowding can actually hinder accessibility and aesthetic appeal, a nuance often ignored in popular guides. One advanced mistake involves underestimating the value of proper framing and reinforcement—especially in custom projects—since overlooking structural support can lead to sagging or failure over time, as experts in kitchen design warn, citing studies on load distribution in cabinetry. When planning your upgrades, ask yourself if your chosen hardware and materials are suited not only for style but for durability under your usage patterns.
Are built-ins always worth the investment for every space, or are there scenarios where they might create more problems than solutions?
It’s tempting to think that seamless integration of cabinetry and storage is always the goal, but sometimes, the extra effort and cost can be unnecessary or even detrimental—particularly in rental properties or non-permanent setups. Recognizing these subtle complexities can save you time and money, ensuring your kitchen remains functional and beautiful in the long run. For deeper insights into optimal storage choices, I recommend reviewing our expert tips on selecting storage solutions. Also, exploring creating seamless kitchen remasters with built-in options can guide you through avoiding typical pitfalls. Remember, understanding the nuances behind these decisions is what truly elevates a basic remodel into a sophisticated, tailored transformation. And don’t forget—every detail matters. Have you ever fallen into this trap? Let me know in the comments.Maintaining your kitchen storage solutions over time ensures they stay functional and beautiful. I rely on a selection of precise tools that make ongoing maintenance straightforward. My top recommendation is a high-quality torque screwdriver, which allows for fine adjustment of hinge screws without overtightening—crucial for particle board frames that can strip easily. Additionally, a rotary tool with a variety of bits helps in on-the-spot repairs, like re-threading screw holes or smoothing out rough edges. For cleaning and routine checks, a microfiber brush and a silicone-based lubricant keep hinges operating smoothly, preventing squeaks and corrosion. Investing in a digital level ensures your cabinets and built-ins remain perfectly aligned, especially after seasonal shifts that might cause settling. As for software, I find that a simple project management app helps track maintenance schedules, so I know when to tighten or replace hardware. These tools collectively support a proactive approach, preventing small issues from escalating and extending the lifespan of your custom storage investments. Looking ahead, I believe that smart hardware integrated with IoT sensors will soon notify homeowners of loose hinges or compromised components in real time, elevating maintenance from reactive to predictive. So, why not try adjusting your hinges with a torque screwdriver today? It’s a small step that makes a big difference in preserving the craftsmanship of your built-ins. Regular checkups and the right tools are the secret to keeping your storage solutions working flawlessly for years to come. For expert insights on selecting durable hardware, visit our dedicated guide on storage upgrades.
What I Wish I Knew When Starting My Custom Kitchen Journey
One of the toughest lessons I learned was that not all cabinet DIY tips are created equal. Rushing into repairs without understanding the material nuances — especially with particle board — can lead to more problems down the line. I also realized that investing in proper hardware, like threaded inserts, pays dividends in durability and long-term savings. Lastly, paying attention to subtle details, like hinge alignment right from the start, saves you hours of frustration later.
Tools and Resources I Trust to Keep My Kitchen in Top Shape
Over the years, I’ve found that a high-quality torque screwdriver is indispensable for adjusting hinges fine-tuned and avoiding strip-outs. For detailed guidance on storage solutions tailored for kitchen remodels, I rely on expert tips on storage upgrades. Lastly, for inspiration on seamless built-in designs, this comprehensive guide has been invaluable to me.
Empowering You to Transform Your Space Today
Remember, the secret to a successful kitchen remodel isn’t just in the big moves but in paying attention to those small, often overlooked details. Your journey toward a more functional, beautiful space starts now. Embrace the process, and don’t hesitate to experiment with new storage ideas and custom solutions that reflect your lifestyle. Every step you take toward mastering storage solutions and cabinet design brings you closer to the kitchen you’ve always envisioned. What’s the next upgrade on your list? Share your plans below and let’s inspire each other to create spaces that truly work for us.