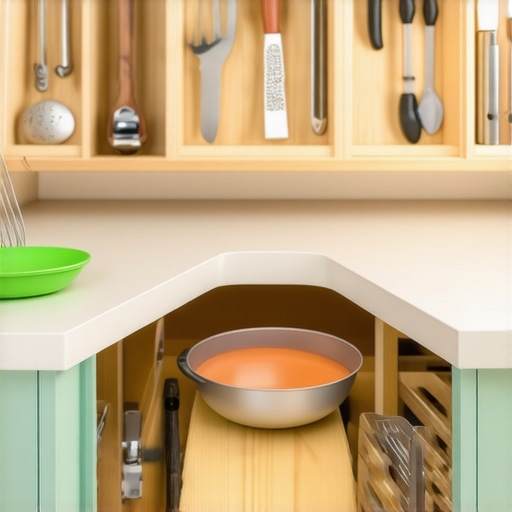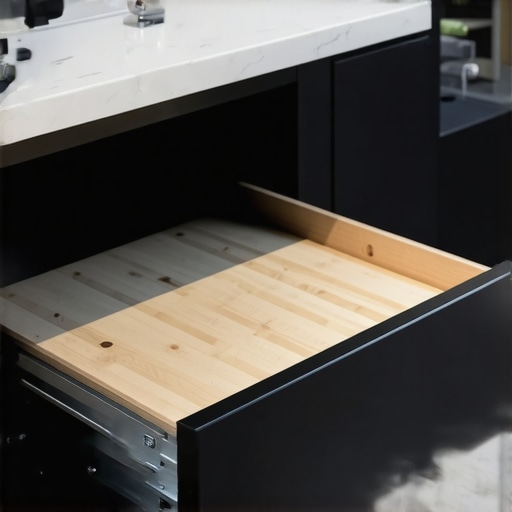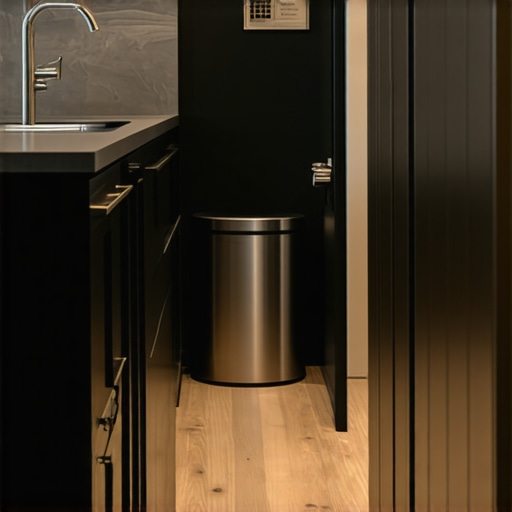
How to Hide Your Trash Can Without Sacrificing Floor Space
There was a time in my kitchen when I felt like my trash can was a rogue element, sitting glaringly in the middle of the floor during dinner prep. No matter how many containers I tried to hide behind curtains or tucked into awkward corners, it still screamed for attention every time I entered. That moment of frustration became my lightbulb—there had to be a better way, one that kept my space functional yet tidy. If you’ve ever faced this dilemma, you’re not alone. Many homeowners struggle with balancing practicality and aesthetics when it comes to waste management.
The Hidden Challenge of Trash Placement
Let’s face it—trash cans are necessary, but their usual placement can quickly turn your beautifully remodeled kitchen into a cluttered mess. Floor space is precious, especially in small or medium-sized kitchens. I knew I needed to find a solution that didn’t involve sacrificing valuable real estate or breaking the bank. After much trial and error, I discovered that innovative storage solutions can make a remarkable difference. Whether you’re tackling a full kitchen renovation or just want to tidy up your current layout, exploring options like built-in cabinetry or custom compartments can transform your space.
Struggling to Trust the Hype? Think Again
When I first considered hiding my trash can, I was skeptical—traditional cabinet options seemed clunky, and I worried about airflow or odor issues. My early mistake was choosing a generic under-sink cabinet without proper ventilation, which only made things worse. It’s essential to understand that not all hiding spots are created equal. The right design, like dedicated pull-out trash drawers with ventilation, can make a world of difference. If you’re curious about how to seamlessly integrate trash concealment into your kitchen, I recommend checking out this guide on innovative storage options for different rooms.
Ultimately, the goal is to keep your kitchen clean and functional without sacrificing style or floor space. In the sections ahead, I’ll walk you through practical ideas and expert tips to help you hide your trash can effectively—so you can enjoy a clutter-free kitchen that works for your lifestyle.
,
Choose the Right Storage Solution
Start by assessing your kitchen layout and available space. Opt for a built-in cabinet or a custom pull-out drawer designed specifically for trash concealment. For instance, I once installed a dedicated pull-out trash bin unit beneath the countertop, which kept the mess hidden and accessible. Visit this guide to discover various storage options tailored to different room layouts.
Measure and Design Precisely
Accurate measurements are critical. Measure the width, depth, and height of your trash can, then add extra clearance for ventilation and ease of access—about 1-2 inches on each side. When I built my cabinet, I used a laser measure to ensure a snug fit, which prevented odors from escaping and made the unit feel integrated. Remember, a well-measured design prevents gaps and wobbling. Use expert tips for selecting optimal dimensions.
Build or Retrofit the Enclosure
Construct the enclosure using durable materials like plywood or MDF, ensuring it’s moisture-resistant. For existing cabinets, retrofit by installing sliding rails and ventilation grilles for airflow. I once converted a shallow cabinet into a pull-out trash space by attaching heavy-duty sliders, which allowed smooth operation even when full. This not only tidied up my kitchen but also maintained airflow to combat odors. Check this resource for installation techniques.
Ensure Proper Ventilation and Odor Control
Ventilation is key to managing odors. Incorporate small vents or a carbon filter system within your cabinet design. I installed a charcoal filter in my pull-out to keep the air fresh, which made a noticeable difference. Additionally, sealing gaps with weatherstripping prevents smells from seeping into the kitchen. If you’re unsure about ventilation options, see this article for detailed solutions.
Integrate with Your Overall Design
Finally, match your hideaway trash system with your kitchen style. Choose cabinet finishes, hardware, and colors that blend seamlessly, making the unit almost invisible. In my last remodel, I opted for a matte gray finish with sleek handle pulls that matched my upper cabinets, creating a unified look. This approach ensures functionality without sacrificing style, turning an eyesore into a feature of your kitchen. For inspiration, explore modern remodel examples.
Many homeowners and even seasoned remodelers operate under common misconceptions about storage solutions, especially when it comes to custom cabinets and built-ins. While it’s tempting to believe that installing the newest, high-end hardware or following popular design trends guarantees a perfect kitchen, the reality is far more nuanced. Let’s explore some of the overlooked details and mistakes that can undermine your remodeling efforts.
One widespread myth is that more storage space always translates to a better kitchen. In practice, overstuffed cabinets and excessive shelving can lead to clutter rather than organization, especially if the solutions aren’t tailored to your habits. For instance, a common error is opting for extra-deep drawers without considering how often you access stored items. Deep drawers might look sleek, but they can conceal messes, making it difficult to find everyday utensils quickly. Instead, it’s smarter to customize drawer depths based on specific item sizes, a tactic supported by ergonomic studies that emphasize task-oriented design.
Another pitfall involves underestimating the importance of airflow and humidity control within enclosed storage spaces. Many assume that sealing cabinets tightly is ideal, but this can trap moisture, leading to mold and cabinet warping. Properly vented built-ins with adequate ventilation prevent these issues, yet often get overlooked in DIY projects. Advanced homeowners might even consider integrating smart ventilation systems into their cabinetry, which not only prevent odors but also extend the lifespan of their investments.
What about the complexity of integrating built-ins in existing structures?
This question addresses a common advanced concern. Experts agree that retrofitting built-ins into older kitchens demands precision to avoid damaging existing features. The mistake many make is assuming that a one-size-fits-all approach works, ignoring variations in wall thickness, older framing, or uneven floors. Using innovative adaptive mounting techniques is crucial in these scenarios. Moreover, precise measurement and custom fabrication ensure seamless integration, reducing future maintenance. A study by the National Kitchen & Bath Association highlights that customized solutions lead to longer-lasting results, especially when tackling complex architectural nuances.
Finally, let’s not forget that aesthetics should complement functionality. The trend toward minimalist built-ins often leads to underestimating storage needs, resulting in future reconfigurations or clutter. Thoughtful design that balances sleek appearance with smart division enhances efficiency without compromising style. For detailed insights into achieving this balance, check out this expert guide on custom cabinets.
Mastering these nuances elevates your kitchen from a simple renovation to a smart, durable investment. Remember, effective storage solutions are not just about maximizing space, but about understanding the intricate interplay of design, materials, and user habits. Have you ever fallen into this trap? Let me know in the comments.
Mastering Maintenance for Longevity
Keeping your built-in cabinets and custom storage solutions in top shape requires consistent upkeep. I swear by scheduling quarterly inspections where I check hinges, sliders, and seals, ensuring everything functions smoothly. Regularly cleaning mechanisms with a silicone-based lubricant prevents squeaks and ensures soft-close hinges operate quietly for years. Don’t forget to give ventilation grilles a quick wipe to prevent dust build-up, which can impede airflow and promote odors. Staying proactive prevents costly repairs down the line and preserves your investment in sleek, functional cabinetry.
Tools I Trust for Reliable Results
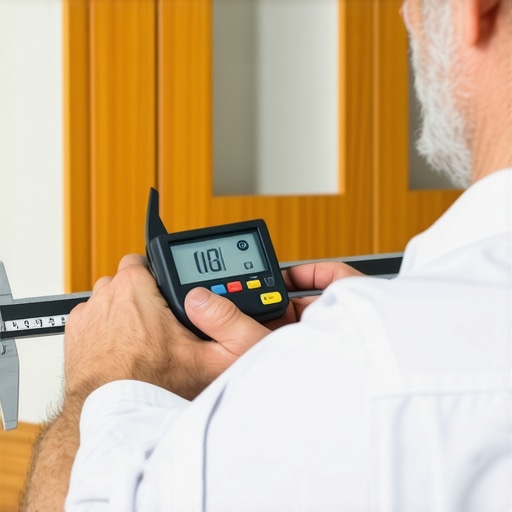
Over the years, I’ve curated a set of specific tools that make maintenance straightforward. An electric screwdriver with a torque setting helps me tighten or adjust hinges without stripping screws. A digital caliper allows precise measurements if I need to tweak cabinet dimensions or replace hardware—accuracy is everything when dealing with built-ins. For cleaning, a microfiber cloth paired with a gentle, pH-neutral cleaner keeps surfaces free of grime and fingerprints, especially if you’ve opted for matte finishes that show smudges easily. These tools empower me to keep everything aligned and pristine without professional help.
Anticipate Future Trends in Storage Technology
Looking ahead, I predict smart cabinetry will become the norm, with sensors that notify homeowners about humidity levels or even suggest when to perform maintenance on mechanical parts. Integration with home automation systems could alert you to door misalignments or worn-out sliders before they become issues. Staying ahead of these developments means selecting systems that are upgrade-friendly—choose modular hardware and components compatible with future tech. This foresight ensures your kitchen remains both functional and cutting-edge for years to come.
How do I maintain built-in storage over time?
Maintaining your built-ins involves regular inspections of hardware, cleaning to prevent dust accumulation, and prompt repairs when needed. Incorporate tools like a torque screwdriver and calipers into your routine, and schedule seasonal checks to address minor issues before they escalate. For a comprehensive guide on making your storage solutions last, visit this resource.
The Hardest Lesson I Learned About storage solutions,built-ins,kitchen remodel,custom cabinets
One of my biggest mistakes was thinking that bigger storage options always meant better organization. I realized too late that excessive shelving can lead to clutter, especially if not tailored to my habits. Customization isn’t just about fit—it’s about functionality.
3 Myths About storage solutions,built-ins,kitchen remodel,custom cabinets That Held Me Back
First, the idea that all built-ins require a complete overhaul. Sometimes, retrofitting with innovative solutions can save time and money. Second, the misconception that sealed cabinets eliminate odors—proper ventilation is key. Third, the belief that a sleek appearance sacrifices storage space—smart design makes both possible.
What Experts Won’t Tell You About storage solutions,built-ins,kitchen remodel,custom cabinets
Many overlook the importance of airflow within enclosed cabinets. Proper ventilation prolongs cabinet life and keeps odors at bay. Additionally, integrating smart features, like motion-activated lighting or moisture sensors, can improve usability and longevity. These details often make the difference between a good remodel and a great one.
My Curated Toolkit for Crafting the Perfect Kitchen Storage
My go-to tools include a digital caliper for precise measurements, a torque screwdriver for adjusting hinges, and microfiber cloths for maintaining surfaces. These tools ensure my storage solutions stay functional and beautiful over time. For top recommendations, check out this expert guide.
Let Your Kitchen Inspire Your Next Move
Designing hidden storage transforms your space from cluttered to curated. Don’t hesitate to try innovative solutions that fit your lifestyle—your kitchen’s future depends on it. Remember, the right storage isn’t just about space but about creating a sanctuary you love to spend time in. How will you rethink your kitchen storage today? Let me know below.