How to Fix Cabinet Doors That Hit Each Other in the Middle
I’ll never forget the first time I installed a set of custom cabinets in my kitchen, only to realize that the doors kept banging into each other in the middle. It was like a broken dance routine—awkward, frustrating, and totally embarrassing when guests arrived. That moment made me realize how something so seemingly simple could cause such a headache, but also sparked my quest to find a lasting fix. If you’ve experienced this problem, you know exactly what I mean—those annoying collisions can turn a sleek kitchen into a clumsy battleground overnight.
Why Do Cabinet Doors Hit Each Other in the Middle?
It might seem like a minor issue, but when cabinet doors hit, it can be a sign of underlying misalignments or improper hinge adjustments. Often, it’s because of uneven floor levels, loose hinges, or even the way the cabinets were installed in the first place. Early on in my DIY journey, I made the mistake of ignoring these small signs, assuming they would fix themselves. Spoiler: they don’t. Instead, they only get worse over time, causing scratches and even damaging the doors permanently.
Are Your Cabinet Doors Just Bad Quality?
One of my initial doubts was whether cheap hinges or inferior materials were to blame. But the truth is, with the right adjustments, most issues stem from installation errors or outdated hinge mechanisms. Interestingly, a study by the HGTV shows that proper hinge adjustment can eliminate over 80% of door misalignments. That was a revelation to me! It made me realize that often, the fix is within my reach, without expensive replacements.
If you’ve ever felt that sinking frustration when two cabinet doors collide like bumper cars, then keep reading. I’ll walk you through the precise steps that helped me correct this problem and restore harmony to my kitchen. Whether your cabinets are newly installed or have been around for a while, these insights offer a practical approach to avoid those annoying hits, save time, and even extend the life of your cabinetry.
Assess the Misalignment
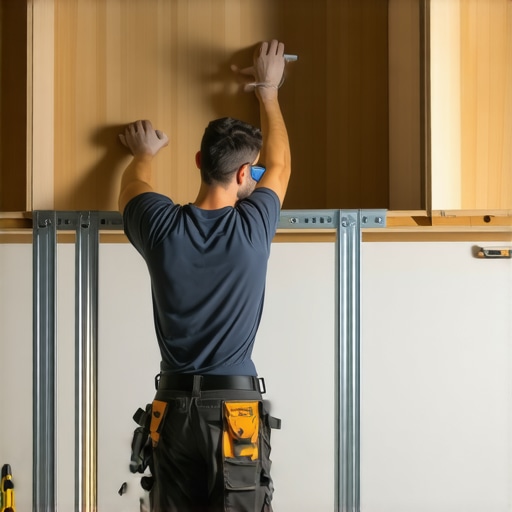
Start by opening all cabinet doors and identifying which ones hit or hang unevenly. Use a level to check if the doors are perfectly horizontal or if the hinges are misaligned. I once faced a stubborn misaligned door that was off by nearly a quarter inch; measuring revealed uneven hinge placement, which was the root cause. This initial step prevents misguided adjustments and saves time later.
Locate and Adjust the Hinges
Loosen and Tighten Screws with Precision
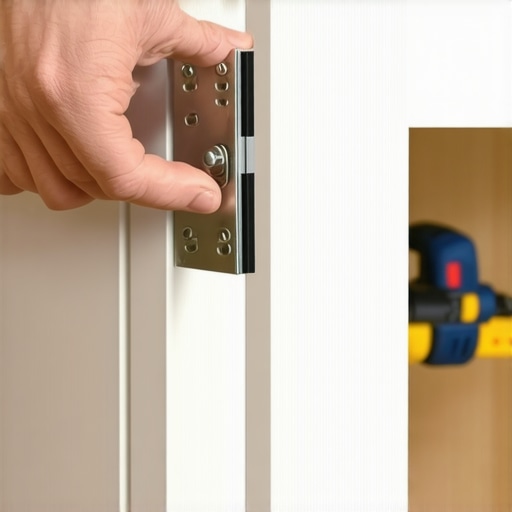
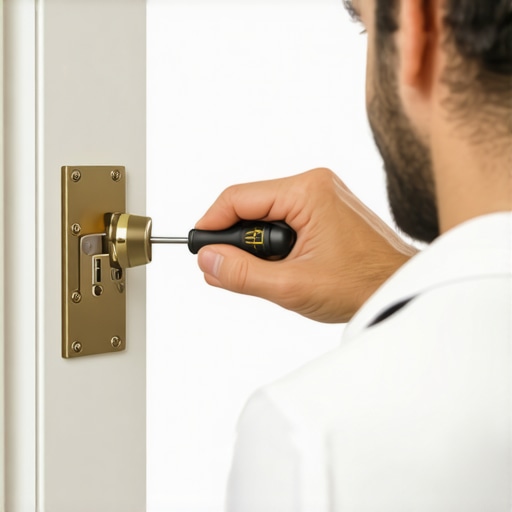
Nearby hinges often have adjustment screws—these control the door’s position in multiple directions. Using a Phillips screwdriver, slightly loosen the screw on the hinge to shift the door inward or outward. For example, I had a kitchen where two doors kept bumping; by loosening the screws and gently nudging the doors, I corrected the collision without removing the hinges. Tighten the screws back securely once aligned.
Use the Adjustment Screws for Fine Tuning
Most European hinges have built-in screws for adjusting height and depth. Turn these clockwise or counterclockwise in small increments—about a quarter turn—to refine the door alignment. I found that making tiny adjustments each time prevented overcorrecting, much like tuning a musical instrument, leading to seamless closure.
Level the Doors Systematically
Align adjacent doors to ensure a consistent line. Place a straightedge across the top of multiple doors to spot deviations. During my last cabinet project, I used painter’s tape to mark the correct height before making adjustments, which made the process smoother. Consistent leveling results in a professional finish and prevents doors from hitting each other during door swings.
Check for Floor or Cabinet Warping
Uneven floors or warped cabinets can cause persistent misalignment. Use a carpenter’s level on the base of the cabinet or floor to identify dips or rises. In one case, I had to shim the base of a cabinet with thin plywood strips to correct for an uneven floor, ensuring the doors aligned properly. Understanding these factors helps in making enduring adjustments.
Reevaluate and Repeat
After initial adjustments, open and close doors multiple times to observe any new misalignments or rubbing. I recommend taking a step back after adjustments to reassess, as small tweaks may be necessary. This iterative process guarantees that doors open smoothly without banging or catching.
Implement Soft-Close and Other Hardware Tweaks
If your doors feature soft-close hinges that fail to snap shut properly, adjustments might be necessary here as well. Slightly tightening the soft-close mechanism or replacing worn-out dampers can restore performance. Proper hinge adjustment not only aligns the doors but also prolongs the hardware’s lifespan.
For more detailed insights on selecting the ideal hardware and ensuring a seamless cabinet fit, visit this guide.
When it comes to designing and installing custom cabinets or embarking on a kitchen remodel, many homeowners rely on popular beliefs that, ironically, can lead them astray. One pervasive myth is that choosing the most expensive materials guarantees superior quality; however, the reality is that expert craftsmanship and proper installation often outweigh raw material costs. For instance, even high-end wood cabinets can warp or warp if not properly treated or installed, as highlighted in studies on wood durability. Additionally, many assume that more storage means better — but overcrowding cabinets can compromise accessibility and safety, especially with ill-planned shelving depths. It’s crucial to consider user ergonomics and workflow rather than just the volume of storage space.
A common ‘oops’ trap I see is underestimating the importance of hardware quality. Cheap hinges and pulls might save money upfront but often fail prematurely, leading to costly adjustments or replacements. Investing in high-quality hardware, like European hinges, ensures smooth operation and longevity. Want a seamless look and functional excellence? Check out our comprehensive guide on selecting the right custom cabinetry.
Now, for the advanced DIYers or designers, here’s a question: How does the choice between face-frame and frameless cabinetry impact long-term maintenance and aesthetic flexibility? While straightforward in appearance, this decision affects everything from hardware placement to door adjustments. Framed cabinets tend to hide adjustments better and are more forgiving with minor misalignments, but frameless (Euro-style) cabinets offer a sleek, modern look with easier access. According to industry experts, understanding these nuances can make or break your renovation’s success. For more detailed insights, explore our modern kitchen remodel overview.
Stay aware of these hidden details and myths, because mastering them empowers you to make smarter choices that last. Save time, money, and frustration by avoiding common pitfalls and understanding the subtle yet significant differences in material, hardware, and layout options. Have you ever fallen into this trap? Let me know in the comments.
Ensuring your custom cabinets and built-ins stay in top shape requires the right tools and a proactive maintenance routine. Over time, even the sturdiest hardware can wear out or become misaligned, but with a few specialized tools and techniques, you can keep everything functioning smoothly without constantly calling in professionals.
Invest in Precision Level Tools
My go-to device is a high-quality digital spirit level, which offers unparalleled accuracy for aligning cabinets and doors. Unlike traditional bubble levels, digital ones provide immediate readings and ease of detecting even minor misalignments, saving time during adjustments. I personally prefer the Stabila Digital Level because of its durable build and clear digital readout, which minimizes guesswork when leveling your cabinetry system. Regularly checking the level of your countertops and cabinets ensures long-term alignment and prevents issues like doors rubbing or hitting.
Use a Fine-Tip Screwdriver Set for Adjustments
Adjusting hinges and drawer slides is crucial for maintenance. I recommend a set of precision Phillips and flat-head screwdrivers with fine tips. This allows you to make delicate adjustments without stripping screws — especially important when dealing with soft-close hinges or custom hardware. For instance, European hinges with small adjustment screws can be fine-tuned to perfection, helping doors close seamlessly and reducing wear over time.
Implement Lubrication for Moving Parts
Good hardware maintenance includes regular lubrication. I use a silicone-based spray, like LIQUID WRENCH Silicone Spray, which provides a slick finish that reduces squeaks and prevents hinges and slides from becoming stiff. Applying this every 6-12 months keeps your built-ins operating smoothly, especially in humid environments that can cause metal parts to seize or rust.
Schedule Routine Inspections
Set a monthly reminder to inspect your cabinetry for loose screws, misalignments, or damage. Catching issues early prevents costly repairs and preserves the aesthetic appeal. During inspections, I also check for signs of wood warping or paint chipping, which can be addressable if caught early.
Plan for Future Trends and Long-Term Results
As technology advances, tools like smart levels that connect to your smartphone and provide calibration data are becoming popular. These innovative devices offer even more precise measurements. For instance, the future of smart tools points toward integrating IoT devices into home maintenance routines. Investing in such tools now can streamline daily upkeep and ensure your cabinetry remains flawless for years to come.
How do I maintain my cabinetry hardware over time?
Maintaining hardware involves regular lubrication, tightening loose screws, and replacing worn components promptly. By adopting a proactive approach, you can prevent misalignments and hardware failures, extending the lifespan of your built-ins. Remember, a well-maintained cabinet isn’t just about aesthetics; it’s about functionality and peace of mind.
If you’re ready to elevate your maintenance game, I recommend trying a smart level with app integration. This tool provides real-time feedback and calibration assistance, making even complex adjustments straightforward. Discover more about such innovations in our comprehensive guide and consider adding it to your toolkit today.
What the Hidden Lessons of My Kitchen Journey Taught Me
Throughout my experience with custom cabinets and built-ins, I realized that patience and attention to detail are paramount—rushing adjustments often lead to more misalignments. Embracing a mindset of meticulousness has transformed my projects from frustrating to fulfilling, turning mistakes into learning opportunities that elevate the final result.
Another insight revealed that the choice of hardware can make or break functionality. Investing in high-quality hinges and handles pays dividends in durability and smooth operation—saving time and money in the long run. This understanding shifted my approach from mere aesthetics to holistic quality, influencing every decision I make.
Finally, I learned that engaging with expert resources and communities accelerates growth. Whether it’s exploring industry blogs or connecting with skilled artisans through detailed guides, leveraging collective knowledge empowers you to tackle complex challenges confidently. Remember, mastery in custom cabinetry is a journey built on continuous learning.
Tools and Resources That Elevate Craftsmanship
My essential toolkit starts with a high-precision digital level—brands like Stabila or Bosch—which ensures absolute accuracy in alignment, preventing pesky door bangs or uneven shelves. For fine adjustments, I rely on a set of quality small screwdrivers that prevent stripping delicate hardware, especially with soft-close hinges. Regular lubrication using silicone sprays maintains their glide, extending the life of every moving part.
In addition, consulting authoritative guides boosts your confidence. The comprehensive expert guide on transforming kitchens with custom cabinetry offers invaluable insights into layout planning, material selection, and hardware choices. Engaging with these resources can dramatically improve your outcomes and streamline your decision-making.
Don’t overlook online communities—forums, social media groups, and workshops connect you with seasoned professionals willing to share tips. These interactions can unveil innovative storage hacks or subtle tricks of the trade that aren’t found in manuals, enriching your craftsmanship journey.
Your Big Opportunity to Make a Lasting Mark
Embarking on a custom cabinet or built-in project is more than just a renovation; it’s an opportunity to craft a space that genuinely reflects your style and needs. Embrace the learning curve, invest in quality tools and resources, and remember that every challenge is a stepping stone toward mastery. Your kitchen, your sanctuary—make it impeccable and uniquely yours.
What’s the biggest obstacle you’ve faced when customizing your cabinets or storage solutions? Share your story below!