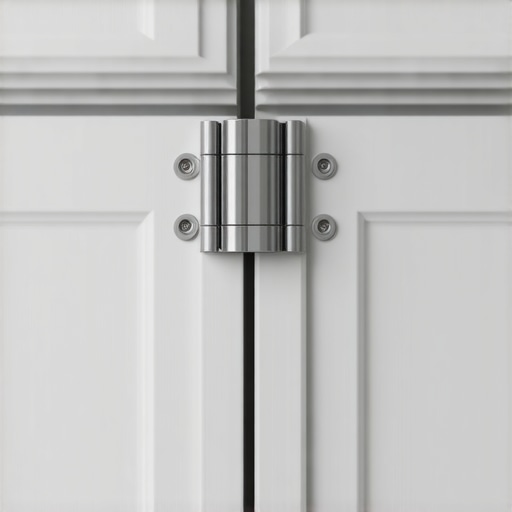
How to Retrofit Soft-Close Dampers to Old Cabinet Hinges
Ever opened a kitchen cabinet, only to be greeted by that sudden, loud slam that makes you jump? I’ve been there, mid-morning chaos when the kids leave the door swinging—then BAM!—sounding like a gunshot. It’s jarring, disruptive, and honestly, a bit embarrassing when guests are around. I remember thinking, “There has to be a better way.” That moment of frustration was my lightbulb—it dawned on me that retrofitting those old hinges with soft-close dampers could change everything.
Why Fix Old Cabinets? The Everyday Struggle is Real
Upgrading your kitchen isn’t just about shiny new countertops or fancy appliances. Sometimes, it’s the small details that matter most—like quiet, gentle-close hinges that keep the peace and preserve your cabinets. My experience showed me how a simple retrofit could make my mornings calmer and my evenings more peaceful. Plus, soft-close hinges help prevent those annoying slams that wear out doors and hinges over time.
Is Retrofit Soft-Close Dampers Worth the Hype?
Initially, I was skeptical. Was it really worth the effort and money? I remember making the mistake of buying cheap dampers without checking reviews, and they failed within months. Trust me, skimping on quality and rushing through the installation costs more in the long run—don’t repeat my mistake. With a few careful choices, I found that retrofitting was surprisingly straightforward and, honestly, a game-changer. For more ideas on maximizing your space with innovative storage, check out our comprehensive guide on [smart storage solutions for small kitchens in 2025](https://artisancabinetworkz.com/smart-storage-solutions-for-small-kitchens-in-2025). Now, I want to help you decide if this upgrade is right for you and how to do it right.
So, let’s get into the nitty-gritty of how you can breathe new life into your old cabinets without a full remodel. It’s easier than you think, and I’ll walk you through every step.
Remove Old Hinges Carefully
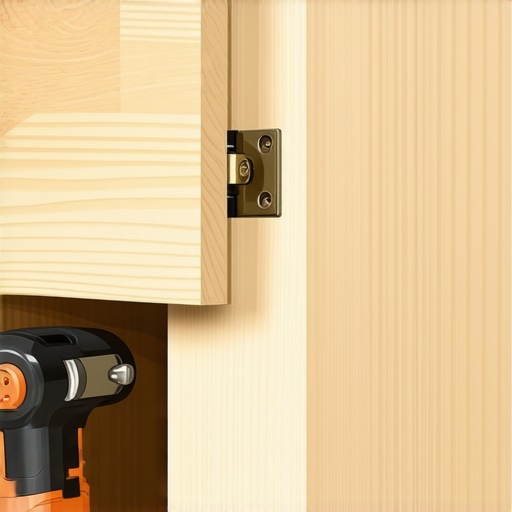
Start by unscrewing the existing hinges with a Phillips screwdriver, making sure to support the door so it doesn’t fall. I once rushed this step and cracked a door panel—lesson learned to always support as you remove hinges. Keep the screws organized to reuse if needed.
Assess the Hinge Placement and Drill New Holes
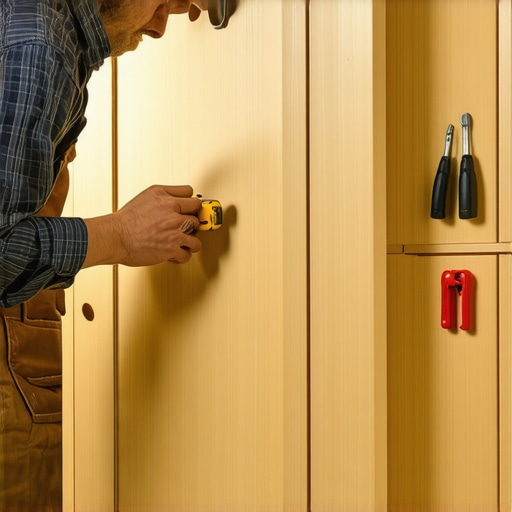
Compare the new soft-close hinges with the old ones; most follow similar mounting patterns. Use a measuring tape to mark the exact location for the new hinges, aligning them with the previous holes. When I retrofit my cabinet, I used painter’s tape to mark measurements, preventing slips and ensuring precision. For uneven walls, check out this guide to achieve a perfect fit.
Use a Forstner Bit to Create Proper Mortises
If the new hinges require deeper mortises, drill with a Forstner bit that matches the hinge’s cup diameter. I used a 35mm bit, slowly drilling to avoid splintering. Ensuring the cup sits flush is key for smooth operation. Practice on scrap wood if you’re unsure about depth or fit.
Attach the New Hinges
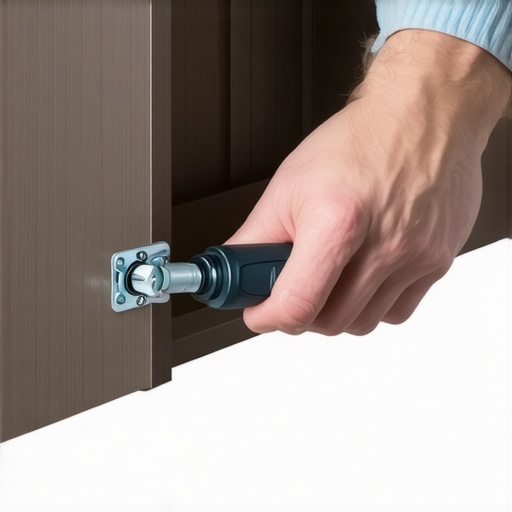
Secure the hinges to the cabinet door first, aligning with your marks. Tighten the screws gently to avoid cracking the door material, especially if it’s MDF or a thin veneer. I found that using a screwdriver with a torque control helped prevent overtightening, preserving the hinge’s longevity and avoiding door warp.
Mount Hinges onto Cabinet Frame
Align the hinges with the new screw holes on the cabinet frame, making sure the door hangs straight. Use a level if necessary. Once positioned, tighten all screws securely. During my retrofit, the door initially hung crooked—so I made slight adjustments before final tightening. This step is crucial for a seamless, gap-free look.
Test and Adjust for Fine Tuning
Open and close the door several times, checking for smoothness and proper closing. Most soft-close hinges have adjustment screws for tweaking height, side, or depth. I used these to align the door perfectly, achieving that professional finish.
If you find yourself stuck or want a different solution, exploring creative storage options might inspire a full upgrade, but retrofitting hinges remains a cost-effective way to regain peace and quiet in your kitchen.
< }When it comes to designing your kitchen or living space, many people fall into common traps rooted in misconceptions about storage solutions. One widespread myth is that bigger is always better — think giant cabinets or massive pantries are the way to go. But in reality, overestimating storage needs can lead to cluttered, inefficient spaces that hamper functionality rather than enhance it. Experts, like those referenced in studies by the National Kitchen & Bath Association, emphasize that strategic, well-designed storage beats sheer size every time, allowing for easier access and a cleaner look.
Are Built-Ins Always Better Than Modular? The Hidden Nuance
Contrary to popular belief, custom built-ins aren’t necessarily the best choice for every home. While they offer tailored fit and a seamless appearance, they can be inflexible and expensive. Many homeowners overlook that modular options can provide similar aesthetics with added flexibility and lower costs, especially if your needs or tastes change over time. The key is understanding your actual usage patterns and planning accordingly — something I explored in detail in our guide on built-ins that elevate functionality.
One oops I often see is homeowners choosing custom solutions for spaces that are rarely used, leading to wasted investment. Instead, a clever mix of fixed and flexible storage options can adapt gracefully to shifting needs. The mistake is thinking that one-size-fits-all or high-end always equals better; instead, elegance and utility should guide your choices. Want some ideas tailored to your budget? Check out smart storage ideas for small kitchens that maximize every inch without breaking the bank.
Advancing to more sophisticated design, consider the benefits of integrated storage within your cabinetry. These solutions disguise storage behind beautiful facades, maintaining a sleek look while hiding your clutter. But take heed: improper execution can lead to problems such as wasted space or difficult access. For example, poorly scribed filler strips or misaligned cabinets can ruin the entire aesthetic and functionality. Proper precision and expert installation make all the difference, as detailed in our comprehensive guide to seamless built-in storage.
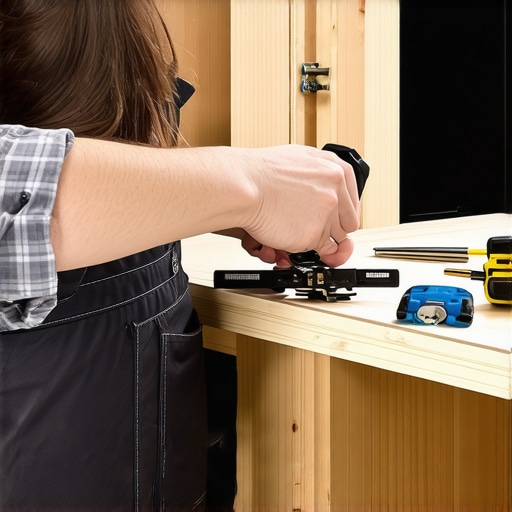
Have you ever fallen into this trap? Let me know in the comments.Once you’ve invested time and resources into upgrading your kitchen with built-ins or custom cabinets, keeping them in top shape becomes essential for long-term satisfaction. Regular maintenance involves inspecting hinges, drawer slides, and finishes—think of it as giving your cabinetry a health check. I personally rely on a detailed toolkit for this purpose, which includes a high-quality cordless drill with interchangeable bits, a soft cloth for cleaning, and specialty lubricants like silicone spray to keep moving parts smooth. Using a dedicated tool like the Makita cordless drill ensures precise adjustments without damaging delicate surfaces, saving me from costly repairs down the line. For software, I recommend using a digital level app on your smartphone to ensure perfect alignment during adjustments, especially when dealing with built-in shelving or cabinetry that needs to stay square over years of use. The future of maintenance seems to lean towards intelligent solutions—think IoT-enabled hinges that can alert you when lubrication is needed or parts are worn out. Industry expert Bob Vila emphasizes the importance of routine inspections to prevent bigger issues, citing that proactive care extends the life of your cabinetry significantly. I urge you to try setting a quarterly maintenance routine using these tools—start with lubricating your hinges and drawer slides, then assess the wear and tear. Regular upkeep not only preserves your investment but also ensures your kitchen remains functional and beautiful for years to come.
The Hidden Lessons That Transformed My Kitchen Journey
One of the biggest surprises I encountered was realizing how much overlooked detail matters. Retrofitting soft-close dampers taught me patience and precision, but it also revealed that small upgrades yield big emotional returns—peace, quiet, and pride in craftsmanship. I learned that embracing DIY solutions isn’t about saving money alone; it’s about reclaiming ownership of my home and tailoring it exactly to my needs. The other lesson? Never underestimate the power of proper planning—taking time to measure and double-check can make the difference between a perfect fit and a costly redo.
Tools and Resources That Elevated My Approach to Storage and Style
My toolkit for upgrading kitchens has become my personal arsenal. The guide to seamless built-in storage gave me detailed insights that saved me from common pitfalls, while the smart storage ideas helped maximize every inch of my space. For hardware, I rely on heavy-duty drawer slides and the adjustment tips for hinges that ensure everything stays smooth and reliable. These resources don’t just instruct—they empower me with confidence to tackle projects that once seemed daunting.
Chasing Dreams, Not Perfection—Your Turn to Shape Your Space
This journey with kitchen storage and cabinetry is ongoing, but I hope my experiences inspire you to start where you are. Whether you’re fixing hinges or designing a custom pantry, every step moves you closer to a space that functions beautifully and feels truly yours. Remember, progress is more satisfying than perfection. You have the tools, the knowledge, and the creativity—trust yourself to make your kitchen a place where you love to gather and create. What’s the first small upgrade you’re excited to try? Let me know below.