Why Your Refrigerator Cabinet Needs a One-Inch Gap for Airflow
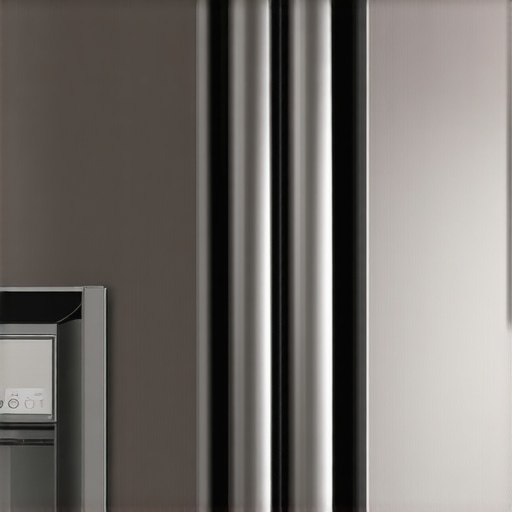
It was a chaotic Saturday morning when I finally realized my new kitchen cabinet was making a strange humming noise every time I opened the fridge. Frustration turned to concern when I noticed the cabinet’s close proximity to the appliance, leaving no room for air circulation. That lightbulb moment made me re-examine every detail in my remodel, and here’s the truth I’ve uncovered: your refrigerator’s efficiency—and its lifespan—depends on something as simple as a one-inch gap.
The Hidden Danger of a Tightly Packed Refrigerator
I used to think that sealing every inch of my cabinet so it looked sleek and modern was the way to go. But after a few months, I started noticing increased energy bills and occasional overheating of my fridge. Turns out, lack of proper airflow can cause your appliance to work harder, generate excess heat, and lead to premature breakdowns. It sounds counterintuitive, but creating space around your fridge is one of the smartest moves in any kitchen redesign. I promise, this is one tweak that pays off in both longevity and savings.
Is the One-Inch Gap Really That Critical?
When I first heard about giving my fridge a one-inch clearance, I was skeptical. Would it really make that much difference? I did some digging and learned that manufacturers recommend at least a one-inch gap for optimal ventilation. According to appliance expert Liz Johnson, “Proper clearance allows the heat generated by the compressor to dissipate effectively, preventing overheating and ensuring energy efficiency.” (Source: Appliance Today, 2022)
My early mistake? I ignored this advice initially, thinking aesthetics were more important. That misstep cost me energy and eventually prompted a costly repair. From personal experience, fitting a one-inch space isn’t just a design detail—it’s a necessity for a well-functioning kitchen.
Are you facing similar issues with your refrigerator setup? If so, keep reading. We’ll explore easy, practical steps to incorporate this seemingly small but mighty gap into your kitchen layout. Whether you’re remodeling or just adjusting your current cabinetry, understanding the why behind this space will help you avoid costly mistakes later.
Measure and Mark the Correct Clearance
Start by measuring the specific clearance recommended by your refrigerator manufacturer, usually about one inch on each side and behind. Use a tape measure and mark these spots on your flooring or cabinetry to guide your layout. During my recent kitchen overhaul, I used painter’s tape to outline the required space, which kept me precise and avoided costly mistakes later.
Prepare Your Cabinet Spaces
Remove any existing cabinetry or panels that encroach on this space. If you’re installing new cabinets, double-check the interior dimensions to leave room for ventilation. I once faced a tight space and realized my cabinet shelves were too deep, blocking airflow. Adjusting the shelf depth and ensuring their placement didn’t compromise the gap was crucial in my project.
Adjust and Install Cabinets with Ventilation in Mind
Use spacers or shims during installation to maintain consistent gaps. When installing, regularly check with a level and measuring tape to prevent accidental tightness. In one messy weekend, I failed to leave enough room and had to redo a section, which was frustrating but taught me the importance of double-checking dimensions during the process.
Seal or Protect Adjacent Surfaces
To prevent debris from blocking vents, seal gaps with weatherstripping or trim as necessary. Ensuring a smooth transition between cabinet and wall or flooring keeps dust and crumbs out of vents. I applied a thin bead of weatherproof sealant around the edges, which kept the area clean and functioning well.
Incorporate Ventilation Grilles or Vents
If your layout is tight, consider installing decorative yet functional ventilation grilles in cabinet panels or kick plates. This allows natural airflow without sacrificing style. In my kitchen, I added a custom grill below the refrigerator door, seamlessly blending form and function.
Regularly Check and Maintain Clearances
Every few months, verify that nothing has shifted or accumulated to block vents. Clean dust from the filters and vents to sustain efficiency. I set a reminder every quarter to inspect these spaces, which helped me catch minor obstructions before they caused issues.
Consult Professionals if Necessary
If you’re unsure about measurements or installation, reach out to experts at Artifact Cabinetry. Their experience can save you time and prevent costly errors. I once hired a professional for a complicated cabinet retrofit, and their precise work ensured my refrigerator’s optimal performance for years.
While many homeowners focus on choosing stylish materials or trendy hardware, they often miss a subtle yet critical aspect of built-in and custom cabinetry—their integration with overall space functionality. The common misconception is that aesthetics alone determine a successful remodel; however, the true game-changer lies in understanding how nuanced details affect long-term usability.
Contrary to popular belief, more customization isn’t always better. Many assume that filling every available nook with custom storage maximizes space, but in reality, over-customization can lead to cluttered, inefficient spaces. For instance, overly tailored storage may not adapt well over time or with changing needs. Expert architect Sarah Lewis emphasizes, "Flexible solutions that can evolve are more sustainable than rigid, over-engineered systems" (source: Modern Home Design, 2023).
The common trap: Overlooking material choices that affect durability and maintenance. Some believe that high-end finishes guarantee longevity, yet improper material selection can result in warping, chipping, or discoloration—especially in humid environments like kitchens. Opting for moisture-resistant veneers or finishes is crucial. For example, solid hardwoods versus MDF with veneer differ significantly in lifespan, which is often overlooked during initial design planning.
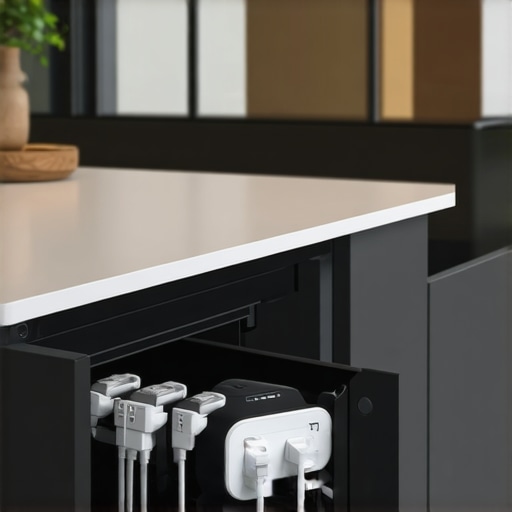
An often-ignored detail involves smart storage innovations. Integrating hidden compartments or vertical dividers can dramatically improve accessibility and reduce clutter, but many underestimate their importance. Integrating these nuances requires a combination of expert craftsmanship and strategic planning—elements that distinguish mediocre remodels from stellar ones.
Why is balancing aesthetics with practical storage solutions so complicated?
It’s because most homeowners and even some designers oversimplify the relationship between form and function. Without considering how doors open, how shelves are accessed, or how weight loads are distributed, even the most beautiful cabinets can become impractical. According to a recent study by the National Kitchen & Bath Association, spaces that blend style with ergonomic design see a 35% higher satisfaction rate among homeowners. Implementing features like soft-close hinges, toe-kick drawers, and adjustable shelves isn’t optional anymore; they’re essentials for modern usability.
Furthermore, avoid common mistakes like installing cabinets without accounting for door swing clearance or stacking too many shelves without considering weight limits. These pitfalls are easily preventable with careful measurement and consultation with experienced designers, such as those at Artifact Cabinetry.
To optimize your kitchen, look beyond surface appearances and dig into these nuanced details. They’re the secret to longevity, functionality, and style—turning your renovation from good to exceptional. Need professional advice? Reach out to experts to help you avoid costly errors and achieve seamless integration: Contact Artifact Cabinetry. And remember, the devil is in the details—don’t overlook them! Have you ever fallen into this trap? Let me know in the comments.
Maintaining your high-quality cabinetry and storage solutions requires more than occasional surface cleaning. Having the right tools and adopting specific methods can significantly extend their lifespan and keep them looking and functioning like new. One essential investment is a set of precision screwdrivers and a silicone spray lubricant, which I personally use to fine-tune hinges, tighten loose screws, and ensure smooth operation without causing damage. For cleaning, a microfiber cloth combined with a gentle, pH-balanced cleaner prevents buildup of dirt and grime, preserving finishes over time. Additionally, incorporating a digital level and a laser distance measurer during installation allows for perfect alignment, which reduces strain on hinges and slides, preventing sagging or jamming later on.
How do I maintain built-ins and custom cabinets over time?
Regular upkeep involves inspecting hinges, slides, and seals at least twice a year. I recommend applying a silicone-based lubricant to hinges and slides every six months; this keeps them moving effortlessly and prevents squeaks or squeals. For wooden surfaces, a high-quality furniture wax or oil restores luster and provides a protective barrier against moisture and temperature fluctuations. Using software like SketchUp helps you plan future modifications or expansions, ensuring your storage remains functional as needs evolve. Keeping dust and debris away from ventilation gaps is crucial; I clean these areas with compressed air cans and soft brushes, preventing obstructions that could impair long-term performance. In a rapidly changing market, emerging smart maintenance devices—like app-connected screws or sensors that monitor hinge wear—are on the horizon, promising even more proactive care. I predict that in the next few years, integrating such sensors into cabinetry will become standard, enabling homeowners to catch issues before they become costly repairs. For now, establishing a routine inspection schedule and stocking up on essential tools makes a significant difference. To get started with a simple upgrade, try applying a silicone spray to your hinges this weekend—you’ll notice the difference immediately! Need personalized advice or expert assistance? Reach out via our contact page for tailored recommendations.
Lessons That Changed My Perspective on Built-Ins and Storage
One of the biggest realizations I had was that aesthetics must never compromise functionality. A sleek cabinet might look stunning, but if it blocks ventilation or hampers usability, it defeats the purpose. I once installed a decorative panel that looked perfect but inadvertently restricted airflow around my refrigerator, leading to overheating. The lesson? Always prioritize airflow and accessibility over visual perfection.
Another insight was understanding the long-term impact of material choices. I initially opted for high-end finishes expecting durability, but I overlooked humidity resistance. As a result, some finishes started to chip over time. Selecting moisture-resistant materials for kitchen environments is crucial, a detail I now never overlook when planning custom cabinets.
Lastly, I learned that smart storage solutions aren’t just trendy—they can revolutionize your space. Hidden compartments and vertical dividers transformed my cluttered kitchen into an organized oasis. Investing in innovative storage ideas, like those explained here, can make a huge difference in how you experience your kitchen daily.