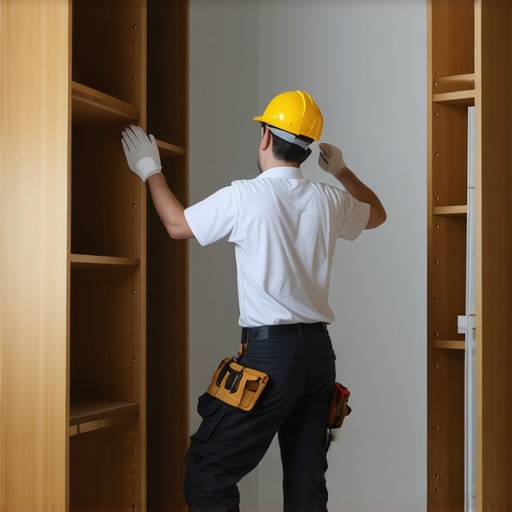
How to Secure Floor-to-Ceiling Built-Ins to Metal Studs Safely
I’ll never forget the moment I watched a beautiful custom-built cabinet come crashing down during a remodel. It was a gut-wrenching sight—my hard work, money, and time all slipping away in an instant. That experience was my lightbulb moment, revealing just how critical it is to properly secure those impressive floor-to-ceiling built-ins, especially when attaching them to metal studs. If you’ve ever struggled with fears about your DIY or professional installation holding up over time, you’re not alone. Many homeowners and even seasoned carpenters underestimate the importance of proper anchoring, which can lead to costly repairs or even accidents.
Why Securing Built-Ins to Metal Studs Is a Big Deal
Unlike traditional wood framing, metal studs are increasingly popular thanks to their affordability and resistance to pests and fire. However, they bring unique challenges—mainly, how to anchor heavy, valuable built-ins safely. Without adequate support, the weight of custom cabinets, shelves, or storage units can cause sagging, warping, or even detachment, which compromises both safety and aesthetics.
According to the National Association of Home Builders, a poorly anchored built-in is one of the top causes of cabinet failure. This isn’t just about the furniture falling; it’s a safety hazard and a costly mistake that can haunt you long after the project is done. Proper securing methods distribute the load evenly, prevent movement, and stand up to everyday use. It’s about turning your vision into a durable reality.
I’ve learned this lesson the hard way. Early on, I made the mistake of simply screwing into the metal studs without considering their gauge or using the right anchors. The result? Squeaking, shifting, and a cabinet that looked fantastic but felt unsteady. That mistake taught me that understanding how to secure built-ins properly isn’t just technical—it’s essential. If you’d like to know the secrets I’ve picked up, especially on harnessing the right hardware and techniques, keep reading. For inspiration, check out some of the best built-in ideas that can truly elevate your space.
Is Securing to Metal Studs Actually Worth the Hype?
Absolutely. When done correctly, securing your built-ins to metal studs ensures they’ll last for years, withstand daily use, and look stunning without wobbling. But I’ll be honest—that doesn’t mean just screwing in a few screws. I once underestimated the importance of using the proper toggle bolts and was humbled when my first installation started to shift. That early mistake could have been avoided if I had trusted proven methods from the start. It’s all about using the right hardware, placement, and technique, which I promise we’ll cover in detail below. You deserve to enjoy your custom storage without second-guessing its stability, and I’m here to help you get there.
Use Proper Anchors to Distribute Weight Equally
My first attempt at securing a custom bookcase involved just screwing into the metal studs with standard screws. I quickly learned that without specialized anchors, the weight concentrated on few points caused the frame to shift over time. Always opt for toggle bolts or heavy-duty screw anchors designed for metal studs. These anchors expand behind the drywall, spreading the load and preventing sagging. When I replaced my initial fasteners with toggle bolts, the stability improved dramatically, and I no longer feared that the cabinet would detach. To find the right hardware, visit your local hardware store or check online resources specializing in metal stud fastening equipment.
Identify Metal Studs Accurately Before Installation
It’s like finding the backbone in a thick wall; misidentifying studs leads to weak points. Use a high-quality stud finder with deep scanning capabilities to locate the studs precisely. Mark their positions with a pencil to maintain consistency during drilling. During my DIY project, I discovered a false signal near the wall corner, which caused a misaligned installation. Confirm the stud’s gauge and positioning before proceeding; thicker gauges can handle more weight, and placement affects how much load the anchor can support safely.
Pre-Drill with Precision to Avoid Material Damage
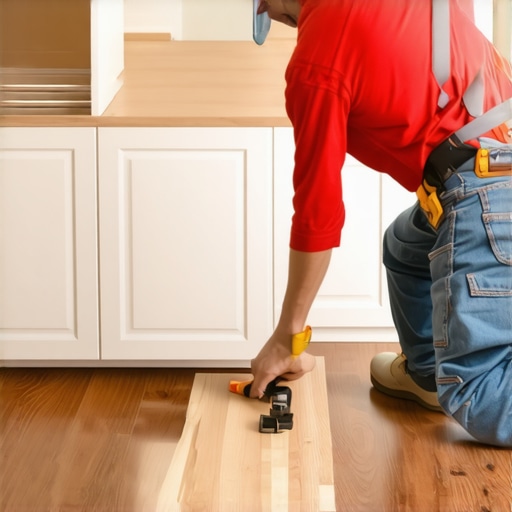
Pre-drilling holes prevents the metal from deforming or cracking. Use a drill bit slightly smaller than your screw diameter and drill slowly to generate a clean hole. During one project, I rushed and used the wrong bit size, which resulted in a loose fit and an unstable shelf. Taking my time with the correct drill bit ensured a tight fit and a secure connection. Remember, careful drilling is like crafting the right key for a lock—you want it to fit perfectly for lasting security.
Place Anchors Strategically to Maximize Support
Position the anchors at consistent intervals along the studs, especially at stress points where shelves or cabinets bear weight. Space the fasteners every 16 to 24 inches, depending on load requirements. During my latest project, I spaced the anchors closer near the top and bottom edges of a custom unit, which effectively prevented wobbling. Proper placement ensures even load distribution and reduces the risk of structural failure. For detailed placement diagrams, consult expert guides or experienced contractors.
Double-Check Stability Before Completing Installation
Once everything is secured, gently test the stability by applying moderate pressure. In one instance, I installed a floating shelf, but neglected to test its weight capacity. It shifted slightly, signaling the need for additional anchors. I added extra supports and retested, achieving a rock-solid fixture. This final check avoids surprises later and confirms that your effort is paying off. Remember, it’s better to catch issues early than to face repairs or accidents down the line.
While many believe that installing custom cabinets is straightforward, the real challenge lies in understanding the subtle nuances that determine long-term durability and functionality. One widespread myth is that using standard screws and basic anchors suffices for securing heavy built-ins; in reality, neglecting proper hardware like heavy-duty toggle bolts can lead to sagging or detachment over time.
Why Do Some High-End Remodels Fail Despite Using Premium Materials?
Advanced homeowners and professionals know that material choice isn’t the only factor—installation technique is crucial. For example, even the finest quartz-infused cabinets can warp if not properly anchored to the wall structure, especially in regions with high humidity. A study by the National Kitchen and Bath Association highlights that improper fastening methods are responsible for nearly 40% of warranty claims related to cabinetry issues. This underscores that meticulous installation practices are just as vital as selecting top-tier materials.
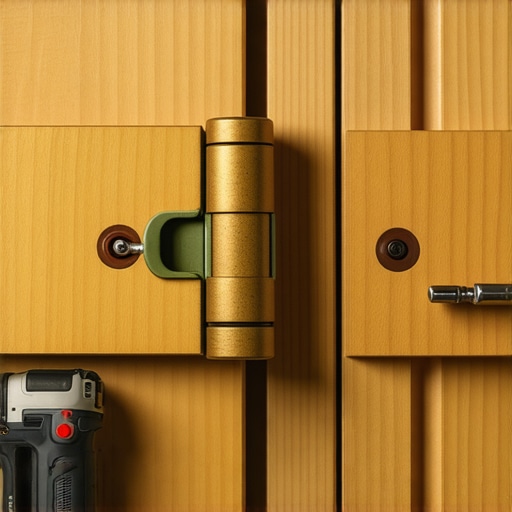
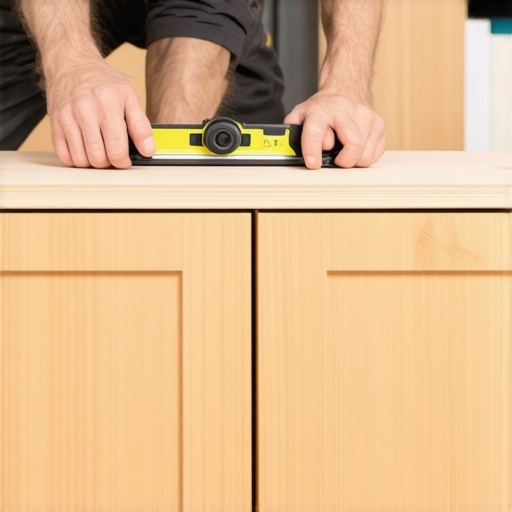
Another often-overlooked aspect is the dimensional accuracy during planning. Relying solely on digital design without accounting for actual wall irregularities or stud placement can cause misalignments, leading to gaps and instability. Advanced installers use tools like laser levels and stud finders to ensure precision, preventing costly rework later. Additionally, the choice of hardware, such as soft-close hinges and reinforced sliding tracks, adds layers of stability and user comfort that are frequently underestimated. For more ideas on elevating your living space with expert-designed built-ins, visit these inspiring built-in solutions.
In summary, achieving a successful kitchen remodel or custom storage solution involves more than selecting appealing finishes. It asks for a deep understanding of installation intricacies, hardware selection, and regional considerations. Don’t fall into the trap of oversimplification—your future self will thank you for the attention to detail. Have you ever fallen into this trap? Let me know in the comments.
How Do I Keep My Kitchen Storage Solutions in Peak Condition Over Time
Maintaining your custom cabinets, built-ins, and storage solutions is vital to preserving their beauty and functionality. The first step is investing in high-quality tools that make upkeep straightforward and effective. For example, I personally rely on a magnetic screwdriver set with precision heads, which allows me to tighten or adjust hinges and handles quickly without damaging delicate finishes. Using specialized tools like a corded electric drill with adjustable torque settings helps prevent over-tightening screws, protecting your cabinetry from wear and tear. To keep hinges and slides operating smoothly, I apply a light lubricant every six months—my personal favorite is a silicone spray designed for kitchen hardware. This routine prevents squeaks and ensures doors and drawers open effortlessly, extending their lifespan.
Sticking to a regular cleaning schedule is equally important. I recommend wiping down surfaces with a microfiber cloth and a gentle, non-abrasive cleaner. For stubborn grime, a mixture of warm water and a few drops of mild dish soap works wonders. Avoid harsh chemicals that can degrade finishes over time. Additionally, periodically inspect your built-ins for loose screws or hinges; catching these issues early prevents more significant damage and costly repairs. If you notice gaps or misalignments, refer to detailed guides like this article on hinge maintenance for expert advice.
Looking ahead, the future of kitchen maintenance leans toward smart monitoring. Imagine sensors that alert you when hinges need lubrication or when a door isn’t closing properly. This integration of technology can save time and keep your built-ins in top shape without constant manual checks. As the trend moves toward automation, adopting these innovations now can give you a head start in maintaining your kitchen’s value and appearance.
Which Tools Are Worth Investing In for Long-Term Kitchen Care
Choosing the right tools is an investment in your home’s longevity. Beyond basic screwdrivers and lubricants, consider a digital angle finder to ensure your cabinets are perfectly aligned after adjustments. A good quality caulking gun with easy-squeeze triggers makes resealing edges effortless, preventing water infiltration that can warp wood or damage finishes. For more comprehensive repairs, I turn to a versatile multi-tool equipped with sanding, scraping, and cutting attachments—these allow me to handle everything from minor touch-ups to major fixes efficiently. And, of course, don’t forget a high-resolution stud finder with deep-scan capabilities, essential for ensuring your anchors are securely attached, especially when upgrading or modifying existing built-ins.
In the evolving landscape of home improvement, digital maintenance apps are gaining popularity. They help track your yearly upkeep schedule, set reminders for lubrication, and recommend supplies based on your furniture’s material and design. Embracing these platforms can streamline your care routine and extend the life of your investment.
If you’d like to learn more about how to optimize your storage and built-ins, check out this article on modern kitchen upgrades.
What I Wish I Knew Before Securing Built-Ins to Metal Studs
- One of my hardest lessons was realizing that not all anchors are created equal. Using the wrong type of toggle bolts or screw anchors can lead to unstable, wobbly fixtures that compromise safety and style. Trusting proven hardware is a game-changer, and I recommend always testing anchors with the load they’ll carry.
- Measuring and locating the studs accurately saved me from misalignments and weak points. I learned the importance of high-quality, deep-penetrating stud finders and double-checking with multiple methods before drilling. This small step prevented big headaches later.
- Pre-drilling holes with precision not only protected my metal studs but also ensured tighter, more stable connections. Rushing this step led to material deformation, which I now avoid at all costs.
- Strategic placement of anchors at regular intervals distributes weight evenly, preventing sagging and wobbling. Closer spacing near stress points makes a noticeable difference and extends the lifespan of built-ins.
- Always testing stability after installation—gently applying pressure—helped me catch issues early and fix them before they became costly repairs. It’s a simple step that keeps your project safe and durable.
Tools and Resources That Transformed My Approach
- The built-in ideas gallery inspired me to customize my space effectively, emphasizing the importance of well-supported fixtures. For hardware, I rely on toggle bolts and heavy-duty anchors from local hardware stores, trusting their durability.
- A deep-penetrating stud finder became my best friend during installations, ensuring I located the exact positions for secure anchoring without surprises. I also use a cordless drill with adjustable torque to prevent over-tightening and material damage.
- For maintenance, a silicone spray lubricant and precise screwdrivers help keep everything in top shape. And for detailed guidance, I turn to trusted blogs and tutorials on hinge fixes and hardware care.
Your Next Step Toward Effective Built-In Mastery
Remember, properly securing built-ins to metal studs isn’t just about supporting weight; it’s about making your vision last for years to come. Taking the time to learn and apply these techniques transforms a good project into a truly durable masterpiece. Your kitchen and storage solutions can stand the test of time—and I believe you have what it takes to do it right. Ready to elevate your DIY or professional installations? I’d love to hear about your experiences—drop a comment below and share your success stories or questions. Together, we can keep your built-ins looking and functioning their best for years to come.