Stop Searching for Lids: 7 Vertical Dividers for Messy Deep Drawers
I remember the exact moment I realized I had a drawer problem. It was a busy Saturday morning, and I reached into my deep kitchen drawer for a spatula. Instead of the sleek, organized space I envisioned, I was met with a jumbled mess of utensils, lids, and random gadgets—a tangle that took me minutes to sort through. That lightbulb moment hit hard: I spent more time hunting for lids than actually cooking. Sound familiar? If you’re tired of wasting precious moments rummaging in your kitchen chaos, then you’re in the right place. Today, I’ll share a simple yet game-changing solution that helped me reclaim my drawer space and sanity.
Why Messy Deep Drawers Drive Us Nuts—and How Vertical Dividers Can Fix It
Is Organizing Drawer Lids Really Worth All the Hype?
Choose the Right Dividers for Your Needs
Start by assessing your drawer contents—are lids, utensils, or tools the main culprits? I once spent Saturday afternoon fitting adjustable vertical dividers into my deep drawer, only to realize I needed specific sizes. Measure your drawer’s depth and width carefully, then select dividers that fit snugly without forcing. Visit sites like this resource for ideas on versatile storage options. Having the correct dimensions prevents future frustration.
Remove All Items and Clear the Space
Before installing anything, empty your drawer completely. This is when I found a box of lost measuring tapes and a half-eaten granola bar—pro tip: clean as you go. Document what stays and what goes. Discard broken or outdated utensils to reduce clutter. Clearing out gives you a blank slate, making it easier to visualize your ideal organization. It also reveals hidden clutter that has built up over time.
Install Dividers and Test Fit
Place your chosen vertical dividers inside the drawer, spacing them based on your previous measurements. Don’t rush this step—gently adjust until each section feels firm and stable. I initially used a makeshift stack of cardboard, which toppled within hours; real dividers are worth the investment. After setting up, organize similar items together—lids in one section, utensils in another. This step transforms chaos into order and allows quick access to frequently used items.
Organize Items for Efficiency
Group items logically—think about your routine. Place frequently used lids near the front and larger gadgets towards the back. Use smaller clip-on dividers if needed for tiny utensils. One effective method I adopted was labeling sections with painter’s tape for quick recognition, especially when guests are over. The goal is to reduce the time spent searching and to keep everything visible at a glance. This approach mimics custom built-ins but at a fraction of the cost and effort.
Maintain and Adjust Over Time
Periodically revisit your drawer setup—every few months, especially after holiday seasons or big cooking weekends. I found that shifts in how I use my kitchen necessitated adjusting divider spacing. Keep a mental note of what isn’t working and be ready to tweak. Remember, the best organization system is one that adapts to your living habits, not the other way around. Incorporate small storage upgrades from this guide to continuously improve your space.
Many homeowners believe that opting for custom cabinets and built-ins guarantees a perfectly organized kitchen, but the truth is, the devil is in the details. Contrary to the common myth that bigger, more elaborate storage equals better organization, I’ve seen countless projects where overlooked nuances lead to frustration down the line. For example, choosing the wrong hinge type might cause cabinet doors to sag prematurely, despite premium materials. In fact, a study from the National Kitchen & Bath Association highlights that hardware failures account for over 30% of remodeling post-installation repairs, emphasizing the importance of hardware selection and installation accuracy.
Are We Overlooking the Hidden Pitfalls of Custom Cabinets?
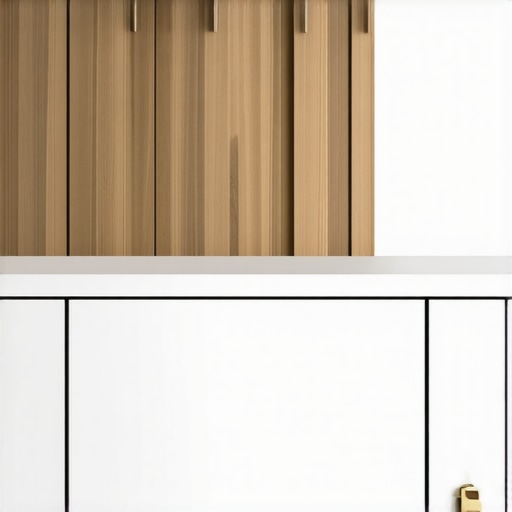
Visualize how strategic hardware placement and thoughtful interior configurations can optimize your kitchen’s storage capabilities, preventing common pitfalls and ensuring lasting satisfaction.
While it’s tempting to focus solely on aesthetics, paying attention to advanced nuance—such as vibration-resistant shelving or moisture-protected finishes—can dramatically enhance functionality. For example, integrating soft-close mechanisms not only prevents slamming but also reduces wear on hinges, a detail often overlooked but vital for durability. The idea is to think beyond the initial design and anticipate how your storage will perform in everyday use. Always get into the specifics—ask your contractor about hardware ratings, materials used, and installation techniques. For expert advice tailored to small kitchens or complex spaces, consider consulting specialists who understand the intricate balance between form and function. Want to ensure your investments last? Check our guide on quartz-infused cabinets for durability insights. Remember, successful kitchen remodeling hinges not just on choosing the right features but understanding how each element interacts over time. Have you ever fallen into this trap? Let me know in the comments.Maintaining an organized kitchen over the years requires the right tools and methods to stay ahead of clutter and functional challenges. Personally, I rely on a combination of high-quality hardware, innovative storage solutions, and software to keep my space performing at its best. One essential item I swear by is a digital measuring tape—I use the Bosch Digital Laser Measure for its precision and ease of use. This tool helps me verify dimensions accurately before installing custom cabinets or dividers, ensuring everything fits perfectly and reducing the need for costly adjustments later. When planning long-term storage, I turn to 3D design software like SketchUp, which allows me to simulate changes, visualize layouts, and forecast space needs before breaking ground—a proactive approach that saves time and money. For ongoing maintenance, I recommend using a soft cloth and gentle, non-abrasive cleaners like Simple Green to regularly wipe down hardware and surfaces, extending their lifespan and keeping finishes looking fresh.
How do I keep my kitchen functioning smoothly over time?
Less Is More When You Think You Need Everything
One of the most eye-opening lessons I learned was that simplicity beats complexity. Invest in a few quality vertical dividers instead of cluttering your drawers with too many small containers. Less clutter means more clarity—both mentally and physically—and helps you maintain your organization routine over time.
Sometimes, the Smallest Detail Makes the Biggest Difference
Choosing the right hardware, like soft-close hinges or magnetic spice rack inserts, can dramatically change how your kitchen functions daily. These nuanced upgrades prevent common frustrations like slamming drawers or hidden spice clutter, making your space more enjoyable and easier to use every day.
Patience Pays Off More Than Quick Fixes
Rushing through installation or stuffing things into makeshift compartments may seem faster initially, but taking the time to measure accurately, test fit, and tweak your organization system results in a space that truly works for you. It’s worth the extra effort for a kitchen that feels crafted, not cobbled together.
Embrace the Power of Smart Upgrades
Integrating sensory technology or customized storage ideas—like hidden appliance garages or sensor-activated hinges—may cost more upfront, but they elevate your kitchen from functional to extraordinary. These innovations save time and hassle, making your kitchen smarter and more adaptable for decades to come.
Trust the Process, Not Just the Products
Even the best tools and materials need proper planning and care. Regularly revisit your organization setup and be open to adjustments. The real secret is cultivating an ongoing relationship with your space—tuning, refining, and celebrating the little victories along the way. Need personalized guidance? You can reach out through our contact page.
Similar Posts
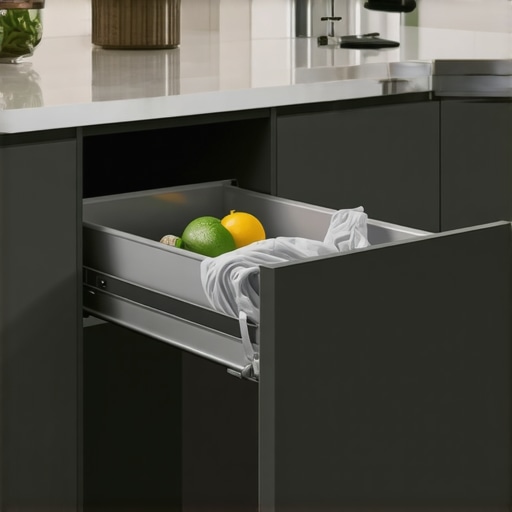
The Heavy-Duty Trash Pull-Out That Won’t Wobble When Full
One morning, I was rushing to toss away some spoiled food when I noticed my heavy-duty trash pull-out wobbling dangerously as it neared full capacity. The struggle to keep it steady felt like a small daily battle, and honestly, it was starting to frustrate me every time I needed quick access. That simple annoyance sparked…
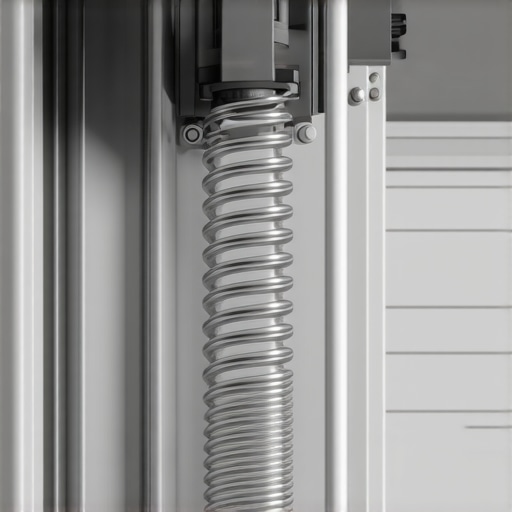
Why We Added Heavy-Duty Springs to Prevent Garage Door Cable Snaps
Why We Added Heavy-Duty Springs to Prevent Garage Door Cable Snaps Why We Added Heavy-Duty Springs to Prevent Garage Door Cable Snaps It usually starts with a sound that most homeowners mistake for a gunshot or a heavy object falling in the garage. That loud, metallic “bang” is the sound of a garage door component…
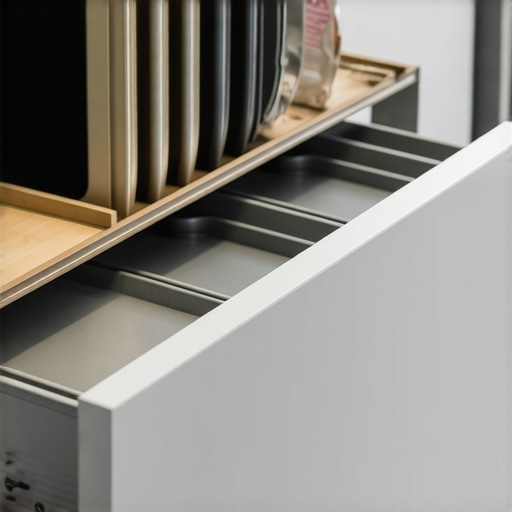
The Narrow Pull-Out That Finally Organizes Your Cookie Sheets
If you’ve ever reached into a cluttered cabinet only to hear that dreaded clatter of baking sheets tumbling to the floor, you know the frustration of inefficient storage. I remember one particular weekend—staring at my overflowing pantry, overwhelmed by the pile of mismatched cookie sheets and baking trays. That’s when I had my lightbulb moment:…
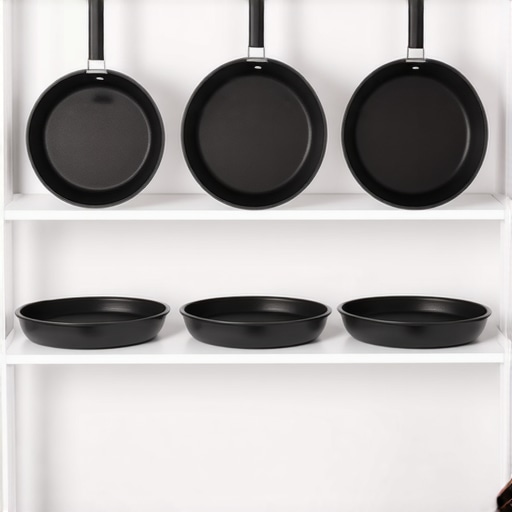
The Best Way to Store Cast Iron Skillets Without Scratching Your Shelves
I vividly remember the moment I realized my beloved collection of cast iron skillets was slowly damaging my cabinet shelves. It happened when I reached for my favorite pan and heard that dreaded scrape against the wood—one more scratch on what I thought was a sturdy shelf. That frustration hit me hard, and suddenly, I…
The Vertical Spice Pull-Out: Why It’s Better Near the Stove
I remember the exact moment I realized my spice cabinet was a disaster zone where half of my herbs and seasonings went to hide at the back, forgotten and stale. It was late one evening, trying to find that last-minute cumin, only to knock over a jar and make a mess I didn’t want to…