The Heavy-Duty Trash Pull-Out That Won’t Wobble When Full
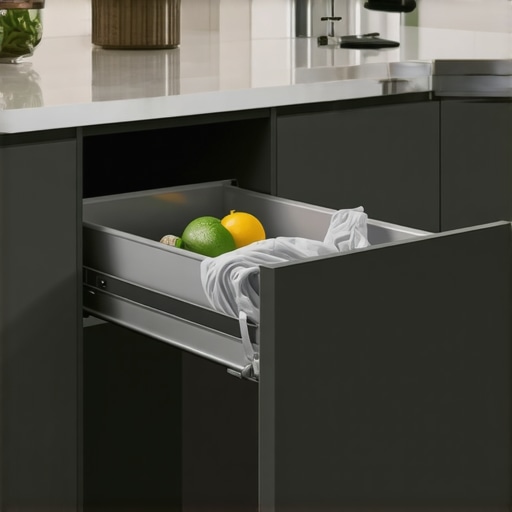
One morning, I was rushing to toss away some spoiled food when I noticed my heavy-duty trash pull-out wobbling dangerously as it neared full capacity. The struggle to keep it steady felt like a small daily battle, and honestly, it was starting to frustrate me every time I needed quick access. That simple annoyance sparked a lightbulb moment—there had to be a better way to ensure it stayed stable, even when overloaded. And let me tell you, after lots of experimenting and a bit of research, I discovered techniques that transformed my kitchen into a more functional space. Today, I want to share those insights with you, especially if you’ve faced the same wobble dilemma that turns what should be a quick toss into a shaky stunt.
Why Your Heavy-Duty Trash Pull-Out Keeps Wobbling and How to Fix It
Is It Really Worth the Effort? My Early Mistake Might Surprise You
Early in my kitchen remodel, I assumed that simply choosing a sturdy-looking pull-out system was enough. I overlooked crucial installation details, which led to persistent wobbling when full—a common complaint I later learned from fellow homeowners. The mistake? I didn’t consider the importance of proper drawer slides and secure mounting. After reading about the significance of high-quality hardware and correct installation techniques on [Artisan Cabinetry’s expert tips](https://artisancabinetworkz.com/expert-tips-on-selecting-storage-solutions-for-a-perfect-kitchen-upgrade), I realized that many issues stem from these overlooked details. Fixing this required a shift from assuming quality hardware alone would do the trick, to understanding that precise installation and reinforcement are key. So, if your heavy-duty trash pull-out is giving you grief, you’re not alone—and there’s a tangible solution waiting. Let’s dive into how to achieve a wobble-free experience, turning that shaky nuisance into a rock-solid component of your kitchen.
Reinforce Drawer Slides for Stability
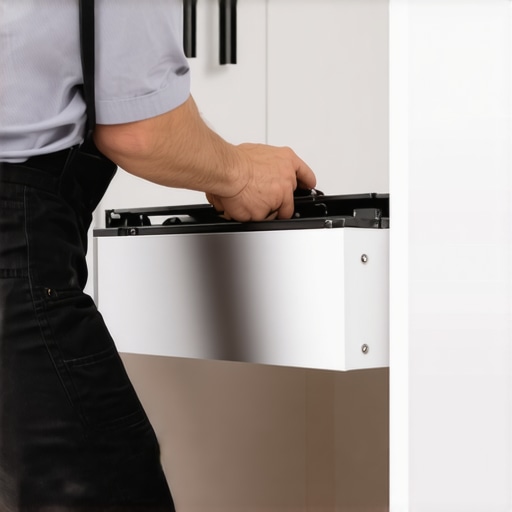
Start by removing the trash pull-out from the cabinet. Use a screwdriver to check the mounting screws; replace any that are stripped or loose. Next, upgrade to heavy-duty, ball-bearing drawer slides designed for loads over 100 pounds. During installation, align the slides precisely with the cabinet tracks, ensuring they are level and flush. I once replaced a set in my kitchen, which involved careful measuring and re-tightening, resulting in a solid, wobble-free pull-out that handled overstuffed trash cans without issue.
Secure Mounting Points and Reinforce Cabinets
Inspect the mounting brackets and mounting points. Use C-clamps to hold brackets in place while tightening screws. If mounting holes are enlarged or damaged, insert a wood filler and drill new pilot holes for a tighter fit. I found that adding a thin piece of plywood backing behind loose panels significantly enhanced stability. Reinforcing with brackets or corner braces at attachment points spreads the load and prevents wobbling, especially when the pull-out is full. For complex setups, consider consulting a professional or visiting expert tips on storage solutions for more guidance.
Use Proper Support and Reinforcement Techniques
Install metal angle brackets underneath the drawer slides for additional support. Attach them to the cabinet sides and the drawer bottom, ensuring they share the load evenly. For heavy-duty applications, consider adding a dedicated support rail or adding additional runners beneath the pull-out. When I revamped mine, I used L-brackets and wooden blocks to distribute weight, which dramatically minimized movement during operation. Remember, the key is to ensure that every connection is tight and that the cabinet structure can handle the weight.
Maintain and Adjust Regularly
After installation, test the pull-out with a full trash can. Adjust the screws and brackets as needed to eliminate any wobble. Regular maintenance, such as tightening screws and inspecting for wear, prevents future looseness. A quick check every few months kept my setup stable during busy weeks. For more advanced techniques and other ideas on customizing storage, explore custom cabinet ideas.
 While many homeowners believe that choosing high-end materials or trendy finishes will automatically lead to a perfect kitchen, the real nuance lies in understanding the intricate details of built-in storage solutions. A prevalent myth is that all custom cabinets are created equal—yet, in my experience, the quality of joinery, material selection, and installation precision makes all the difference in durability and functionality. Overlooking these facets can result in sagging shelves, misaligned doors, or even costly repairs later. For instance, some assume that universal hardware suits every application, but tailored hardware and bespoke reinforcement techniques often yield superior long-term stability, especially in high-use areas.
What on earth causes hidden weaknesses in seemingly flawless built-in designs?
One subtle mistake is neglecting load distribution—think of it like a house of cards; uneven weight distribution can compromise the entire structure over time. A study published by the National Kitchen & Bath Association emphasizes that detailed planning and understanding load points can drastically improve the longevity of your cabinets and storage solutions. Don’t fall into the trap of thinking that trendy design alone guarantees longevity. Instead, focus on the underlying craftsmanship and strategic reinforcement that ensures your storage remains functional and visually appealing for years. To get inspired with innovative ideas, explore custom cabinetry ideas that combine aesthetic appeal with structural integrity. Remember, investing in expert insight can prevent costly surprises and elevate your remodel from good to exceptional. Have you ever fallen into this trap? Let me know in the comments.Proper maintenance of built-in storage solutions and custom cabinetry ensures your kitchen remains functional and beautiful over the years. Investing in quality tools like magnetic screwdrivers and cordless drills with adjustable torque allows for precise, effortless adjustments that prevent loosening or misalignment. I personally rely on a high-quality, rotary multifunction tool to gently sand or refine edges during repairs or upgrades, saving me time and reducing the risk of damage. When it comes to software, CAD programs such as SketchUp or Chief Architect help me visualize custom cabinet layouts before construction, ensuring every detail fits perfectly—this proactive approach minimizes costly mistakes. Regular inspections, including checking door hinges, drawer slides, and sealants, are crucial. I schedule quarterly maintenance to tighten screws, lubricate moving parts, and reseal edges, which significantly extends the lifespan of storage solutions. Predicting future trends, I believe we’ll see smarter, sensor-activated storage options integrated with IoT technology, allowing for automated alerts when organization systems need attention or repair. For example, digital load sensors in drawers could notify you when a drawer is overloaded, preventing wobbling or structural issues.
How do I maintain my built-in storage systems over time?
Schedule routine checkups to tighten loose screws, lubricate moving components with appliance-grade lubricants, and replace worn seals or fittings promptly. Using recommended maintenance products, such as dielectric grease for hinges, helps prevent corrosion and squeaking. Additionally, consulting expert resources like artisan cabinet tips can give you tailored advice for high-traffic or heavy-use areas, reducing the need for frequent repairs. Embrace innovative tools like magnetic screw grabs—these tiny magnets make retrieving dropped screws effortless during adjustments—saving time and frustration. Moreover, considering future-proofing your cabinets with modular components mean you can swap or upgrade parts without the need for complete replacements, keeping your kitchen resilient over decades.
To try one advanced tip, I recommend investing in a cordless drill with variable speed and clutch control. This gives you the precision needed during delicate tasks like installing or adjusting built-ins, helping to avoid overtightening and damage. With the right set of tools and a proactive maintenance schedule, your custom kitchen storage can stay seamless and robust for years to come—a true testament to thoughtful design and diligent care.
Uncovering Hidden Pitfalls That Trip Up Even the Savviest Homeowners
One of the most eye-opening lessons I’ve gleaned from my renovation journey is that even the most stylish built-in solutions can falter without proper reinforcement and expert attention to detail. I once believed that trendy finishes alone would ensure longevity, but I soon realized that overlooked load distribution and mounting security could silently undermine my efforts. Realizing the importance of load calculation and strategic reinforcement has transformed my approach and saved me from costly surprises later on.
Tools and Resources That Turn Ambitions into Reality
The right tools and trusted sources have been game-changers for me. From using a high-quality rotary tool for precise adjustments, to consulting comprehensive guides like expert tips on storage solutions, I’ve built a robust toolkit that ensures every detail aligns perfectly. Additionally, books such as guides on custom cabinetry design offer inspiration and technical insights that elevate my work from basic to exceptional.
Harnessing Passion and Patience to Achieve Kitchen Excellence
Ultimately, embracing a proactive mindset combined with patience pays dividends. Regular maintenance checks, thoughtful adjustments, and staying curious about innovations—like smart storage integrations—keep my kitchen functional and beautiful over time. Remember, your built-ins and storage solutions are an investment in your home’s harmony. If you stay attentive to detail and leverage trusted resources, you’re well on your way to creating a space that’s not only stunning but built to last.