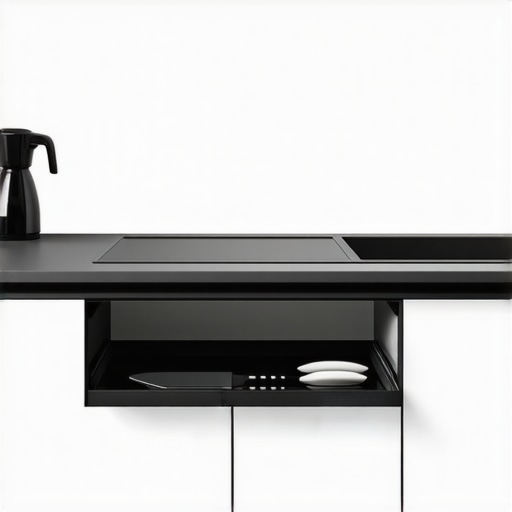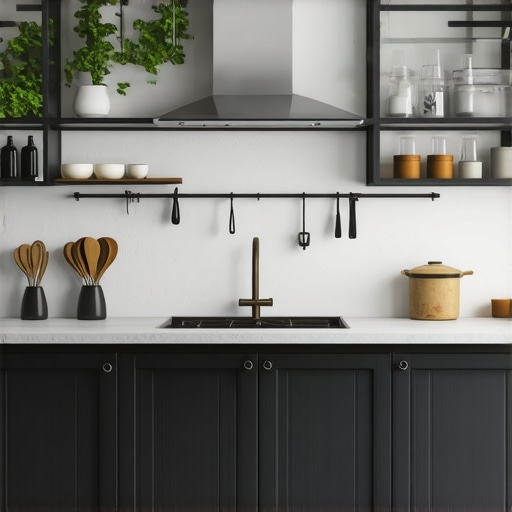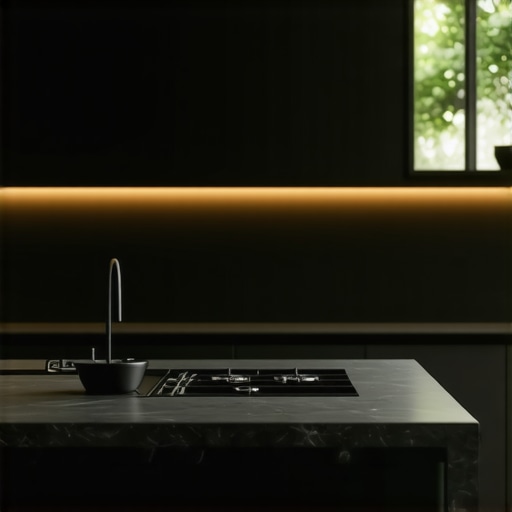
The Best Way to Finish the Visible Back of a Kitchen Island
I vividly remember a kitchen remodel I undertook a few years ago. Everything was coming together—stunning custom cabinets, state-of-the-art appliances, and a gorgeous new countertop. Yet, as I stepped back to admire my handiwork, my heart sank. The back of the island? It looked unfinished and just didn’t match the clean, tailored look I was aiming for. That lightbulb moment made me realize something important: the little details, like finishing the visible back of a kitchen island, can make or break the entire design.
Why the Visible Back of Your Kitchen Island Matters More Than You Think
In many kitchens, the island isn’t just a cooking or prep station—it’s often a focal point, a gathering spot, and sometimes even a visual separator. If the back of the island is left unpolished or mismatched, it can compromise the entire aesthetic. That’s why paying attention to this detail is crucial. A well-finished back can elevate your kitchen from nice to extraordinary, giving it a seamless, professional look.
But here’s the kicker: many homeowners overlook this aspect or simply don’t know how to approach it. I certainly wasn’t aware of the many options available when I first started. And if you’re like I was, you might be worried about adding unnecessary cost or complexity. Well, trust me, there’s good news—your options can be as sleek or as budget-friendly as you prefer.
So, today, I promise to guide you through the most effective ways to finish the back of your kitchen island. We’ll discuss expert tips, avoid common pitfalls, and share manageable solutions to achieve that flawless, polished look. Whether you’re building new or updating an existing island, these insights will help you craft a kitchen that truly looks complete.
Is a Fancy Finish Really Worth the Extra Effort?
Early in my project, I made the mistake of sticking with a simple plywood panel on the back, thinking it was enough. It looked okay at first, but over time, I regretted not investing in a better finish. Now I always recommend considering your overall kitchen style and budget before choosing your approach. From high-end cabinetry overlays to paint, veneer, or even wall panels, the options can dramatically change the look and feel. To learn more about maximizing your kitchen’s style and functionality, check out our post on built-ins and storage hacks.Are you currently facing this exact challenge? If so, keep reading—we’re about to dive into practical strategies that will transform your island’s back into a true design feature rather than an afterthought. Let’s get started!
Choose the Right Material for a Polished Look
Start by selecting a durable, attractive material that matches your kitchen’s style. I once used a high-quality veneer on my island’s back, which gave a seamless appearance. If you’re on a budget, painted plywood or MDF can be finished with a high-gloss or matte paint for a sleek effect. For a more upscale feel, consider custom cabinet panels or wall coverings—these can be cut to size and wrapped around the back for a custom fit.
Measure Precisely and Prepare Your Panel
Accurate measurement is key. Measure the width, height, and depth of the area, accounting for any curves or irregularities. I recommend snapping a chalk line on your panel to ensure straight cuts. Use a circular saw or a table saw with a straight edge guide for clean cuts. When I did mine, I initially mismeasured and had to recut twice; double-check all measurements before cutting to avoid wasted material and time.
Ensure Proper Support and Attachment
Securely attaching the panel prevents gaps and movement. Use construction adhesive suitable for your chosen material, along with screws or nails for mechanical fastening. I used clips hidden behind the panel to prevent visible fasteners. For larger panels, consider adding a wood frame or cleats along the top and bottom edges for extra support—this prevents sagging over time. Remember to pre-drill holes to avoid splitting the material.
Finish with Paint, Varnish, or Veneer
This step defines your project’s final look. Apply a primer if you’re painting, followed by two coats of high-quality paint or varnish. For veneer, use an iron-on adhesive and press firmly to eliminate bubbles. I once applied a dark stain and clear coat to match my cabinets, which transformed the entire look. Always sand lightly between coats for a smooth finish. Seal the surface to protect it from moisture and daily wear.
Seal and Protect the Surface
Weatherproofing your finished panel extends its lifespan. Use a clear polyurethane or lacquer for protection. I recommend a semi-gloss or satin finish to add a subtle sheen and hide fingerprints. After completing my project, I waited 24 hours before wiping it down, ensuring the finish was fully cured. This step is crucial for maintaining the polished appearance over years of use.
Pro Tip: Match Your Back Panel to the Rest of Your Kitchen
For a cohesive look, consider using the same finish or material as your cabinet doors or countertops. This consistency elevates your entire kitchen design. For inspiration, browse custom cabinet ideas that integrate well with back panels.
While it may seem surprising, many homeowners and even some designers overlook the nuanced pitfalls that can make or break a kitchen remodel involving built-ins and custom cabinetry. A prevalent myth is that more storage automatically translates to better functionality. In reality, poorly planned storage solutions can lead to cluttered spaces that hinder efficiency rather than enhance it. For instance, incorporating too many shallow cabinets or poorly accessible drawers often results in wasted space and frustration, contradicting the common belief that bigger is always better. Dive into expert insights and avoid classic mistakes by reviewing our post on innovative storage options.
Another trap many fall into is underestimating the importance of customizing built-ins to fit their unique space and lifestyle. Off-the-shelf solutions might seem tempting for their quick availability and lower cost, but they often fail to utilize space efficiently or meet specific needs. For example, a common mistake is neglecting to include accessible hidden compartments or specialized zones for wine, spices, or baking supplies. As expert designer John R. states, “Customization isn’t just about aesthetics; it’s about optimizing your workflow and daily routines”. For deeper strategies on tailoring your cabinets, visit ultimate guides to custom cabinets.
One aspect that often goes unnoticed is the subtle interplay between materials, finishes, and environmental factors, which can dramatically affect durability and appearance over time. For instance, some assume that high-gloss finishes are universally ideal for their sleek look, yet they can show fingerprints and scratches more visibly in busy family kitchens. Conversely, matte or textured finishes often hide these imperfections but might require different maintenance routines. An advanced consideration is the stability of certain veneers or laminates under fluctuating humidity and temperature, especially in climates with significant seasonal changes. The American Society of Interior Designers emphasizes the importance of selecting materials that align with both aesthetics and environmental conditions—more details are available in their resources on sustainable material choices.Regular maintenance is crucial to keep your custom kitchen cabinets and storage solutions functioning flawlessly over time. I personally rely on a few specific tools and software to ensure longevity and ease of adjustments. For instance, a high-quality cordless drill with adjustable torque settings is indispensable for tightening or replacing hinges without overdriving screws. I prefer the DeWalt DCD998 because of its ergonomic design and variable speed control, allowing precise work even on delicate surfaces. Additionally, a small laser level proves invaluable for aligning cabinets and floating shelves, ensuring everything stays perfectly straight long after installation. When it comes to software, I champion the use of cabinet design programs like SketchUp or 20-20 Design; they let me model changes virtually, so I can plan maintenance routines or future upgrades effectively. Once your system is designed digitally, it’s easier to identify potential wear points and plan preventative actions. As an industry trend, integration of smart monitoring sensors is on the rise, offering real-time alerts for humidity, door alignment issues, or hardware wear—these innovations promise to simplify long-term upkeep significantly.
Over the years, I’ve come to realize that the devil truly is in the details. Finishing the back of your kitchen island might seem minor, but overlooking this step can undermine even the most meticulously planned remodel. A seamless, polished back doesn’t just enhance aesthetics—it elevates your entire kitchen’s design and functionality.
Lessons from the Field: Surprising Truths About Kitchen Islands
- Small Details Have Big Impacts: I once skipped finishing the back of my island, thinking it wouldn’t be visible. Months later, the uneven edges and mismatched material became glaringly obvious, reminding me that perfection lies in the details.
- Match Materials for Cohesion: Using the same veneer or paint as your cabinets creates a unified look that feels intentional and professional—something I wish I had prioritized from the start.
- Proper Support Matters: Attaching panels securely with support cleats prevents sagging and gaps, saving headaches down the line. I learned this the hard way after a panel started warping over time.
- Finish with Intention: Whether it’s a high-gloss paint or a natural veneer, your choice of finish should reflect your style and lifestyle. High-traffic kitchens benefit from durable finishes that withstand daily wear, a tip I now never compromise on.
- Think Long-Term Maintenance: Sealing and protecting surfaces extend lifespan and preserve beauty. A simple polyurethane coating has kept my island looking pristine for years.
My Toolbox for a Flawless Back Panel
- Smart Storage Solutions: I depend on innovative storage ideas to maximize space, which also influence how I finish surfaces for durability.
- Custom Cabinet Guides: They offer insights into matching finishes and materials for cohesive aesthetics.
- Built-in Storage Hacks: Using built-ins can dictate your finishing choices, making the back more than an afterthought.
- Expert Design Tips: Learning from seasoned pros helps avoid common missteps and achieves a refined look.
Your Next Step Toward Kitchen Perfection
Remember, transforming your kitchen isn’t just about the big moments—it’s about perfecting those subtle touches that make a difference. Paying attention to the back of your island can turn a good remodel into a great one. Dive into our resources or reach out through our contact page for personalized guidance. Embrace the details, and your dream kitchen is within reach.
What small detail have you overlooked in your kitchen remodel that ended up making a big difference? Share your experiences below—I’d love to hear!