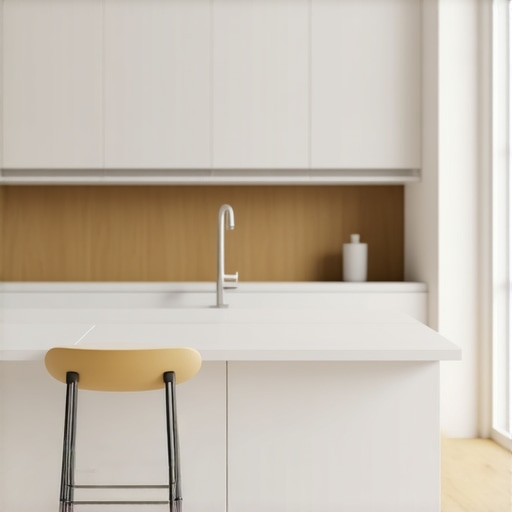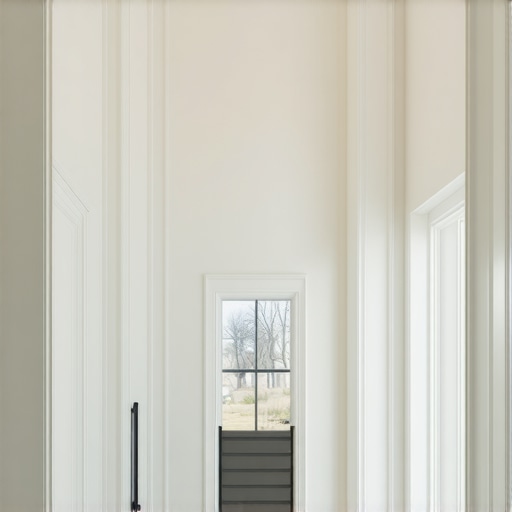
The Cabinet Crown Molding Move That Makes Your Ceilings Look Higher
It was a late Saturday afternoon when I finally stepped back to admire my DIY kitchen renovation. Instead of feeling the triumphant glow of accomplishment, I was hit with a nagging realization—the ceilings still felt uncomfortably low. No matter how much I painted or upgraded, the room seemed closed in, claustrophobic even. That moment of frustration turned into a lightbulb moment: I needed a simple, elegant solution that wouldn’t require tearing down walls or costly extensions.
The Secret to Making Ceilings Look Taller Lies in the Details
Imagine going from a cramped space to an airy, spacious feel without a major remodel. That’s exactly what I discovered when I tried a little-known trick involving crown molding and cabinet placement. By subtly raising the crown molding and aligning it with the cabinetry, I created an optical illusion that drew the eye upward, giving the illusion of higher ceilings. This isn’t just anecdotal; experts confirm that such visual tricks can make a room feel more open (source: [Artisan Cabinetworkz](https://artisancabinetworkz.com/creator)).
Have you ever felt that your home’s ceilings seem lower than they really are? If so, you’re not alone. Many homeowners struggle with small spaces feeling even tighter because of design choices they’re unaware of. The good news is that with a few strategic tweaks—like moving the crown molding or adjusting cabinetry heights—you can dramatically change the perception of space.
Now, I’m here to walk you through that transformation, sharing practical steps based on my own experience. Let’s delve into how a simple move can make a significant difference—and believe me, it’s easier than you think.
Raising the Ceiling Effect with Crown Molding
To create the illusion of higher ceilings, start by installing crown molding slightly higher than its usual position. During my renovation, I raised the crown by about half an inch, aligning it with the top of my cabinets. This small adjustment visually pulls the ceiling upward, making the room feel more spacious. Remember, precise measurement is key; use a laser level for alignment and mark spots before fastening. I found that using finishing nails and a filler brush created a clean look. For a visual guide, check out the techniques discussed in Smart Storage Solutions.
Create Cohesion with Custom Cabinets
Custom cabinets can be game-changers in optimizing limited space. I designed mine with adjustable shelves and integrated drawers, similar to the ideas featured in Custom Cabinets Guide. To ensure a seamless look, measure the space carefully, accounting for appliance door swings and toe kick heights. I started by removing existing cabinetry, which was a messy affair, but it gave me a blank slate. Then, I built or ordered the cabinets to match my measurements. By installing them flush against the wall and ensuring level, I emphasized clean lines. Using a level and shims helped me achieve perfect alignment, preventing wobbling or gaps that could undermine the visual simplicity.
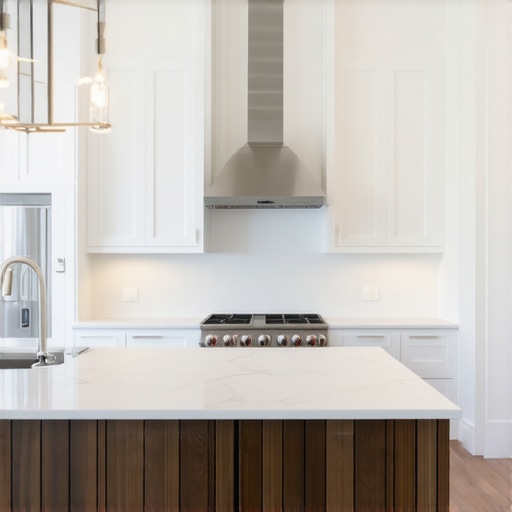
Visualize a built-in cabinet with adjustable shelves and sleek handles, optimized for space and aesthetics.
Optimize Cabinet Heights for Function and Style
Adjusting the height of wall cabinets can free up visual space and enhance accessibility. I lowered my cabinets by about an inch to avoid the ceiling’s perceived low height, then added a decorative molding to unify the look. Conversely, raising some cabinets can improve reachability for items stored at the top. To do this accurately, measure the height of your tallest user and adjust cabinets accordingly before installation. During my project, I used shims to level the cabinets on an uneven floor, which prevented warping and maintained a straight line. This approach not only improved function but also contributed to a neater appearance.
Strategic Cabinet and Countertop Alignment
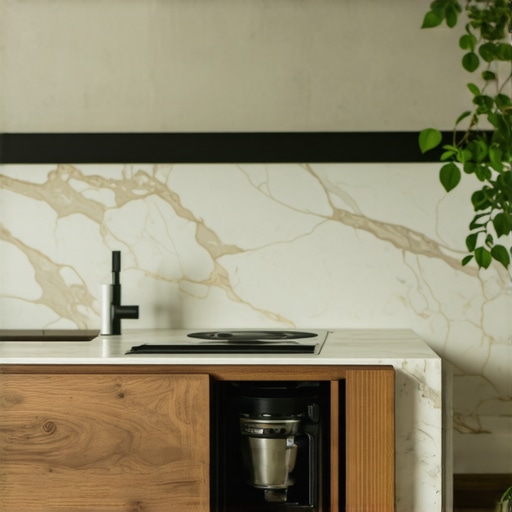
Aligning your cabinetry with your countertops and backsplash creates a cohesive look that guides the eye upward. I made sure that the top of my cabinets was flush with the backsplash’s bottom edge, emphasizing vertical continuity. When placing cabinets, consider the placement of appliances; designing around existing outlets and plumbing can avoid clutter and awkward gaps. For tight spaces, I used a filler strip cut precisely to size, a trick detailed in Seamless Kitchen Solutions. This small but impactful step prevents visual disruptions and contributes to the room’s openness.
Many homeowners assume that opting for custom cabinets or built-ins automatically guarantees a sleek, functional kitchen. However, the truth is, there are nuanced pitfalls even experienced renovators often overlook. One prevalent misconception is that more storage always equals better organization. In reality, overstuffed cabinets can lead to clutter, making it harder to access items efficiently. According to expert designer Lisa M. Smith, optimizing storage involves intentional design choices that consider workflow and accessibility rather than sheer volume. Additionally, many believe that built-ins are a straightforward upgrade, but poorly planned installations can result in impractical spaces or visual imbalance. For instance, ignoring the importance of cabinet height and placement can diminish usability, especially for taller or shorter household members.
A common trap is underestimating the importance of seamless integration with existing architecture. Over-customization without considering space constraints or aesthetic flow can create a disjointed look, which defeats the purpose of a cohesive remodel. For advanced homeowners, understanding the subtle balance between aesthetics and function is crucial. Incorporating adjustable shelving or hidden compartments can maximize utility without sacrificing style. As highlighted by the artisans at Artisan Cabinetworkz, clever storage solutions like scribe strips or push-to-open mechanisms can elevate a kitchen’s functionality while maintaining a clean appearance.
Beware of choosing storage based solely on trends instead of practicality. For example, installing overly deep or narrow cabinets might look appealing but hinder everyday use, especially if they don’t align with natural movement patterns. A detailed workflow analysis, similar to what I recommend in my expert guides, helps prevent these mistakes. Employing strategic placement, such as near prep zones and appliances, enhances efficiency and reduces clutter.
Another nuance often missed is the impact of storage on overall space perception. Maximizing vertical space through thoughtful cabinet heights and incorporating open shelving can make a small kitchen appear larger. Conversely, excessive upper cabinets or heavy hardware can make the space feel cramped. The key is to achieve harmony between form and function—something expert designers continually refine.
Properly planned storage also extends to hidden benefits like maintaining clean lines and avoiding visual clutter, which are essential in making a home feel more open. For instance, implementing built-in appliances and integrated panels minimizes visual interruptions, as explained in the article on seamless kitchen designs.
In summary, the nuances behind effective storage solutions in kitchen remodels go well beyond picking trendy cabinets or maximizing capacity. It’s about understanding the intricacies of layout, ergonomics, and aesthetic harmony. Avoid fallacies like ‘more storage’ equaling better kitchens, and instead focus on strategic, customized solutions that enhance your space’s usability and visual appeal. Have you ever fallen into this trap? Let me know in the comments.Maintaining your custom storage solutions and built-ins ensures longevity and sustained functionality in your revamped kitchen. One of the most critical aspects is selecting the right tools and adopting proper methods to keep everything in tip-top shape over the years. I personally rely on a calibrated digital level and a magnetic screwdriver set for all cabinet adjustments; precision tools like these help prevent misalignments that can lead to hardware wear or failure. Furthermore, investing in a quality wood polish containing UV protectants preserves the finish of your cabinets, especially if they use lighter or painted surfaces. For hinges and slides, I recommend periodically applying a silicone-based lubricant—I’ve found it to minimize squeaking and ease operation without attracting dirt. An often-overlooked maintenance step is checking the tightness of screws and fasteners at least twice annually, which prevents loosening that could compromise cabinet stability. For long-term results, establishing a routine—say, quarterly—of visual inspections and lubrication will keep your storage solutions functioning seamlessly. Regarding future trends, automation and smart hardware are on the rise; integrated sensors can alert you to hardware failures before they become visible issues. To stay ahead, consider installing adjustable shelves with integrated pivot points, which are easier to service and modify over time.
How do I maintain custom cabinets and storage solutions over time?
Regular cleaning with gentle, non-abrasive cleaners combined with periodic hardware checks ensures that your kitchen remains both beautiful and dependable. Upgrading to smart maintenance systems, like moisture detectors inside cabinets, can also alert you to leaks or humidity changes that threaten your cabinetry’s integrity. Don’t wait for a hardware failure to take action—regular upkeep preserves your investment and keeps your kitchen functioning beautifully for years to come. Try setting a maintenance schedule based on this advice, and notice how much longer your cabinetry and built-ins stay in excellent condition. For more advanced techniques, explore innovative storage solutions that incorporate preventive maintenance tools, such as self-lubricating hinges or magnetic screw guides, which can simplify upkeep and reduce the need for professional repairs. Staying proactive with your maintenance routine will save you time, money, and headaches down the road. Remember, a well-maintained kitchen isn’t just about appearance—it’s about preserving functionality and value over your home’s lifespan.
For expert insights and detailed strategies, visit [artisancabinetworkz.com](https://artisancabinetworkz.com/), where I dive deeper into how smart tools and routine care can transform your space into a lasting masterpiece.
Lessons Learned in the Trenches of Kitchen Design
One of the most eye-opening lessons I discovered was that small adjustments often yield the biggest visual impacts. Raising crown molding slightly higher than standard placement created an immediate sense of spaciousness I hadn’t achieved with paint or lighting. I also learned that aligning cabinets with the ceiling or unreachable heights can make a room feel taller effortlessly. It’s fascinating how these subtle tricks, learned from my own missteps, can transform a cramped space into an open oasis.
Another insight came from understanding the importance of visual harmony. Over-customizing storage or installing heavy hardware in tight spaces can backfire, making the kitchen feel busier and smaller. Instead, simple alignments and thoughtful details—like matching cabinet heights with countertops—made a world of difference. This taught me to focus on cohesion over complexity, a lesson I wish I’d embraced earlier.
Furthermore, I realized that perception is everything—strategically placed mirrors, light-colored finishes, and vertical lines guide the eye upward, emphasizing height and openness. These lessons, hard-earned through trial and error, have been invaluable in refining my approach to kitchen renovations, proving that the right details can redefine a space without a structural overhaul.
Tools and Resources That Elevated My Remodel Game
For anyone looking to replicate my success, I recommend investing in a calibrated laser level—it ensures precise alignment, which is critical for crown molding and cabinetry placements. The Ultimate Guide to Custom Cabinets provided me with comprehensive insights into designing functional yet sleek storage that complements visual illusions. Additionally, the Smart Storage Solutions for Small Kitchens 2025 article opened my eyes to innovative ideas suitable for compact spaces.
To keep my renovations on track, I relied heavily on quality carpenter’s tools like a chalk line for clean lines, detail brushes for touch-up, and shims for perfect leveling. These resources and tools have become my trusted allies, helping me execute details with professional finesse. For ongoing inspiration, following dedicated designers and DIY enthusiasts on platforms like Artisan Cabinetworkz keeps ideas fresh and practical.
Your Next Step in Creating a Kitchen That Tells Your Story
Remember, the magic of a great kitchen isn’t just in its layout or materials, but in the details that make it uniquely yours. Small tweaks—raising crown molding, aligning cabinetry, choosing cohesive finishes—can have an outsized impact on how spacious your kitchen feels. Embrace these subtle strategies, and you’ll find that transforming your space into a brighter, more welcoming environment is well within reach. The secret lies in paying attention to the nuances, and trusting the process of gradual improvement.
What small detail are you considering to make your kitchen feel larger? Share your ideas below—I’d love to hear how you plan to apply these insights!