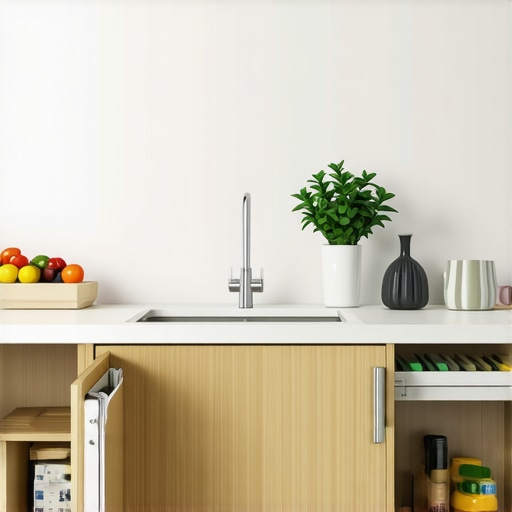
The Double Trash Pull-Out: Why One Bin is Never Enough
It hit me one chaotic morning: I was frantically digging through a single grimy trash bin, searching for my misplaced recycling bag, when I realized—this was just the beginning of my storage struggle. The one-bin approach might seem straightforward, but in reality, it’s a recipe for clutter, frustration, and wasted space. If you’ve ever faced the same mess, you know how quickly a single trash can can turn your kitchen into a battlefield of overflowing garbage and recycling bins spilling onto the floor.
Why the Single Bin Rule Just Doesn’t Cut It in Today’s Busy Homes
Managing waste shouldn’t feel like a daily scavenger hunt, but too often, a lone trash bin leads us straight to that frustration. Over the years, I’ve come to realize that the key isn’t just having a bin—but how many, where they’re placed, and how efficiently they serve our needs. The truth is, one bin rarely satisfies a household’s diverse recycling, composting, and waste needs. It’s all about maximizing space and making waste disposal seamless.
Stories from my own remodels reveal a common mistake: homes are built around standard storage—one size fits all. Early in my projects, I overlooked the power of multiple, well-placed trash and recycling pull-outs. It was only after I installed a double pull-out setup that I experienced a dramatic difference in kitchen tidiness and convenience. Want to learn how you can do the same? I’ll walk you through practical solutions tailored to your space.
Is Adding More Trash Bins Worth the Effort or Just Overkill?
I remember the initial skepticism from homeowners over installing extra waste bins. The concern? It might clutter the space further or become an eyesore. But here’s the thing—it’s a game-changer for efficiency and cleanliness. In fact, according to a study by the National Kitchen and Bath Association, clever storage solutions, including multiple waste containers, are among the top upgrades valued by homeowners.
A mistake I often made was underestimating the importance of incorporating these bins into custom cabinetry. Starting with a single, off-the-shelf bin seemed sufficient at first, but it quickly proved limiting. Read more about how **[custom cabinets can revolutionize your kitchen](https://artisancabinetworkz.com/custom-cabinets-as-a-game-changer-in-your-kitchen-remodel-journey)**—trust me, integrating waste management into these designs makes a world of difference.
So, if you’ve been battling the overflow and misplaced trash, you’re not alone. The good news? There are simple, stylish ways to double your trash capacity without sacrificing aesthetics. Let’s dive into those solutions next.
Plan Your Dual and Multiple Trash Compartments
Start by assessing your household’s waste habits. Identify how much space each type—recycling, compost, general waste—requires, and decide on the number of bins needed. For example, in my recent remodel, I allocated three compartments: one for recyclables, one for compost, and a small bin for general trash. This setup prevents overflow and keeps waste separate, simplifying disposal and cleanup.
Design Custom Cabinets to Fit Your Waste Strategy
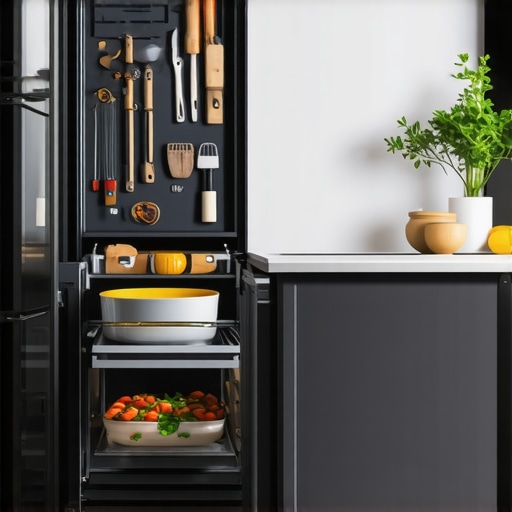
Instead of generic bins, opt for custom cabinetry that integrates compartments seamlessly. Use custom cabinets to match your kitchen’s aesthetic and maximize efficiency. For instance, I installed a double pull-out cabinet beneath the countertop with dedicated sections—each with a trash and recycling bin—built specifically for my kitchen dimensions. This prevents clutter and keeps waste containers hidden but accessible.
Utilize Built-In Auto-Closing Pull-Outs
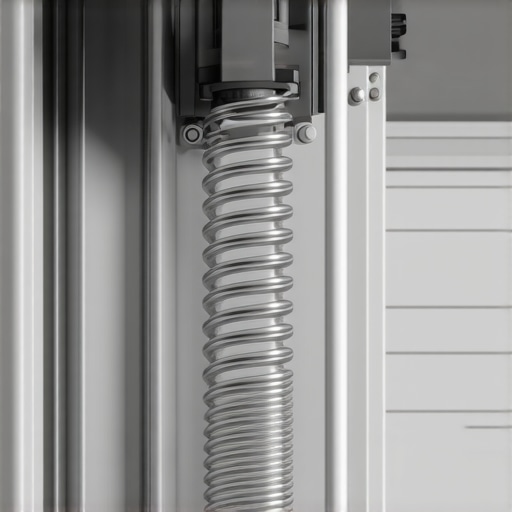
Integrate built-in pull-outs with soft-close mechanisms for smoother operation. The pull-out trays can hold adjustable bins that slide out easily for emptying. I used a heavy-duty steel frame for durability, ensuring the bins stay aligned and don’t jam over time. The process became quick: open the cabinet, pull out the tray, and discard waste without knocking over other items.
Maximize Space with Toe-Kick Storage Opportunities
Don’t ignore hidden spaces like the toe kick area. Installing a discreet toe-kick drawer can double your waste capacity without sacrificing aesthetics. I added a shallow drawer here for additional trash or cleaning supplies—it’s a hidden gem that recovered otherwise wasted space. For more creative ideas, see toe-kick storage tricks.
Implement a Smart Waste Management System
To streamline waste disposal, incorporate labels, adjustable dividers, and even sensor-operated bins if your budget allows. Use labels to specify bin contents, avoiding confusion—especially useful for recycling and compost. My setup included clear, durable labels and adjustable dividers, which I customized based on the size of my bins and typical waste flow. This proactive organization prevents messy overloads and keeps everything primed for quick disposal.
Maintain and Adjust for Evolving Needs
Regularly review your waste system’s performance. As your household grows or changes, tweak the number, size, and placement of bins. In my case, after a few months, I realized I needed an additional small bin for coffee grounds, leading me to modify the existing cabinet setup. Staying flexible ensures your storage solution evolves with your needs, avoiding clutter and inefficiency. For additional insights, review storage solution tips tailored for real homes.While many homeowners believe that opting for built-ins and custom cabinets guarantees a flawless, clutter-free kitchen, the reality is far more nuanced. A common misconception is that a one-size-fits-all approach or superficial customization suffices, but in my experience, the devil is in the details. For example, overly relying on off-the-shelf solutions might seem cost-effective initially, yet they often lead to wasted space and increased frustration over time. To truly maximize your space and functionality, every inch and every design choice must be carefully considered, integrating advanced storage solutions and bespoke details tailored to your habits and fixture placement.
What do most people overlook about the importance of detailed planning in kitchen storage?
One critical oversight is neglecting how storage gaps and poorly designed corner units can cause more trouble than they solve. Corner cabinets, especially, are notorious for dead space—yet many owners opt for standard lazy Susans without exploring more efficient options like magic corners or pull-out racks that optimize each angle. A study by the National Kitchen and Bath Association emphasizes that thoughtful corner storage increases usability by up to 80%, but many still settle for traditional solutions that leave compromise and clutter. Moreover, rushing into a custom cabinet project without understanding the intricacies of hardware quality or material durability can backfire, leading to costly repairs or replacements early in the cabinet’s life span. My warning? Always scrutinize the hardware grades and wood quality; otherwise, you’ll end up with a beautiful facade that doesn’t hold up under daily use. Additionally, many underestimate the value of continuous maintenance and flexibility in their storage systems. For instance, adjustable shelves or modular inserts can adapt to changing needs, preventing the obsolescence of your investment. Check out this post on how innovative storage solutions can redefine your space for both today and tomorrow. Remember, the goal isn’t just aesthetics but seamless function—so plan for real-world use, not just visual appeal. Have you ever fallen into this trap? Let me know in the comments.
To ensure your custom storage solutions and built-ins remain functional and beautiful for years, embracing the right tools and maintenance routines is crucial. Over my years of remodels, I’ve refined a set of specific instruments and methods that keep these investments performing optimally. Among these, a quality power drill with adjustable torque settings has become indispensable for tightening hardware and ensuring smooth operation without damaging delicate finishes. I personally prefer the DeWalt Impact Driver because of its durability and consistency, especially when installing or adjusting hinges and hardware in custom cabinets.
Another essential tool is a precision level and square. Regularly checking the alignment of doors, drawers, and shelving helps catch issues early before they turn into costly repairs. I swear by the Stabila Spirit Level for its impeccable accuracy, which is particularly useful when fine-tuning built-ins after installation. Remember, a misaligned shelf or door can cause uneven wear and diminished functionality over time.
Maintaining your storage systems also involves the right cleaning and inspection routines. A soft microfiber cloth, combined with a gentle, wood-safe cleaner like a non-abrasive cleaner, keeps surfaces looking pristine. Weekly wipe-downs prevent dust buildup, which can interfere with hardware and slide mechanisms. For hardware and hinges, a drop of graphite powder lubricant applied periodically ensures smooth operation without attracting dirt, avoiding the common mistake of using oil-based lubricants that can gum up over time.
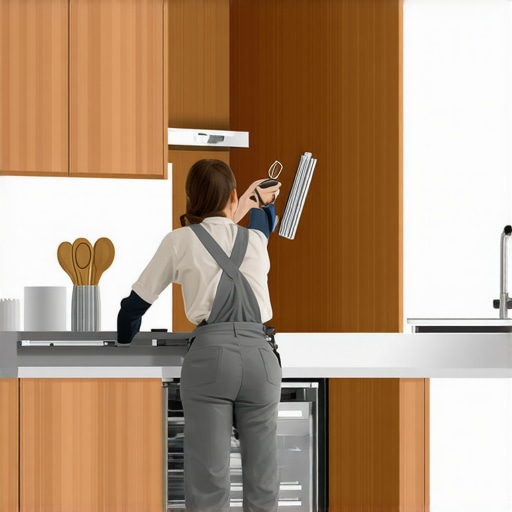
Investing in regular inspections is vital. Check for loose screws or hardware, especially after seasonal swings in humidity or temperature, which can cause wood to expand or contract. Tightening these swiftly prevents bigger issues like warped panels or misaligned doors. I recommend keeping a small toolkit with screwdrivers, a mini hammer, and replacement hardware for quick fixes that save both time and money.
Looking ahead, I believe smart maintenance will become more interconnected, with IoT-enabled hardware providing real-time alerts about potential issues. Imagine receiving a notification when a drawer roller starts to wear or hinges loosen—empowering you to act before problems escalate. Following expert insights like those from storage solution specialists can guide you in selecting hardware that supports this future-centric approach.
Don’t wait for a breakdown—try integrating a weekly check of all moving parts with a quick application of graphite lubricant. This simple step can drastically extend the lifespan and functionality of your cabinetry and storage solutions. Regular maintenance might seem tedious at first, but it’s an investment that ensures your beautiful remodel remains practical and reliable.
How can I maintain my built-ins to prevent long-term damage?
Regular inspections, gentle cleaning, and proactive hardware tune-ups are your best strategies. Use precise tools like a quality spirit level to catch misalignments early and keep everything operating smoothly. Remember, a little maintenance now saves costly repairs later—so make it part of your routine. For further tips on enhancing your kitchen’s durability, check out these advanced storage insights. Ready to take your maintenance routine to the next level? Incorporate a weekly hardware check and apply a quick lubricant—small steps that deliver big results in the longevity of your custom solutions.
Reflecting on my years designing and installing built-ins and custom cabinets, I’ve uncovered some hard-earned lessons that could save you time, money, and frustration. These insights go beyond the typical advice and delve into what truly makes a storage-focused kitchen thrive, turning a chaotic space into an organized sanctuary.
Where I Went Wrong with Basic Storage Solutions
Early in my career, I believed that installing a single trash bin or a standard lazy Susan would suffice. But recurring issues like overflow, awkward access, and wasted space taught me that these superficial choices often lead to larger headaches. It dawned on me that the real game-changer was designing storage that adapts to the household’s evolving needs—something I explore in detail here.
Personal Breakthroughs in Custom Cabinetry
The moment I started integrating multi-compartment pull-outs and discreet toe-kick drawers, my projects transformed. I realized that tailored cabinetry isn’t just about aesthetics but about efficiency, functionality, and longevity. Incorporating adjustable dividers, soft-close mechanisms, and hidden compartments has allowed me to create spaces that seamlessly serve their purpose while remaining elegant—a concept elaborated here.
The Cost of Cutting Corners and Why It’s a False Economy
One mistake I often see homeowners make is opting for off-the-shelf cabinets without considering hardware quality or custom fit. This often results in early wear and clutter buildup. From my experience, investing in high-quality hardware, precise measurements, and tailored solutions pays dividends in durability and user satisfaction. For insights on elevating your kitchen storage, check out expert tips.
The Hidden Power of Thoughtful Design Choices
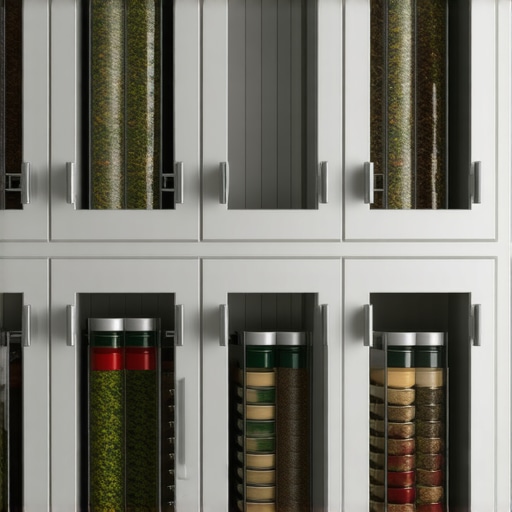
Designing built-ins isn’t just about picking pretty finishes; it’s about understanding human habits. For example, I discovered the value of integrating pull-out spice racks near the stove or installing corner magic corners to recover dead space. These small details cumulatively enhance everyday functionality and reduce frustration, a lesson I wish I’d learned sooner. This approach is detailed here.
My Practical Tips for Long-Term Maintenance of Custom Solutions
Years of hands-on experience taught me that regular inspections, gentle cleaning, and proactive hardware maintenance extend the life of your built-ins. I always keep a toolkit handy, including a precision level and a quality impact driver, to address issues before they escalate. Incorporating these habits ensures your investment remains beautiful and functional for decades. For more detailed maintenance routines, see these strategies.
Lessons Learned: Embrace Custom for Lasting Success
- Standard solutions often promise quick fixes but rarely address unique household needs—custom is worth the investment.
- Small hardware upgrades and thoughtful layouts dramatically improve usability and longevity.
- Never underestimate the value of ongoing maintenance; it’s the key to preserving your cabinetry’s beauty and function.
- Involving professionals early helps avoid costly mistakes and unlocks innovative storage solutions tailored to your space.
- Flexibility in design allows your kitchen storage to adapt as your needs change—stay open to adjustments.
Tools and Resources that Changed My Approach
Over the years, I’ve relied on specific tools and references that consistently produce results I trust:
- DeWalt Impact Driver: Durable, powerful, and precise, essential for assembly and adjustments.
- Stabila Spirit Level: Ensures perfect alignment, preventing future issues.
- Clean, wood-safe lubricants: Keep hardware operating smoothly without damage.
- Expert blogs and guides: Such as this resource, which continually inspire innovative solutions.
The Future Is Built-In and Custom
Moving forward, I encourage homeowners and designers alike to embrace the art of tailored storage and custom cabinetry. Think beyond the standard—think about the hidden potentials in every corner and every inch of space. Your kitchen is more than just a room; it’s a living, breathing hub that deserves thoughtful, durable, and beautiful solutions. Ready to dive into your next remodel? Take this lesson and start turning your space into a masterpiece of organization and style.
What’s the one storage challenge you’ve been avoiding? Share your experience below—I’d love to help you solve it!