The Glass Cabinet Lighting Strategy That Doesn’t Create Glare
I still remember the moment I flipped on the new cabinet lighting during my recent kitchen remodel and instantly regretted it. The glare was blinding—the light reflected harshly off the glass, making it impossible to enjoy my beautiful dishes or even see what was inside. It was a frustrating experience that made me realize many homeowners struggle with this common issue. If you’re tired of your glass cabinets causing reflections that distract from your decor or worse, make it hard to admire your collection, you’re not alone. Today, I’ll share my personal journey and the proven lighting strategy I discovered—one that beautifully illuminates your cabinets without creating annoying glare.
The Problem with Traditional Cabinet Lighting and Why It Matters
Designing a kitchen that’s both functional and visually stunning can be tricky. Especially when it comes to lighting. Many assume that bright, direct lighting is the way to highlight glass fronts. But as I learned early on, this often leads to unintended consequences—harsh reflections, glare, and a general feel of your cabinets competing with your space rather than enhancing it. According to lighting expert Marie Wright, improper under-cabinet lighting can create glare that not only hampers visibility but also causes eye strain over time. Her advice? “Lighting should compliment your design, not overpower or distract from it.”
What I overlooked at first was the importance of controlling light angles and choosing the right fixtures. My initial mistake was installing standard puck lights directly underneath the cabinets, which cast direct light into my eyes and reflected off the glass. It was a costly lesson in how poor lighting choices can sabotage even the most beautiful cabinetry. Eventually, I found a solution that transformed my kitchen into a warm, inviting space where the glassware glows softly without glare. If you’re facing similar frustrations, don’t worry. Solutions exist—and they’re easier than you might think.
Let’s dive into the practical steps I implemented, so you can enjoy your kitchen rather than battle with the lighting every time you walk in.
Adjust Your Fixture Angles for Gentle Illumination
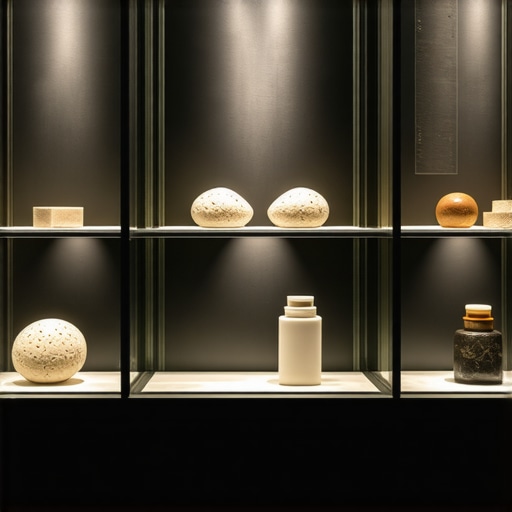
My mistake was installing puck lights directly beneath the cabinet, which cast harsh light into my eyes and reflected off the glass surface. To fix this, I repositioned the fixtures at a 30 to 45-degree angle aiming towards the backsplash, not directly into the glass. This way, the light softly bathes the contents without creating glare. When I did this during my kitchen refresh, the difference was immediate: a warm glow that highlighted my glassware without blinding reflections. Use a level and a flexible mounting bracket to fine-tune angles—small adjustments make big impacts. Learn more about smart lighting placements at smart storage solutions.
Choose Softer Light Sources to Reduce Reflection
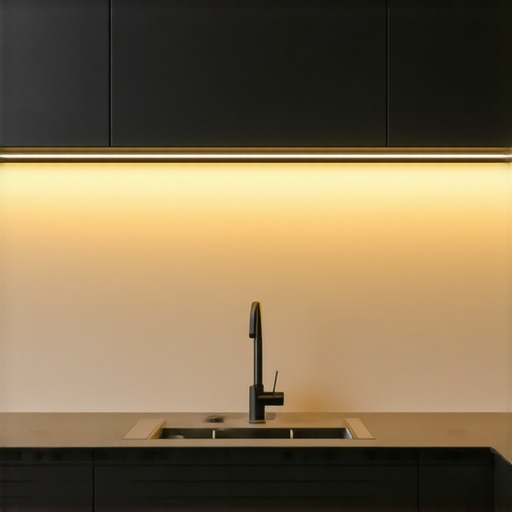
Switching to LED strips with a warm color temperature (around 2700K) helped me craft a cozy ambiance, unlike the stark white light I initially used. The key is selecting fixtures with diffusers or frosted covers that scatter light evenly, minimizing direct glare. I experimented with different bulbs on my workbench, practically tearing apart the wiring to test lighting effects—an admittedly messy process but essential for understanding what works. Consider using dimmable fixtures, so you can adjust the brightness and avoid any harsh spots. See how custom solutions can complement your remodel at modern kitchen remodels.
Implement Light Shelves or Baffle Systems
To diffuse the intense light from fixtures, I installed narrow shelves or baffle systems just below the lights. These act like mini shades, spreading light across the cabinet face rather than shooting it straight into the glass. During installation, I used scrap wood to prototype the shape and angle, testing the diffusion effect without committing to permanent fixtures immediately. This hands-on approach saved me from costly mistakes. When completed, the cabinets appeared more luminous and inviting. For innovative ideas on storage and lighting integration, check these hacks.
Limit Direct Exposure with Strategic Placement
I realized that some lights—like those placed right at the edges—still caused unwanted reflections. To fix this, I moved the fixtures inward and lowered their mounting height, which lessened direct view from the glass surface. Think of it like painting a room: sometimes, moving the light source away from the area you want to highlight reduces glare and creates even illumination. I also masked the fixtures with decorative valances, blending form with function. Integrate these techniques by exploring seamless solutions for a sleek look.
Test and Fine-Tune Before Finalizing
The iterative process was vital. I repeatedly adjusted angles, bulb types, and fixture heights during different times of the day, observing how natural and artificial light interacted. Marking positions with painter’s tape made it easier to revert to previous settings if needed. This experimentation paid off when I achieved a soft, glare-free glow that accentuated my cabinetry’s beauty. Remember, small tweaks yield substantial improvements—don’t rush the testing phase. For detailed guidance, visit expert storage tips.When embarking on a kitchen remodel, many homeowners focus on aesthetics and initial costs, assuming that selecting custom cabinets and built-ins guarantees a flawless space. However, even seasoned designers know that there’s a trap many get caught in: overlooking the nuanced details that determine long-term functionality and harmony. For instance, a common myth is that bigger is always better when it comes to storage. In reality, overbuilding storage can create cluttered, heavy-feeling spaces that complicate daily routines. Advanced homeowners understand that proportion, flow, and accessibility matter more than sheer volume, a principle well articulated by experts like the National Kitchen and Bath Association.
What Makes an Expert Storage Solution Different from a Hobbyist’s Approach?
The secret lies in the precise planning of interior mechanisms—like soft-close hinges, push-to-open latches, and custom dividers—that only seasoned craftsmen master. Ignoring these nuances often results in cabinets that look beautiful but are challenging to use—think stiff drawers or inaccessible corners. An overlooked mistake is choosing materials or finishes without considering durability in moisture-rich environments or high-traffic areas. For example, some homeowners opt for painted MDF for bathroom vanities, unaware that without proper sealing, it can swell or peel over time—highlighting the importance of material literacy. Backed by research from the University of California’s Urban Forestry program, wood species and finish types significantly impact cabinetry lifespan and maintenance requirements. This insight underscores the importance of aligning material choices with your home’s unique conditions. Double-checking your design against these expert tips can save you costly renovations later. Don’t rush your decision-making—becoming familiar with these advanced concepts empowers you to avoid common pitfalls. For more in-depth ideas, explore this expert guide on transforming kitchens with custom solutions. Remember, the devil is in the details. Have you ever fallen into this trap? Let me know in the comments.
Choose Longevity with Quality Tools and Techniques
Maintaining your custom cabinets and built-ins requires the right equipment and consistent care. I rely heavily on a few trusted tools that ensure my projects remain pristine over time. A high-quality electric drill with adjustable torque, for instance, helps me tighten hardware without stripping screws or damaging delicate finishes. For precision adjustments, I prefer a digital caliper—it’s invaluable for checking gap alignments and ensuring consistent spacing, especially when reassembling or tweaking cabinetry after initial installation.
Beyond tools, adopting specific maintenance methods extends the lifespan of your investments. Regular cleaning with gentle, pH-neutral cleaners prevents buildup and preserves finishes. Applying mineral oil or specialized cabinet polish every few months keeps wood components hydrated and resistant to cracking or warping. For high-moisture areas, I recommend using moisture meters to monitor humidity levels, thus preventing damage before it starts.
Effective Software to Design and Track Your Remodel
My workflow incorporates advanced design software like SketchUp, which allows me to model custom storage solutions in 3D. This visualization helps catch potential issues early—like clearance problems or awkward door swings—saving time and money. Additionally, project management tools such as Trello or Airtable help me track maintenance tasks, hardware replacements, and future upgrades. These digital records serve as a reference, ensuring long-term consistency and quality.
Preparing for the Future of Kitchen Customization
As technology evolves, so do the tools and techniques for maintaining and enhancing your kitchen. Emerging trends point toward smarter storage solutions integrated with IoT devices, enabling remote monitoring of humidity, temperature, or even alerting you when hinges need lubrication. Staying updated with industry innovations through resources like smart storage ideas for 2025 means you can future-proof your kitchen and keep it working flawlessly for decades.
How do I keep my kitchen functional over time?
Developing a regular maintenance routine is key. This includes inspecting hinges and slides every six months, tightening loose hardware, and resealing surfaces as needed. Investing in tools like a cordless screwdriver with a torque setting or a soft brush attachment for cleaning can streamline this process. Remember, small, consistent efforts pay off in preserving your cabinetry’s beauty and functionality. For personalized advice, don’t hesitate to reach out to professionals trained in custom solutions. Practice these tips, and watch your kitchen stay sleek and operational for years to come.
Lessons I Didn’t Expect About Installing Perfect Cabinet Lighting
- Invest in angled fixtures early on to avoid blinding reflections; I learned the hard way that direct, downward lighting can ruin the visual harmony of glass cabinets.
- Choosing warm, diffused LED strips transformed my space from harsh to inviting—sometimes, small changes in bulb temperature make all the difference.
- Diffusers and strategic light placement are your friends; don’t underestimate the power of stray shelves or baffles to gently scatter light and banish glare.
- Testing lighting at different times of day ensures your cabinets look stunning under all conditions—patience with adjustments pays off in long-term beauty and comfort.
- Remember that perfect lighting enhances your cabinetry’s elegance without drawing attention to itself—true expertise lies in subtlety.
Tools and Tips That Brought My Kitchen into the Future
- A flexible mounting bracket and digital level saved me countless headaches—precision is key when fine-tuning angles for glare-free illumination.
- Dimmable LED strips with frosted covers became my secret weapon for cozy yet functional lighting—embrace these features for tailored ambiance.
- Installing light diffusers and baffle systems was surprisingly straightforward, and it drastically reduced reflections—don’t skip this step.
- Using visual markers like painter’s tape during testing helped me remember ideal settings—small habits lead to big improvements.
- Consistent testing at various times helps you understand how natural and artificial light interplay, ensuring your cabinets always look their best.
Embrace the Details: Your Kitchen Will Thank You
Careful attention to lighting design is a game-changer for your kitchen’s ambiance and usability. The lessons I’ve shared stem from personal trial, but they’re rooted in understanding that genuine mastery comes from patience, experimentation, and a little bit of creative problem-solving. If you’re planning a remodel or just upgrading your current space, remember that the right lighting can elevate even the most beautiful cabinetry—transforming your kitchen into a warm, inviting hub everyone will admire. Want more expert insights or personalized advice? Reach out to seasoned professionals who can guide your journey to perfect kitchen lighting. Happy remodeling!