The Laser Level Trick for Hanging Upper Cabinets Perfectly Straight
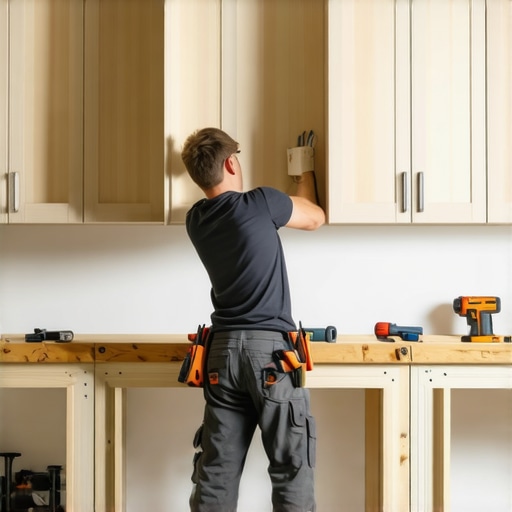
I still remember the sinking feeling in my chest back in 2012. I was standing in the middle of a beautiful kitchen remodel, holding my trusty four-foot spirit level against a brand-new run of upper cabinets. On paper, the bubble was dead-center. In reality? The cabinet doors looked visibly crooked, and there was an ugly, tapering gap right where the wood met the drywall. My hands were sore, my back was aching, and I realized I had just spent three hours mounting a heavy unit to the studs completely wrong. It was a classic rookie mistake, and it taught me a brutal lesson: traditional levels lie because human eyes fail when we try to align multiple points over a long distance. That painful afternoon drove me to throw away my old ways and embrace a game-changing tool: the self-leveling cross-line laser. If you have ever struggled to align cabinet doors when your walls are out of plumb, you know exactly how frustrating this process can be. Today, I am going to share the exact laser level trick that guarantees your uppers hang perfectly straight every single time, saving your sanity and your drywall. [image]
Traditional Levels are a Recipe for Crooked Kitchens
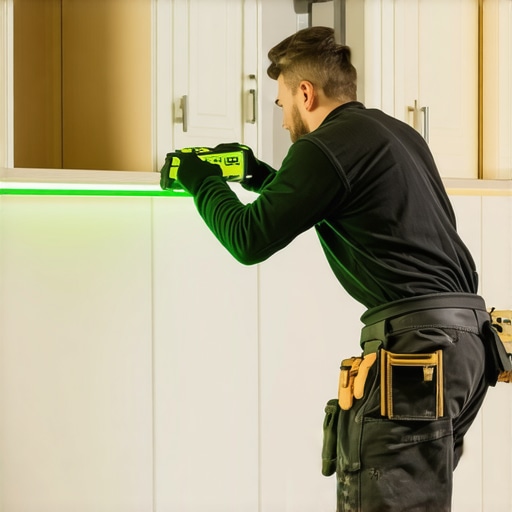
We tend to treat our bubble levels like sacred instruments of truth. But houses are not perfect boxes; floors sag, walls bow, and studs are rarely as flat as they look. When you try to install custom cabinets by drawing pencil lines with a standard hand level, those tiny, half-millimeter errors compound across a ten-foot wall. By the time you reach the end of the run, your cabinets are slanting down like a ski slope. In fact, professional builders often point out that a standard spirit level only measures the immediate area it touches, completely ignoring the larger shifts in your home’s structure. If you do not account for those shifts, even high-end built-ins and storage hacks will look cheap and misaligned. Using a laser level projects a continuous, hands-free reference line across your entire workspace, giving you a constant visual guide that does not rely on holding a heavy piece of metal against the wall with one hand while trying to drive a screw with the other.
Is a Laser Level Actually Worth the Extra Cash?
You might be wondering if you really need to buy another tool just to hang a few boxes. It is easy to think this is an unnecessary luxury meant only for high-end contractors. However, a quality self-leveling cross-line laser is the single best investment you can make for any home improvement project involving vertical alignment. It turns a stressful, two-person struggle of lifting, checking, and re-checking into a smooth, solo job. Have you ever tried to hold a fifty-pound cabinet box with one shoulder while squinting at a tiny green bubble in a dark corner? Drop a comment below and tell me I am not the only one who has suffered through that painful rite of passage! Let us get into how we can make this setup work for your home.
Map Your Wall Before Lifting Any Heavy Wood
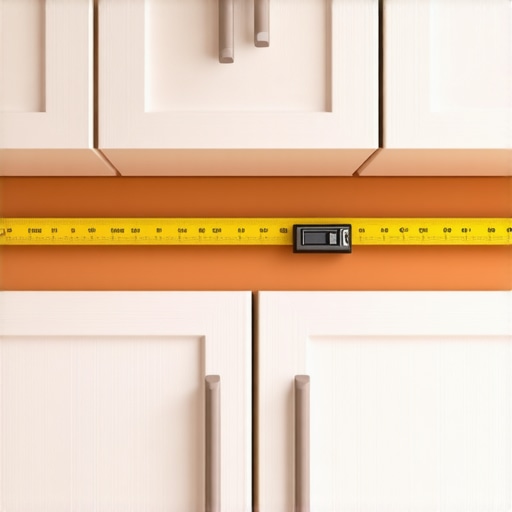
Before you ever lift a cabinet box, you need to map out the high and low spots of your floor and walls. Think of your kitchen walls like a wavy ocean; if you just slap cabinets against them, your installation will look like a ship lost at sea. To prevent this, place your self-leveling laser on a stable tripod and project a horizontal line across the entire room. Take a tape measure and check the distance from the laser line to the floor every twelve inches. The shortest measurement represents the highest point of your floor. This high point is your crucial baseline because you must always align your lower units to this peak, or you will end up cutting down your brand-new custom cabinets to fit.
Why Your Upper Cabinets Should Never Touch the Ceiling
I once worked on a tight, high-end kitchen remodel where the homeowner insisted we run the uppers flush against the drywall ceiling. I skipped mapping the ceiling slope, assuming the drywall was flat. Three hours later, we realized the ceiling sagged nearly an inch in the middle, making our gorgeous crown molding look completely crooked. That painful mistake is exactly why your upper cabinets should never touch the ceiling directly. Instead, use your laser level to project a line exactly three inches below the ceiling. This creates a consistent, level buffer space that you can easily fill with two-piece crown molding, hiding any ugly ceiling slopes or architectural imperfections.
Secure the Ledger Board to Take the Weight
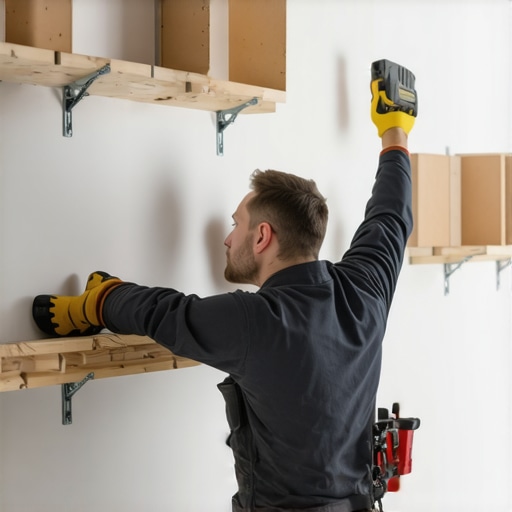
Trying to balance a heavy upper cabinet box on a single pencil line while searching for a wall stud is a quick way to damage your back and your drywall. Instead, use a temporary wooden ledger board. Align the top edge of a straight 1×4 wood strip precisely with your projected laser line and screw it directly into the wall studs. This temporary ledger acts like an extra set of hands, supporting the full weight of the cabinets while you focus entirely on driving your structural screws. When I was installing a massive set of storage units during a complex kitchen remodel, this technique saved my sanity; I simply rested the heavy boxes on the ledger, slid them into position along the laser path, and secured them without a single wobble.
Locate and Mark Your Studs Ahead of Time
Never rely on guessing where your wall framing is located when hanging heavy uppers. Use a reliable stud finder to locate the studs behind your drywall, and mark their centers clearly with a vertical pencil line that extends above and below the cabinet footprint. Because these vertical lines will be hidden by the cabinet backs, you will have a clear, continuous guide showing you exactly where to drill. If you are dealing with tricky corners, learning how to install a corner cabinet without losing access to the back will save you from covering up crucial attachment points. Once your studs are marked and your ledger is set, you can hang your entire run of uppers with complete confidence that they are anchored securely into solid wood.
When planning a high-end kitchen remodel, most homeowners focus entirely on aesthetics, assuming that modern hardware will solve any alignment issues. But in my years of correcting failed installations, I have learned that even the most expensive custom cabinets can be completely ruined by a single hidden nuance: micro-twisting of the cabinet chassis. Everyone says that a cabinet box is a rigid structure, but when you pull a box tight against a bowed wall, the cabinet carcass physically warps. This tiny twist prevents your doors from ever sitting flush, no matter how many times you adjust the 3D European hinges.
Why Do Perfect Measurements Still Lead to Sticking Drawers?
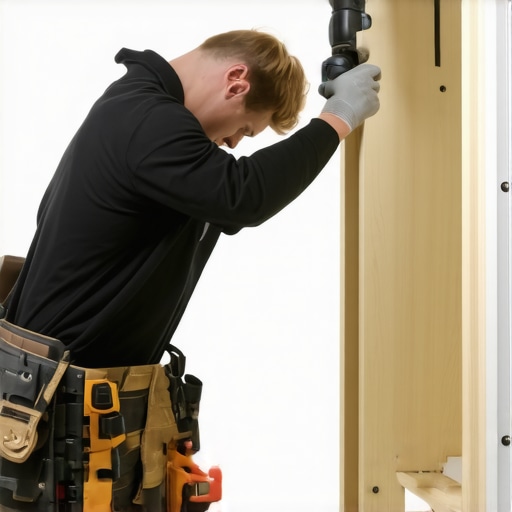
If you have ever secured your frames only to find that your premium soft-close slides feel sluggish or stick, you have likely fallen victim to structural racking. According to a study on wood structural engineering by the Forest Products Laboratory, wood structures remain highly susceptible to torsional forces when fastened under tension. When you crank down your installation screws against an uneven stud, the cabinet box deforms into a trapezoid. To prevent this, you must pack out the gaps behind the cabinet using tapered wood shims exactly where the mounting screw penetrates the drywall. Do not pull the cabinet to the wall; instead, use the shims to fill the void completely before tightening the fasteners. If you ignore this hidden step, your built-ins and storage hacks will constantly bind and wear out prematurely.
Another common trap is trapping your flooring. Many builders argue that you should install flooring throughout the entire room first to make installation easier, but trapping luxury vinyl planks under heavy base units restricts natural thermal expansion. This leads to buckling floors and separated cabinet seams down the road, which is why we always recommend installing your base units first. Have you ever fallen into this trap or struggled with sluggish drawers after a remodel? Let me know in the comments below, and let’s troubleshoot your alignment issues together!
What You Need in Your Toolbox to Avoid Costly Installation Errors
Over the years, I have seen too many homeowners spend thousands on a premium kitchen remodel only to execute the final installation with subpar tools. If you are investing in gorgeous custom cabinets ideas that transform your homes style, you cannot rely on a cheap plastic level or a basic cordless drill. My personal, non-negotiable setup includes the Bosch GLL3-330CG three-plane leveling laser. I prefer this specific green-beam laser because it projects a highly visible, continuous line that remains razor-sharp even in bright, sunlit rooms. Along with that, a set of heavy-duty cabinet claw clamps is crucial. These clamps align the face frames of two adjacent units while pulling them perfectly flush, allowing you to pre-drill and join the face frames together without any shifting.
How Do I Maintain My Custom Cabinetry Alignment and Hardware Over Time?
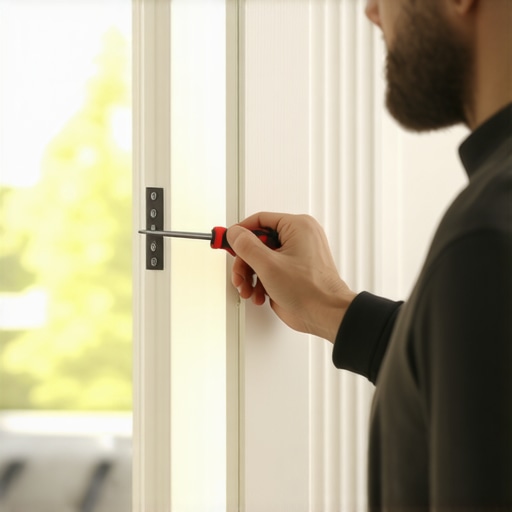
Once your modern kitchen remodels featuring custom cabinets and built-ins are complete, physical shifts are inevitable. Houses settle, and wood naturally swells or shrinks as seasons change. For example, wood doors react strongly to humidity fluctuations, causing slight misalignments. To keep everything functioning flawlessly, you should perform an annual maintenance check. Grab a PoziDriv screwdriver (which is the industry standard for adjusting Blum and other premium European cabinet hinges) and adjust the side, depth, and height screws on your hinges to re-center any doors that have begun to sag. Additionally, checking that your soft-close mechanisms are clean and free of dust will prevent them from becoming sluggish during the colder months.
The Future of Smart Interior Structural Hardware
As we look to the future of home design, cabinetry is becoming far more integrated with advanced technology. We are already seeing a massive shift toward hidden charging stations, integrated task lighting, and motorized, touch-to-open servo-drive systems. In the coming years, I predict that structural hardware will evolve to include self-adjusting tension systems that actively compensate for foundation settling, preventing stuck drawers and warped frames automatically. This technological shift makes planning your layout early even more critical. If you are just starting your design journey, focusing on smart storage ideas to maximize your kitchen space this year will help you anticipate these electrical and structural needs before the drywall ever goes up.
My advice is to stop guessing with your spirit level. Go grab a high-quality self-leveling laser level and use the temporary ledger board technique on your next project. It is an absolute game-changer that turns a stressful weekend struggle into an incredibly satisfying, professional-grade installation.
When planning a high-end kitchen remodel, most homeowners focus entirely on aesthetics, assuming that modern hardware will solve any alignment issues. But in my years of correcting failed installations, I have learned that even the most expensive custom cabinets can be completely ruined by a single hidden nuance: micro-twisting of the cabinet chassis. Everyone says that a cabinet box is a rigid structure, but when you pull a box tight against a bowed wall, the cabinet carcass physically warps. This tiny twist prevents your doors from ever sitting flush, no matter how many times you adjust the 3D European hinges.
Why Do Perfect Measurements Still Lead to Sticking Drawers?
If you have ever secured your frames only to find that your premium soft-close slides feel sluggish or stick, you have likely fallen victim to structural racking. According to a study on wood structural engineering by the Forest Products Laboratory, wood structures remain highly susceptible to torsional forces when fastened under tension. When you crank down your installation screws against an uneven stud, the cabinet box deforms into a trapezoid. To prevent this, you must pack out the gaps behind the cabinet using tapered wood shims exactly where the mounting screw penetrates the drywall. Do not pull the cabinet to the wall; instead, use the shims to fill the void completely before tightening the fasteners. If you ignore this hidden step, your built-ins and storage hacks will constantly bind and wear out prematurely.
Another common trap is trapping your flooring. Many builders argue that you should install flooring throughout the entire room first to make installation easier, but trapping luxury vinyl planks under heavy base units restricts natural thermal expansion. This leads to buckling floors and separated cabinet seams down the road, which is why luxury vinyl plank should not be trapped under your base cabinets. Have you ever fallen into this trap or struggled with sluggish drawers after a remodel? Let me know in the comments below, and let’s troubleshoot your alignment issues together!
What You Need in Your Toolbox to Avoid Costly Installation Errors
Over the years, I have seen too many homeowners spend thousands on a premium kitchen remodel only to execute the final installation with subpar tools. If you are investing in gorgeous custom cabinets ideas that transform your homes style, you cannot rely on a cheap plastic level or a basic cordless drill. My personal, non-negotiable setup includes the Bosch GLL3-330CG three-plane leveling laser. I prefer this specific green-beam laser because it projects a highly visible, continuous line that remains razor-sharp even in bright, sunlit rooms. Along with that, a set of heavy-duty cabinet claw clamps is crucial. These clamps align the face frames of two adjacent units while pulling them perfectly flush, allowing you to pre-drill and join the face frames together without any shifting.
How Do I Maintain My Custom Cabinetry Alignment and Hardware Over Time?
Once your modern kitchen remodels featuring custom cabinets and built-ins are complete, physical shifts are inevitable. Houses settle, and wood naturally swells or shrinks as seasons change. For example, wood doors react strongly to humidity fluctuations, causing slight misalignments. To keep everything functioning flawlessly, you should perform an annual maintenance check. Grab a PoziDriv screwdriver (which is the industry standard for adjusting Blum and other premium European cabinet hinges) and adjust the side, depth, and height screws on your hinges to re-center any doors that have begun to sag. Additionally, checking that your soft-close mechanisms are clean and free of dust will prevent them from becoming sluggish during the colder months.
The Future of Smart Interior Structural Hardware
As we look to the future of home design, cabinetry is becoming far more integrated with advanced technology. We are already seeing a massive shift toward hidden charging stations, integrated task lighting, and motorized, touch-to-open servo-drive systems. In the coming years, I predict that structural hardware will evolve to include self-adjusting tension systems that actively compensate for foundation settling, preventing stuck drawers and warped frames automatically. This technological shift makes planning your layout early even more critical. If you are just starting your design journey, focusing on smart storage ideas to maximize your kitchen space this year will help you anticipate these electrical and structural needs before the drywall ever goes up.
My advice is to stop guessing with your spirit level. Go grab a high-quality self-leveling laser level and use the temporary ledger board technique on your next project. It is an absolute game-changer that turns a stressful weekend struggle into an incredibly satisfying, professional-grade installation.
The Hardest Lessons I Learned Hanging Custom Box Cabinets
- Wall waves always win if you do not shim: No matter how sturdy the plywood is, forcing a straight cabinet box flush against a bowed wall bends the frame. This warps your drawer runners and ensures your cabinet doors will rub forever.
- Never trust your eyes on a long run: Over fifteen feet of wall, even a tiny bubble variance translates to a massive drop. That is how to align cabinet doors when your walls are out of plumb safely: rely entirely on the continuous green laser line, not human sight.
- The ledger board is your best friend: Trying to hold up a heavy upper cabinet while searching for a stud is a recipe for physical disaster. Screw a scrap piece of 1×4 to the stud line first to bear the load while you work.
The Real-World Toolbox for Laser-Sharp Cabinet Installs
For DIYers and pros alike, the right gear is what stands between an agonizing afternoon and a flawless kitchen finish. Here are the tools I trust every day:
- Bosch Green-Beam Three-Plane Laser: Green light is dramatically easier for the human eye to track in well-lit rooms compared to red lasers, ensuring you do not lose your baseline.
- Besseys Cabinet Claw Clamps: These unique dual-purpose clamps pull face frames tight while keeping their front faces perfectly flush with each other.
- FastCap Tapered Shims: Unlike brittle pine shims that split when a screw hits them, composite shims allow you to pack the void behind your cabinet box cleanly without crumbling.
Take the Leap and Elevate Your Space
Hanging your own custom cabinetry can feel intimidating, but taking the time to map your walls, set a physical ledger, and trust a self-leveling laser removes all the guesswork. Your home deserves structural perfection, and with these steps, you can achieve a flawless, professional finish that stands the test of time. Take a deep breath, gather your tools, and tackle your next custom cabinets as a game-changer in your kitchen remodel journey with complete confidence.
Have you ever struggled to align your cabinet doors because of wonky walls? Let me know in the comments below!