How to Align Cabinet Doors When Your Walls Are Out of Plumb
I remember the first time I tackled a serious kitchen remodel. I had these beautiful, crisp built-ins ready to go, and I assumed—naively—that the corner I was fitting them into was a perfect 90 degrees. Spoiler alert: it wasn’t. It wasn’t even close. I spent four hours swearing at a set of hinges before I realized the wall was leaning away from me like it was trying to dodge a punch. If you’ve ever felt that sinking feeling in your gut while looking at a wonky door reveal, you’re in the right place. We’re going to fix those gaps today without tearing down your drywall. Have you ever spent an entire afternoon fighting a single cabinet door only to have it still look crooked? Drop a comment or reach out via our contact page because I’ve been there too. [IMAGE_PLACEHOLDER]
Stop Fighting Your Walls and Start Using These Shimming Tricks
The biggest lie in home improvement is that walls are straight. They aren’t. In fact, according to the National Association of Home Builders (NAHB), residential standards allow for a vertical wall to be out of plumb by up to 3/8 inch over a short distance and still be considered “acceptable.” When you are trying to install custom cabinets, that 3/8 inch might as well be a mile. I made the classic rookie mistake of trying to force a cabinet box to sit flush against a bowed wall by cranking down the mounting screws. All I did was warp the cabinet box, ensuring the doors would never, ever align properly. You have to let the cabinet sit level and plumb, regardless of what the wall is doing behind it. This usually means mastering the proper way to shim cabinets and accepting that there will be gaps you’ll need to cover with molding or scribe later.
Is it even possible to get a professional look in an old house?
I hear this all the time from folks living in charming, century-old homes where the floors slope and the walls wave. The answer is a resounding yes, but it requires a change in perspective. You aren’t just “hanging doors”; you are performing a delicate dance of micro-adjustments. Sometimes, the fix is as simple as a 5-minute hinge adjustment to account for a slight tilt. Other times, you have to look at the foundation of the install. If your wall cabinets are pulling away from the drywall, no amount of hinge turning will save your sanity. We need to look at why the box is twisting and how to neutralize that “out of plumb” nightmare before the doors even touch the hinges.
Find Your Floor’s High Point Before Touching a Drill
The first step is always hunting down the highest point in your kitchen floor. I once ignored a 1/4-inch hump near a dishwasher run, and by the time I reached the end of the wall, my countertop was so slanted that a grape would have hit terminal velocity rolling off the edge. This is why the proper way to shim cabinets on a high spot in the floor is the first lesson you need to learn. You start at the peak and work your way down, shimming the “low” cabinets up to match the “high” one. If you start at the low end, you’ll eventually find yourself trying to bury a cabinet into the subfloor, which—spoiler—doesn’t work.
Clamp the Boxes Together for a Seamless Face Frame
Before you even think about driving a screw into the wall, you need to join your cabinet boxes together. This is where most DIYers fail. They screw one box to the wall, then the next, and wonder why there is a 1/16-inch gap between the face frames. Instead, clamp the two face frames together so they are perfectly flush and level. This creates a monolithic unit that resists warping. While you’re at it, remember that why your cabinet boxes should be stapled, glued, and screwed matters; if the box itself is flimsy, no amount of clamping will keep it square during the install.
Use Three-Inch Screws to Fight Gravity
Once the boxes are joined, it’s time to hit the studs. Do not reach for those cheap 1.5-inch drywall screws you have rolling around in your junk drawer. Drywall screws are brittle and will snap under the sheer weight of a loaded cabinet. This is why your base cabinets should be secured with 3-inch rugged screws designed for structural loads. I remember a job in a kitchen remodel where a client tried to “save money” on hardware; three months later, the upper cabinets started leaning like the Tower of Pisa because the screws had literally sheared in half.
Tweak Your Way to Perfection with Hinge Adjusters
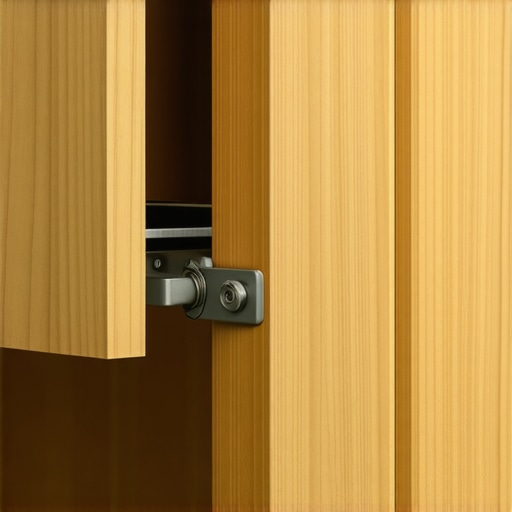
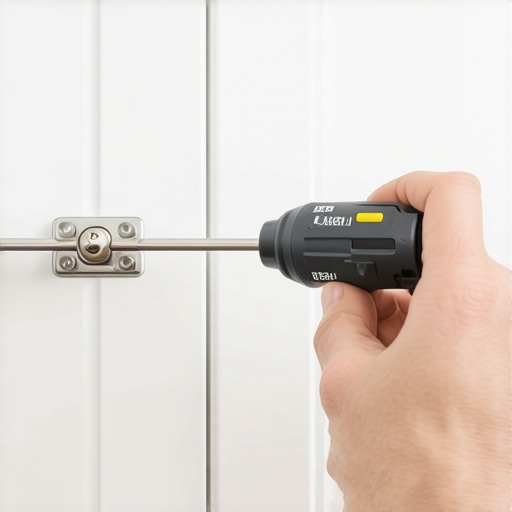
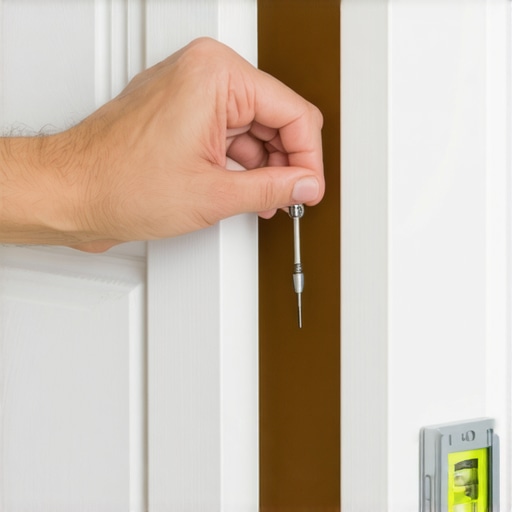
Once everything is bolted to the wall, the boxes might be level, but the doors will almost certainly look “off.” This isn’t usually a failure of the install; it’s just physics. Gravity and the slight settling of the house will shift things. This is where you use the 5-minute hinge adjustment to square up your reveals. If a drawer front is wonky, don’t panic and redrill the holes. Instead, look for why your drawer fronts are crooked and the adjuster screw fix that is built into modern slides. These micro-adjustments are the difference between a project that looks like a weekend hobby and one that looks like a professional custom cabinets installation.We’ve talked about the mechanics of the install, but now we need to address the physics of the room itself. Most people assume that because a kitchen remodel looks solid, it’s static. It’s not. Houses breathe, wood moves, and if you don’t account for that, your investment can literally tear itself apart over time. I’ve seen homeowners spend a fortune on high-end finishes only to have them ruined by ignoring the structural environment. Understanding the nuance of how materials interact is what separates a DIY attempt from a professional, long-lasting installation.
The Heavy Burden That Kills Your Floating Floor
One of the most expensive ‘oops’ factors I see involves the order of operations regarding your flooring. Common wisdom often suggests you should run your beautiful new floor wall-to-wall and then set the cabinets on top for a ‘clean’ look. Don’t do it. This is exactly why luxury vinyl plank should not be trapped under your base cabinets. These floors are designed to expand and contract with temperature shifts; pinning them down with thousands of pounds of custom cabinets will cause the joints to buckle, gap, or even snap. Always install your base cabinets first, or use a rigid flooring material that doesn’t rely on a floating system.
Why does the paint on my cabinet joints keep cracking?
This is easily the most common complaint in high-end kitchen projects. Homeowners expect plastic-like perfection, but wood is a living material. According to the Wood Component Manufacturers Association (WCMA), seasonal humidity changes can cause a solid wood panel to shift dimensions by up to 1/8 of an inch. This movement is enough to break a brittle paint film at the joints. To fight this, you have to be obsessive about choosing the best wood species for painted cabinets that will not crack at the joints. Using engineered materials like HDF for center panels or stable hardwoods for the frames is the only way to minimize those unsightly ‘hairline’ fractures.
Ditch the Lazy Susan for Something That Actually Works
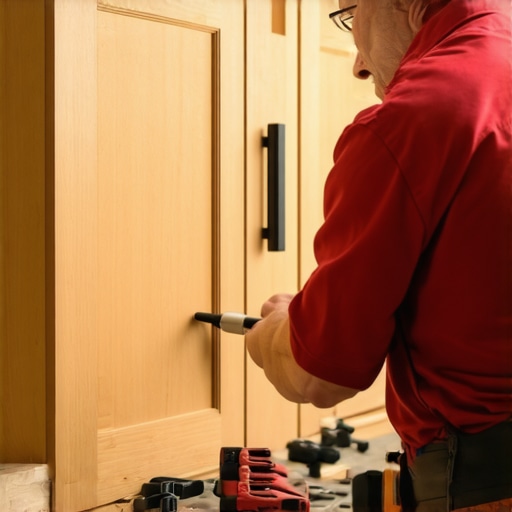
Everyone thinks they need a Lazy Susan for that dead corner, but in my experience, it’s often a waste of valuable real estate. These rotating trays often become a graveyard for half-used spices and heavy mixers that eventually fall off the back. I always advocate for a more modern approach: why you should skip the lazy susan and install lemans pull outs instead. These systems bring the entire contents of the cabinet out to you, making every inch accessible without the wobbling of a plastic pole. For a truly functional space, you need expert tips on selecting storage solutions for a perfect kitchen upgrade that prioritize ease of access over sheer volume. Have you ever fallen into this trap where you prioritized ‘more storage’ over ‘better access’ and ended up with a cluttered mess? Let me know in the comments below!Once the dust settles and the tools are packed away, the real work of homeownership begins: keeping that high-end look from fading. I’ve seen too many people invest in a kitchen remodel only to treat their new cabinets like a rental. If you want these units to last thirty years, you need a toolkit that goes beyond a basic screwdriver. For starters, if you’re doing the install yourself or adding hardware later, stop eyeballing it. I swear by the Kreg Cabinet Hardware Jig; it is the only way to ensure the best way to drill holes for new cabinet hardware without blowing out the back of your expensive doors. Using a self-leveling cross-line laser, like a Bosch or DeWalt, isn’t just for pros—it’s essential for ensuring your modern kitchen remodels don’t look like a funhouse mirror. When I’m setting uppers, I use that red line to keep every box on a single plane, because without it, your eyes will deceive you every time.
Ditch the Harsh Chemicals to Save Your Hardware Finish
You might think a heavy-duty degreaser is what you need after a big Sunday dinner, but if you have modern finishes, you’re playing with fire. I once watched a client strip the finish off $800 worth of pulls because they used a bleach-based spray. Learning how to clean matte black cabinet hardware without scratches is about using the right microfiber and pH-neutral cleaners. It sounds picky, but it keeps the ‘wow’ factor alive long after the contractor leaves.
How do I keep my drawers sliding perfectly for years?
It comes down to lubrication and debris. If you start hearing a crunch, it’s already too late for a simple wipe-down. You need to know why your drawer slides are grinding and how to clear the ball bearings before the mechanism shears completely. According to Blum’s technical documentation, their high-end hinges and slides are tested for up to 200,000 opening and closing cycles, which is roughly 20 years of heavy use. But that rating assumes you aren’t letting flour and grit live in the tracks. If a drawer starts sticking, don’t force it; instead, find how to fix a drawer that wont close all the way by checking for obstructions or misaligned clips.
Prepare for the Future of Modular Storage
Looking ahead, the way we interact with our built-ins is changing. I predict we’ll see a massive shift toward fully modular interiors. People want smart storage ideas to maximize your kitchen space this year that can evolve as their family grows. Imagine a pantry that you can reconfigure in ten minutes without a single tool. We are already seeing this with high-end expert tips on selecting storage solutions for a perfect kitchen upgrade that feature adjustable internal dividers and magnetic accessory systems. The more flexible your system, the longer it remains useful and the higher your resale value stays. Try this today: go through your most-used drawer and adjust the internal clips by just one notch—you’ll be amazed at how much a 1mm change impacts the ‘feel’ of your kitchen. Reach out on our contact page if your hardware is giving you trouble!
The Hard Truths About Cabinetry That Only Years of Sawdust Can Teach
Over the years, I’ve realized that the difference between a frustrating weekend and a successful kitchen remodel isn’t just skill—it’s preparation. One of the biggest shifts in my approach was learning to anticipate the “aftermath.” For instance, I always suggest the removable cabinet back move. It seems like extra work during the install, but the moment a pipe leaks, you’ll thank me for not having to saw through your beautiful built-ins. Another lightbulb moment? Realizing that storage solutions aren’t just about space; they are about ergonomics. I used to cram things in, but now I focus on smart storage ideas to maximize your kitchen space this year that actually save my back from reaching into deep, dark corners.
[IMAGE_PLACEHOLDER]
The Non-Negotiable Tools in My Installation Bag
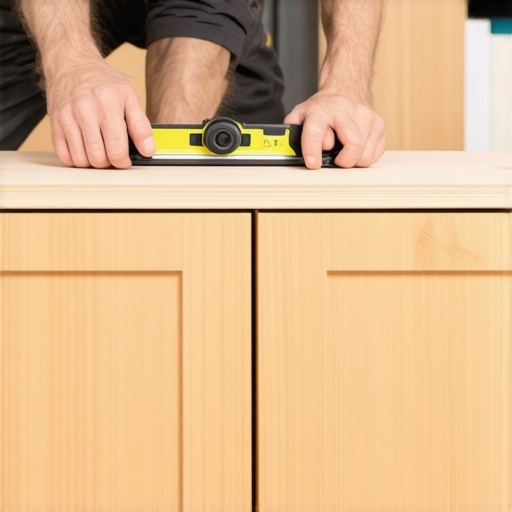
If you’re serious about getting that high-end look with custom cabinets, you can’t rely on the basics. I never start a job without a professional-grade 48-inch level because a cheap level is just a straight-edge that lies to you. I also recommend picking up a cabinet hardware jig; it’s the only way I trust myself to drill into an expensive door without a panic attack. For those tricky layouts, a self-leveling laser is your best friend to keep everything on a single horizontal plane. Finally, keep a stash of expert tips on selecting storage solutions for a perfect kitchen upgrade bookmarked on your phone; having a reference for clearances and heights prevents those “measure twice, cut once” tragedies.
Your Journey Toward a More Functional Home
Redoing a kitchen is more than a construction project; it’s an investment in how you live every single day. Whether you are exploring custom cabinets ideas that transform your homes style or simply swapping out hardware, remember that perfection is a series of small, corrected mistakes. Don’t be intimidated by the shims and the screws—embrace the process and the micro-adjustments. Have you ever struggled with a cabinet door that just wouldn’t sit straight no matter how much you turned the hinge? Let me know in the comments below!